
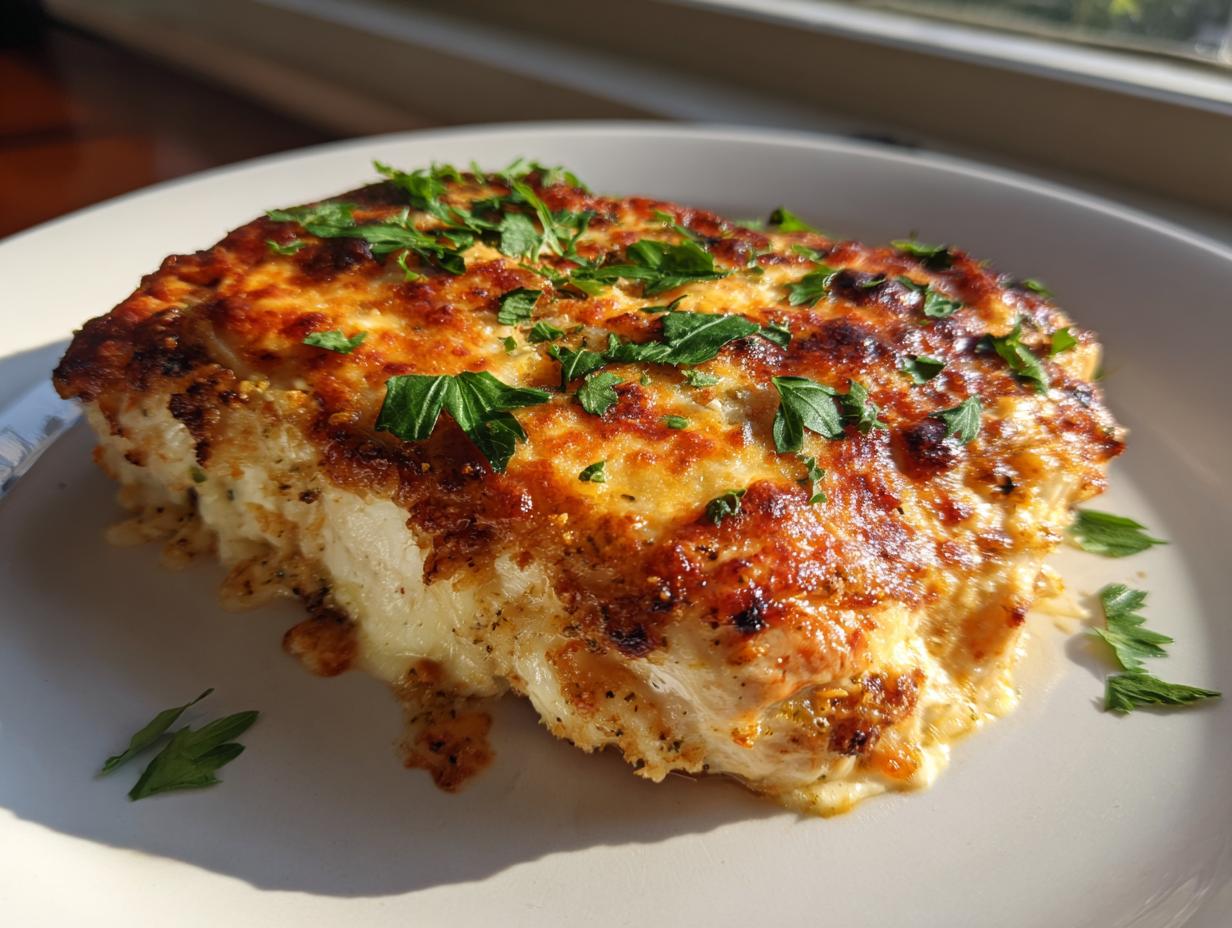
If you’re like me, Tuesdays feel like they require a culinary miracle just to get dinner on the table before everyone melts down. We want that deeply satisfying, restaurant-quality flavor, but who has an hour to spend fussing? That’s exactly why I turn to my **caesar chicken** recipe when I need a win. It’s rich, it’s cheesy, and it bakes itself while you tackle homework or just sit down for a minute!
This isn’t about complicated gourmet techniques; it’s about building confidence in your real-life kitchen, which is the whole point of Food Dexterity. This creamy, Parmesan-crusted chicken delivers massive flavor in under 45 minutes. Trust me, this is the **quick weeknight chicken** that’s about to become a staple in your rotation.
You can find more ideas for busy nights over in my collection of easy weeknight dinners, but for now, let’s get this incredibly tender chicken baked!
- Why This Creamy Baked Caesar Chicken Recipe Works
- Gathering Ingredients for Your Caesar Chicken
- Step-by-Step Instructions for Baked Caesar Chicken Recipe
- Tips for the Best Caesar Chicken Every Time
- Serving Suggestions for Your Easy Caesar Chicken Dinner
- Storage and Reheating Instructions for Leftover Caesar Chicken
- Frequently Asked Questions About Caesar Chicken
- Estimated Nutritional Profile for This Caesar Chicken
- Share Your Creamy Parmesan Chicken Creations
Why This Creamy Baked Caesar Chicken Recipe Works
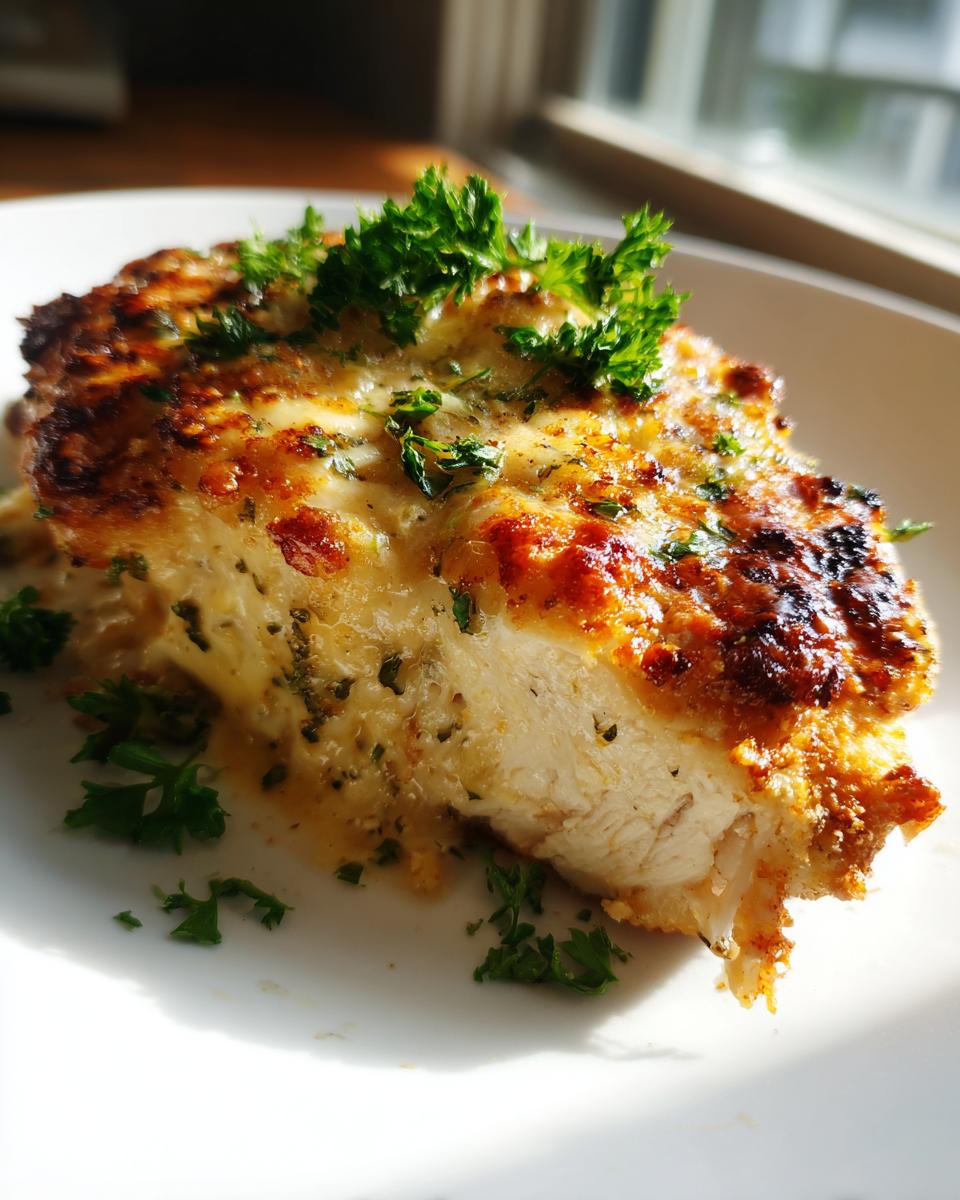
Look, I’ve made my share of dry, sad chicken breasts in the past. We’ve all been there, right? But this Baked Caesar Chicken is the solution to that weeknight tragedy! The secret sauce here—the dressing mixed with sour cream and Parmesan—actually acts like a protective blanket while it bakes. It keeps everything super moist.
When people tell me they get that **Melt In Your Mouth Chicken** texture, I always tell them it’s the constant bath of creamy goodness doing the heavy lifting. This isn’t just a sprinkling on top; it’s a true **Creamy Parmesan Chicken** experience.
I developed this specifically because I needed an easy Caesar chicken dinner that didn’t require a skillet first. It’s genuinely one of the best for how little work it takes.
Achieving That Melt In Your Mouth Chicken Texture
The tenderness comes from baking lower and slower in that rich sauce. The dressing melts into the meat, keeping the protein from seizing up and drying out. We aren’t searing it hot and fast; we are letting the oven gently cook it in moisture. It really is the key to juicy baked chicken every single time.
The Quick Weeknight Chicken Advantage
This entire process, from mixing the sauce to pulling it out of the oven as a stunning **Baked Caesar Chicken Recipe**, takes about 35 minutes of cooking plus 10 minutes of prep. That makes it a fantastic **quick weeknight chicken** meal. It’s unbelievably satisfying for how little effort it demands.
Gathering Ingredients for Your Caesar Chicken
Okay, enough chatting about how great this chicken is—let’s talk about what you need to pull it off! The beauty of this **caesar chicken** is that it relies on pantry staples mixed with just a few key fresh things. Seriously, look at this list; it’s short enough for a little grocery list napkin sketch. I always make sure to get the ingredients right because, surprise, they matter a lot in a recipe this simple!
You’ll need four chicken breasts, a good amount of Parmesan, some seasoning staples, olive oil, and the sauce base. Speaking of the sauce, you absolutely need to use a **thick, creamy** Caesar dressing. If you use one of those thinner, vinaigrette-style dressings, you’re going to end up with sad, watery chicken instead of that gorgeous coating we want.
If you’re looking for more flavor boosters, check out my guide on incorporating garlic and Parmesan separately if you ever want to pivot toward a garlic parmesan chicken bake later on!
Ingredient Notes and Substitutions for Caesar Chicken
Because this dish is built around just a few primary components—the dressing, the sour cream, and the cheese—the quality you bring in really shines through. Don’t skimp here, or the flavor won’t be as deep!
First, let’s address the sour cream versus Greek yogurt choice. I often use sour cream because it gives that slight, perfect tang that cuts through the richness of the Parmesan. But hey, if you’re aiming a bit lighter for a **healthy caesar chicken**, plain Greek yogurt works like a charm. It thickens up beautifully when mixed with the dressing, and honestly, once it’s baked under that crust, you can barely tell the difference in texture.
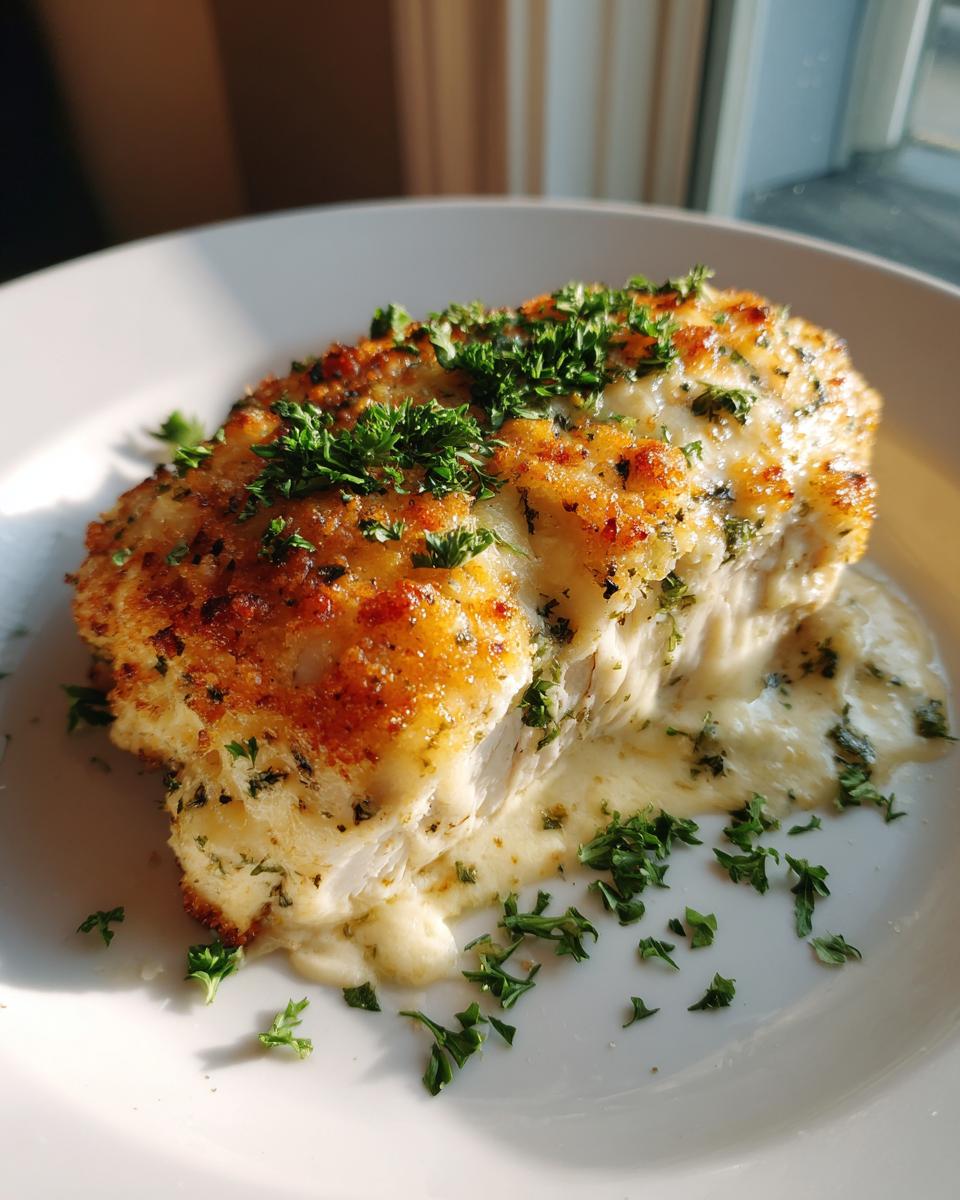
Second, the Parmesan. You must grate it yourself if you can manage it! The pre-grated stuff in the green can has anti-caking agents that keep it from melting smoothly. We need that salty, sharp flavor to combine perfectly with the dressing for the crust. Freshly grated Parmesan melts *so much better* and gives you that golden, slightly crisp topping that makes this **cheesy chicken bake** so irresistible.
Step-by-Step Instructions for Baked Caesar Chicken Recipe
This is the part where the magic really happens, and honestly, it requires zero professional skills—just a couple of bowls and your oven! Because we are aiming for an **easy caesar chicken dinner**, I’ve broken this down into two simple parts: making the perfect coating and then letting the oven do the heavy lifting to create that **tender chicken dinner** that melts in your mouth.
Before you do anything else, get that oven preheating! We need a good 375°F (190°C) to get that crust nice and golden. While it warms up, grab your baking dish and give it a quick brush with that olive oil—this is my small trick to prevent any sticking later, which saves clean-up time!
If a **one pan caesar chicken** sounds like your jam, I have a great variation you can check out right here: one pan caesar chicken! But for this specific recipe, those simple steps ensure our **caesar chicken** is the best it can be. The whole baking process takes about 35 minutes, so you can start prepping your sides while it’s in there.
Preparing the Creamy Parmesan Chicken Coating
Go ahead and grab a measuring cup or a small bowl. We’re making our ridiculously good sauce! You’ll combine that creamy Caesar dressing, the sour cream—or Greek yogurt if you went that route—and the half-cup of grated Parmesan cheese. Don’t rush this mixing part! You need to stir it together until it’s truly smooth and looks like a thick, luxurious paste. Consistency is key here for achieving that perfect **Creamy Parmesan Chicken** topping.
Next, take your chicken breasts and pat them completely dry. This is crucial! If they are wet, the sauce won’t stick properly. Then, give them a quick sprinkle of garlic powder and black pepper right on the raw meat before you slather that creamy mixture over the top of each one. Make sure you spread it edge-to-edge!
Baking Times and Temperature for Juicy Baked Chicken
Once everything is coated and sitting neatly in your prepared baking dish, sprinkle just a touch more cheese right over the top of the sauce layer. This is what gives us that beautiful, golden-brown, slightly crispy top. Slide that dish into your preheated 375°F oven.
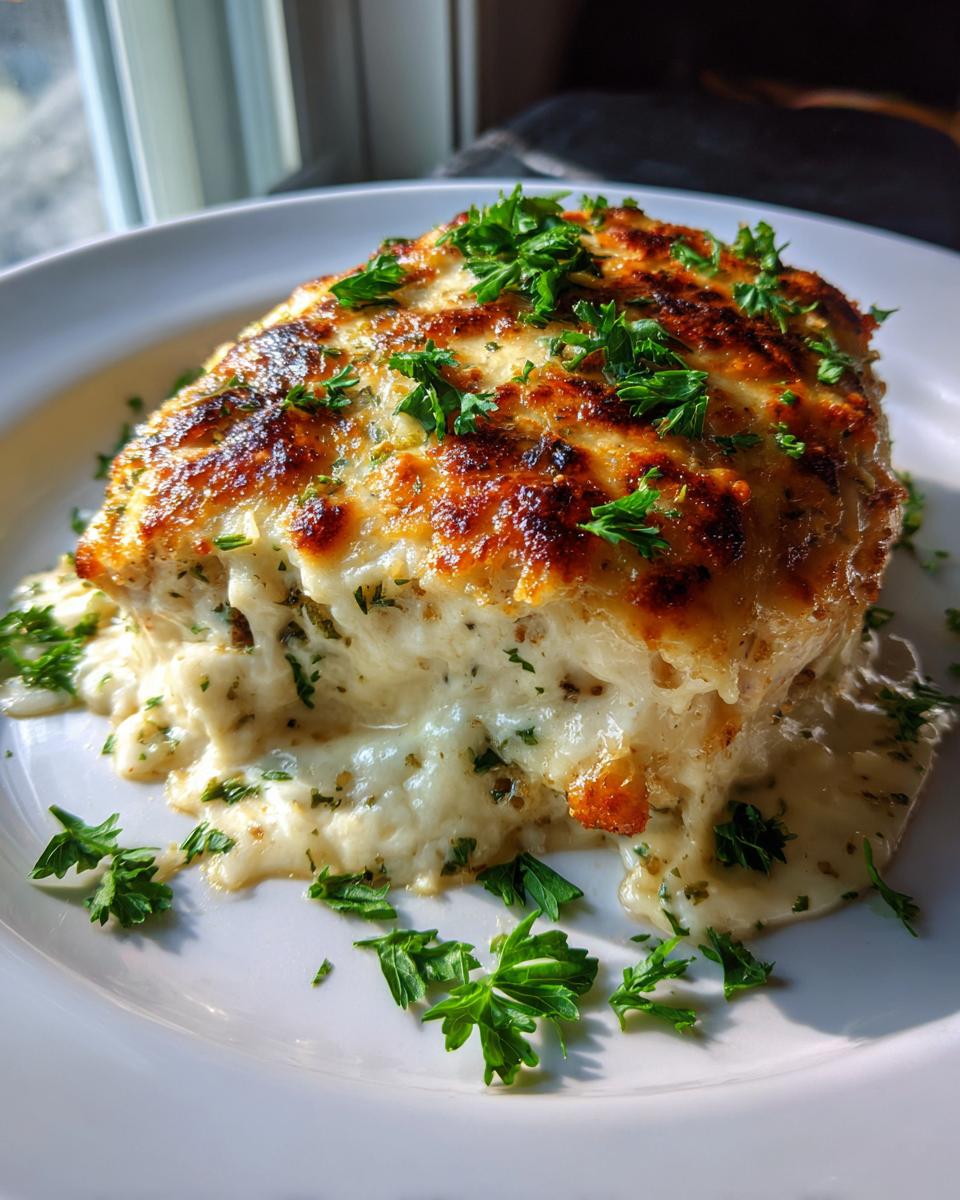
You’ll bake this uncovered for about 30 to 35 minutes. But listen closely, because this is how you guarantee you get the **juicy baked chicken** promised in the title: use a meat thermometer! You want the internal temperature in the thickest part of the breast to hit exactly 165°F (74°C). Pull it out right then! If you want that *extra* cheesy crackle on top, carefully place the dish under the broiler for just two or three minutes, but watch it like a hawk—Parmesan burns fast!
Finally, after you pull it out, let the **Baked Caesar Chicken Recipe** rest for five minutes right there in the pan. This reabsorbs all those amazing juices. Then, slice and serve, maybe spooning a little of those pan drippings over the top for extra flavor!
Tips for the Best Caesar Chicken Every Time
Even though this is an incredibly forgiving **easy caesar chicken dinner**, there are a few little nudges I give this recipe to make sure it’s absolutely perfect every time, especially if I’m serving company. When I first started making this back in my cramped apartment kitchen, I once ended up with a sad, slightly rubbery piece of chicken because I got distracted by a phone call. I learned quickly that details matter, even when things look simple!
My biggest piece of advice for achieving truly **melt in your mouth chicken** is often what you do *before* it even hits the sauce. Don’t skip patting those breasts dry! I know, I know, it seems like an extra chore when you’re rushing, but if the surface of the chicken is wet, your glorious creamy topping slides right off into the bottom of the pan, leaving you with an inconsistent crust.
Also, if you’re worried about thickness—which is the number one killer of **juicy baked chicken**—I actually take a moment to gently pound my chicken breasts down to an even thickness using the flat side of a meat tenderizer or even a rolling pin wrapped in plastic wrap. This ensures that the whole piece finishes cooking at the same exact time. Trust me, you don’t want one piece raw and the other one fighting back when you cut it!
For that golden crust—the part everyone fights over—I use the broil trick I mentioned, but Charlie’s secret is this: about 25 minutes into the bake time, I take a peek. If the sauce looks set but hasn’t started browning, I sprinkle on that *extra* final dusting of Parmesan, then pop it under the broiler for just two minutes on high. You have to stand right there and watch it because it goes from perfect crust to burnt mess in about thirty seconds flat. That little bit of direct heat gives you that satisfying chewiness on top that makes this **Comfort Food Chicken** feel like it came straight from a fancy restaurant. You can check out some other tips for baked chicken breast juicy results over here if you want even more pointers!
Serving Suggestions for Your Easy Caesar Chicken Dinner
So, you’ve got this incredibly rich, creamy **caesar chicken** centerpiece ready to go. That’s the hard part done! Now we need to make sure the plate looks just as good and feels like a complete, satisfying meal. Since this dish is quite rich with that Parmesan crust and creamy dressing, you need sides that provide freshness, acidity, or a starch to soak up all those delicious pan juices.
This is where we turn this into a perfect **Family Friendly Chicken Meal** that everyone, even the picky eaters, will happily dive into. Don’t just serve it plain! Think balance!
If you’re looking for something starchy to handle that sauce, you absolutely have to try my garlic parmesan mashed potatoes. The way the creamy chicken sauce mixes with the fluffy, garlicky potatoes? Pure heaven. It’s total **Comfort Food Chicken** indulgence right there.
For something lighter to balance the richness, green veggies are your best friend. Roasted broccoli or asparagus tossed with a little lemon juice works so well because the acidity cuts right through the fat of the dressing. If you roast them alongside the chicken, you save yourself even more time, turning it into a near **One Pan Caesar Chicken** situation!
And if you’re serving this to impress, a simple, crisp romaine salad with a light vinaigrette (skip the heavy Caesar dressing on the salad since the chicken is already saucy!) is classic. It keeps the meal feeling substantial but not heavy. Honestly, whether you go for potatoes or greens, this **easy caesar chicken dinner** always feels like a special occasion meal, no matter what you pair it with.
Storage and Reheating Instructions for Leftover Caesar Chicken
One of the great things about this **Baked Caesar Chicken Recipe** is that it’s actually fantastic as leftovers! Unlike some chicken dishes that get sad and dry the next day, we packed so much creaminess into this, it holds up really well—which is great news for your lunch plans!
When you’ve got your delicious **caesar chicken** finished, the most important thing is how you put it away. You need to let it cool down just slightly, maybe for about 20 minutes on the counter. Don’t stick hot food directly into a sealed container in the fridge, okay? That little bit of residual heat just creates steam, and we don’t want unnecessary moisture inside that container!
Once it’s cooled a bit, tuck those breasts into a very good airtight container. I try to get most of the extra sauce or melted cheese from the bottom of the baking dish in there too, because that’s where all our flavor is hiding! This chicken should stay perfectly good in the fridge for three to four solid days.
Now, reheating is where you have to be gentle if you want to keep that **tender chicken dinner** quality. Microwaving is fast, sure, but it can sometimes steam the topping and make it gummy. If you must use the microwave, just do short bursts—maybe 45 seconds at a time—and cover the container loosely with a paper towel to help absorb any excess moisture.
For the absolute best texture, I recommend reheating this in a skillet or a low-temperature oven. In the skillet, use just a tiny drizzle of oil or chicken broth over medium-low heat, covered, until it’s warmed through. Adding that tiny bit of extra moisture simulates the baking environment and keeps it from drying out. This way, you still get that **Melt In Your Mouth Chicken** feel, even on a Wednesday morning!
Frequently Asked Questions About Caesar Chicken
I always get so many questions after people try their first batch of this **caesar chicken**! That’s great, because it means you’re loving it! Since this recipe is so versatile, there are a few little tweaks folks ask about most often. Don’t worry if you didn’t follow the recipe exactly; we can talk about adjustments here!
Can I make this Caesar Chicken recipe healthier?
Absolutely! We already built in a way to make this a slightly lighter option by suggesting Greek yogurt instead of sour cream—that cuts a bit of fat while keeping that fantastic tang for your **Creamy Parmesan Chicken**. If you want to push it further, maybe look for a Caesar dressing that is lower in fat or sugar, but remember, you’ll lose a little texture! My best advice for keeping it light is really about what you serve it with. Skip the noodles and drown that chicken in a huge bed of crisp romaine instead of using heavy sides. You can always sneak in some lighter ideas from my healthy breakfast ideas guide if you ever need inspiration for side dishes, too!
What is the best way to ensure my chicken bakes evenly?
This is the secret to avoiding that dreaded situation where the thin end is dry and the thick end is still pink. For this **Baked Caesar Chicken Recipe**, thickness matters! My number one tip, which I mentioned briefly before, is to pound your chicken breasts down to an even thickness before you season them. I wrap mine in plastic wrap—the heavy-duty stuff works best—and use the flat bottom of a sturdy saucepan or a meat mallet.
Aim for about ¾ of an inch thickness across the whole breast. It doesn’t need to be perfectly flat, just consistently thick, which means the heat penetrates evenly. This simple step alone elevates this from a decent **easy chicken dinner** to a consistently *great* one. You’ll get that perfect **tender chicken dinner** result every single time!
Estimated Nutritional Profile for This Caesar Chicken
Now, I always feel like I need a little disclaimer here because this is based on my recipe amounts, the specific sour cream I use, and the dressing brand I grabbed that day. Culinary math isn’t like textbook math, sadly! But for those of you who need to track things for meal planning—and hey, I totally get it—here is the estimated breakdown for one serving of this glorious **caesar chicken** (which equals one breast).
This recipe is actually surprisingly good for a boost of protein, packing a solid punch while keeping the carbs low. It’s definitely leaning toward being a satisfying, low-effort, high-reward **comfort food chicken** dish.
Keep in mind this estimate doesn’t account for what you serve it with, like pasta or potatoes, so if you’re serving it over a big pile of garlic mashed potatoes, you’ll want to add those numbers in separately!
- Serving Size: 1 breast
- Calories: 380
- Protein: 38g
- Fat: 22g
- Carbohydrates: 5g
- Sugar: 3g
- Sodium: 550mg (This is driven mostly by the dressing and Parmesan, so check your labels!)
If you’re trying to keep sodium down, remember that using a low-sodium Caesar dressing or cutting back slightly on the added salt (if you add any) will make a big difference here. Either way, you’re getting a delicious, deeply flavorful **oven baked chicken breast** ready for your dinner rotation!
Share Your Creamy Parmesan Chicken Creations
Okay, now that you’ve made this incredible, hands-off **caesar chicken**, I desperately want to know what you think! Did it really give you that melt-in-your-mouth texture? Was it the perfect solution for your crazy Tuesday night?
This is what Food Dexterity is all about—creating that delicious success in your own kitchen and sharing that little spark of joy. Don’t just tuck this recipe away! Please, please leave a star rating right below this section. It helps me know which recipes I need to write more versions of, and it helps other busy cooks know they’ve found a winner!
If you snapped a picture of that gorgeous, golden, cheesy top—and I hope you did—tag me on social media! Seeing real-life versions of this **Creamy Parmesan Chicken** filling up your dinner table is the best motivation I could ask for. It truly connects us all, even if you’re in Austin and I’m here in my kitchen!
If you have any lingering questions about adjustments or substitutions that weren’t covered, or if you want to share a side dish pairing suggestion, don’t hesitate to drop a comment below or reach out directly through my contact page. Happy cooking, and I can’t wait to hear how much your family loved this **easy caesar chicken dinner**!
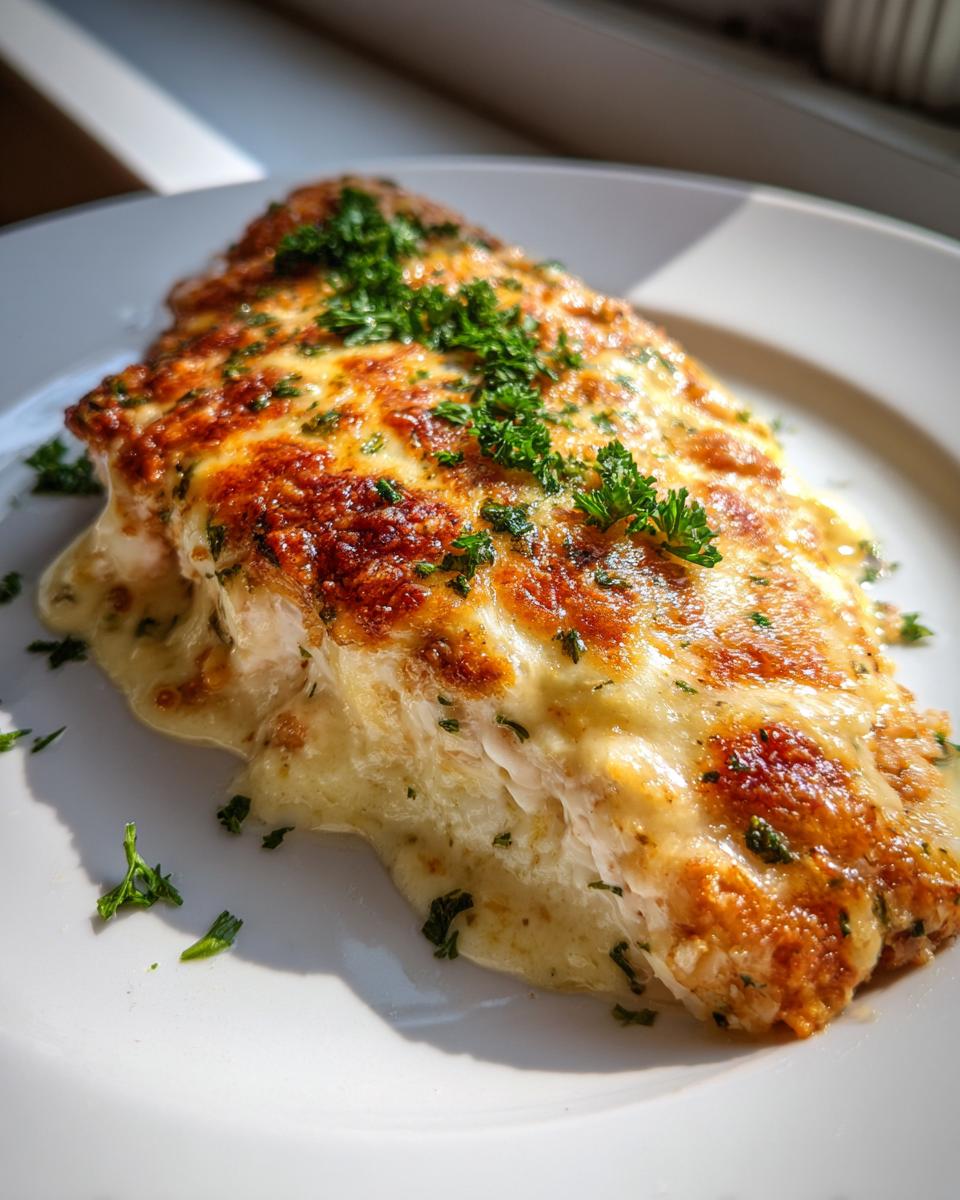
PrintUltimate Creamy Baked Caesar Chicken with Parmesan Crust

Make this easy, creamy Baked Caesar Chicken for a weeknight dinner. Chicken breasts bake in a rich Caesar dressing and Parmesan topping until tender and juicy.
- Prep Time: 10 min
- Cook Time: 35 min
- Total Time: 45 min
- Yield: 4 servings 1x
- Category: Dinner
- Method: Baking
- Cuisine: American
- Diet: Low Fat
Ingredients
- 4 boneless, skinless chicken breasts
- 1/2 cup creamy Caesar dressing
- 1/2 cup sour cream or Greek yogurt
- 1/2 cup grated Parmesan cheese, plus extra for topping
- 1 teaspoon garlic powder
- 1 teaspoon black pepper
- 1 tablespoon olive oil
- Fresh parsley, chopped (for garnish)
Instructions
- Preheat your oven to 375°F (190°C). Lightly grease a baking dish with olive oil or nonstick spray.
- Pat the chicken breasts dry with paper towels. Season both sides with garlic powder and black pepper.
- In a small bowl, mix the Caesar dressing, sour cream (or Greek yogurt), and 1/2 cup of Parmesan cheese until combined. This creates your creamy sauce.
- Place the seasoned chicken breasts in the prepared baking dish. Spread the creamy Caesar-Parmesan mixture evenly over the top of each chicken breast.
- Sprinkle a little extra Parmesan cheese over the sauce layer.
- Bake uncovered for 30 to 35 minutes, or until the internal temperature reaches 165°F (74°C) and the top is golden brown.
- Remove the chicken from the oven and let it rest for 5 minutes before serving.
- Garnish with chopped fresh parsley. Spoon any pan sauce over the chicken when serving.
Notes
- For a crispier top, place the dish under the broiler for the last 2 to 3 minutes of baking, watching closely to prevent burning.
- This recipe works well served with mashed potatoes, buttered noodles, or roasted vegetables.
- Use a thick, creamy style of Caesar dressing for the best coating consistency.
Nutrition
- Serving Size: 1 breast
- Calories: 380
- Sugar: 3
- Sodium: 550
- Fat: 22
- Saturated Fat: 8
- Unsaturated Fat: 14
- Trans Fat: 0.5
- Carbohydrates: 5
- Fiber: 1
- Protein: 38
- Cholesterol: 110