
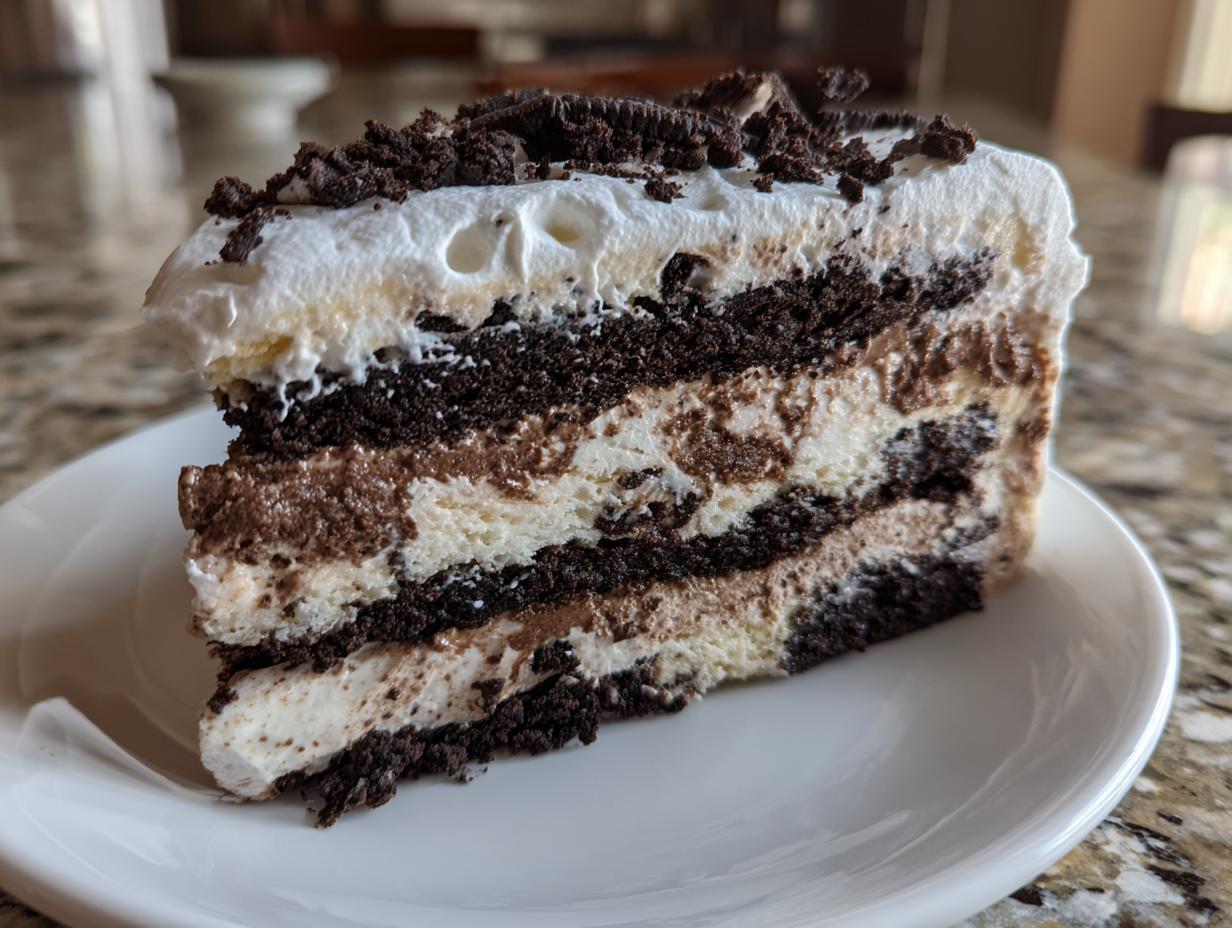
There’s just something magical about a homemade frozen dessert, isn’t there? It instantly makes any picnic or birthday feel like the biggest event of the year. Well, forget those fussy, multi-day baking projects you see online because I’ve got the secret weapon for you today: this is genuinely the easiest, no-bake Oreo ice cream cake you will ever need. It’s all about stacking up those nostalgic flavors—creamy vanilla, chocolate ice cream, and mounds of Oreos—without ever turning on your oven. This recipe is the definition of making something truly special feel totally achievable, even on a hectic Tuesday afternoon.
- Why This Easy No-Bake Oreo Ice Cream Cake is a Must-Make
- Gathering Your Components for the Ultimate Ice Cream Cake
- Step-by-Step Instructions for Your No-Bake Ice Cream Cake
- Tips for the Best Homemade Ice Cream Cake Results
- Flavor Variations for Your Custom Ice Cream Cake
- Serving Suggestions for Your Perfect Ice Cream Cake
- Storage and Make-Ahead Tips for This Frozen Dessert Recipe
- Frequently Asked Questions About Making Ice Cream Cake
- Estimated Nutritional Data for This Ice Cream Cake
Why This Easy No-Bake Oreo Ice Cream Cake is a Must-Make
Look, I get it—life is busy! That’s why I developed this recipe to give you huge payoff for minimal effort. You want a showstopper ice cream cake for a **birthday party cakes** celebration that doesn’t require you to stress out about baking times or delicate layers. Trust me, this one delivers!
- Zero Oven Time: It’s a true no-bake ice cream dessert, which keeps your kitchen cool and stress-free.
- Ultimate Crowd-Pleaser: Who doesn’t adore Oreos and fudge? This cookies and cream dessert is a guaranteed hit with kids and adults alike.
- Make Ahead Marvel: You assemble it, freeze it overnight, and forget about it until party time. Hello, stress-free planning!
Gathering Your Components for the Ultimate Ice Cream Cake
Before we even think about assembly, let’s get our tools and ingredients ready. Making a layered treat like this depends entirely on having everything prepped *before* you start layering. You can’t rush ice cream; if it melts, the layers just blend together into one giant, muddy mess. So, please, pay close attention to the state of things—especially the ice cream softening time. We want it spreadable, not soupy!
For the Oreo Crust and Layers of the Ice Cream Cake
You’ll need about a quart and a half of vanilla and the same amount of chocolate ice cream. Make sure they are softened just slightly—think room temperature for about 10 minutes, tops. We need those Oreos crushed fine for the crust, so get your food processor going or use a rolling pin inside a sturdy bag. Don’t skip crushing them finely, or your crust will crumble when you try to cut it!
- Ice Cream: 1.5 quarts vanilla and 1.5 quarts chocolate (slightly softened)
- Oreos: One full package, crushed into fine crumbs
For the Fudge Swirl and Whipped Topping
This is where we bring in the decadence. The hot fudge needs to be slightly warmed up so it swirls nicely into the layers, but not *hot*, or it will melt all your hard work! The whipped topping should be fully thawed out and ready to go for the final layer before the deep freeze. It’s best to have these ready to go right next to your layered pan.
- Hot Fudge Topping: About 1 cup, warmed up just a little
- Whipped Topping: One whole tub (8 oz), completely thawed
Step-by-Step Instructions for Your No-Bake Ice Cream Cake
Okay, this is the fun part where the magic happens! Since we aren’t baking, timing is all about the freezer, so make sure you have a good amount of space in there before you start layering. I found that working quickly but gently is the key to keeping the layers clean. This whole process relies on solid freezing intervals. If you follow my timing here, you’ll end up with the most gorgeous, structurally sound ice cream cake ready for tomorrow’s party. Let’s get building!
Preparing the Pan and Crust for the Ice Cream Cake
First things first, you need a 9-inch springform pan. That’s crucial because it lets you release the sides later without damaging your beautiful creation. Line the bottom with parchment paper—don’t just grease and flour, that parchment is your insurance policy! Now, mix your crushed Oreos with half of that warmed-up hot fudge. Press that mixture firmly into the bottom. Really pack it down! We want a solid foundation for this frozen dessert recipe. Pop that pan into the freezer for 30 minutes, sharp.
Layering the Ice Cream and Setting the Ice Cream Cake
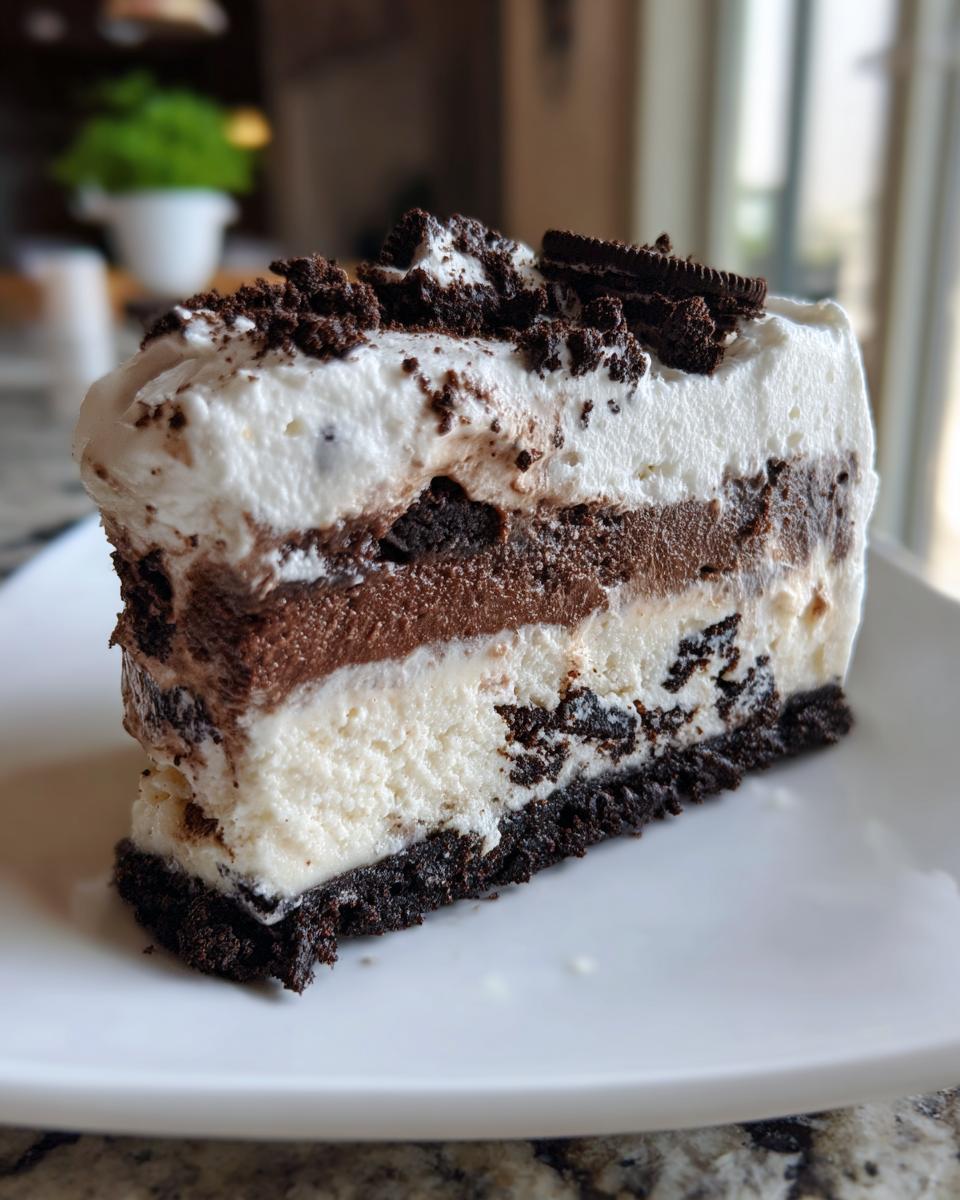
Once the crust is nice and hard, pull it out. Spread that softened vanilla ice cream over the top of the crust. Use an offset spatula to smooth it out until it’s even—presentation matters even if no one sees this layer right away! Back into the freezer it goes for at least 2 hours until it’s rock solid. Then, repeat the process with the chocolate ice cream layer on top of the firm vanilla layer. Another 2 hours in the deep freeze keeps everything perfect.
Finishing and Freezing the Ice Cream Cake Overnight
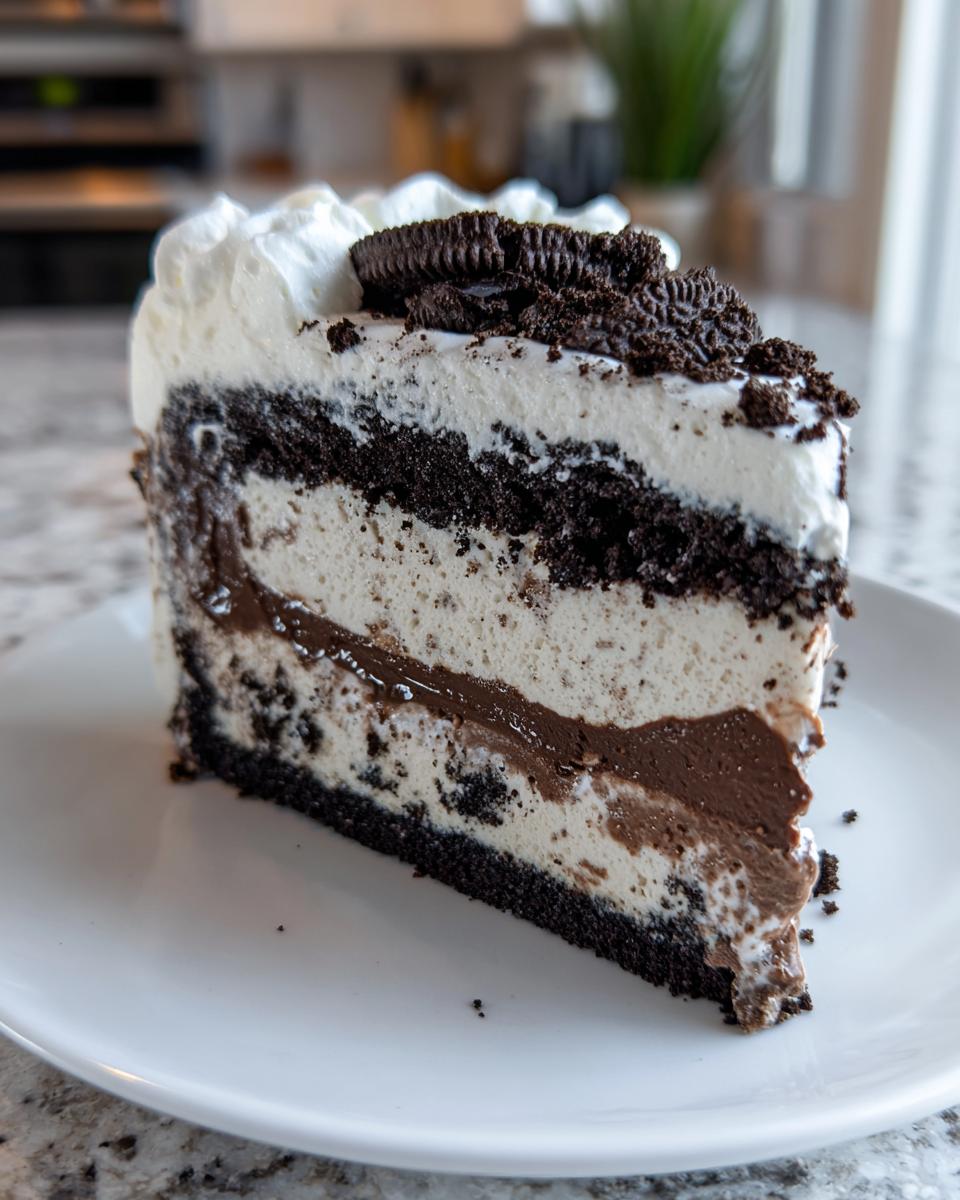
When that chocolate layer is firm, gently drizzle the remaining half of your warmed fudge over it, spreading it carefully. After a quick 30-minute freeze to set the fudge, you can finally spread that thawed whipped topping across the very top. This is the last active step, but it’s the most important for overnight setting. Cover the whole thing loosely with plastic wrap—you don’t want freezer burn marks!—and let it hang out in the freezer for a minimum of 12 hours. Honestly, overnight is best for making sure this amazing make ahead frozen dessert slices like a dream.
Tips for the Best Homemade Ice Cream Cake Results
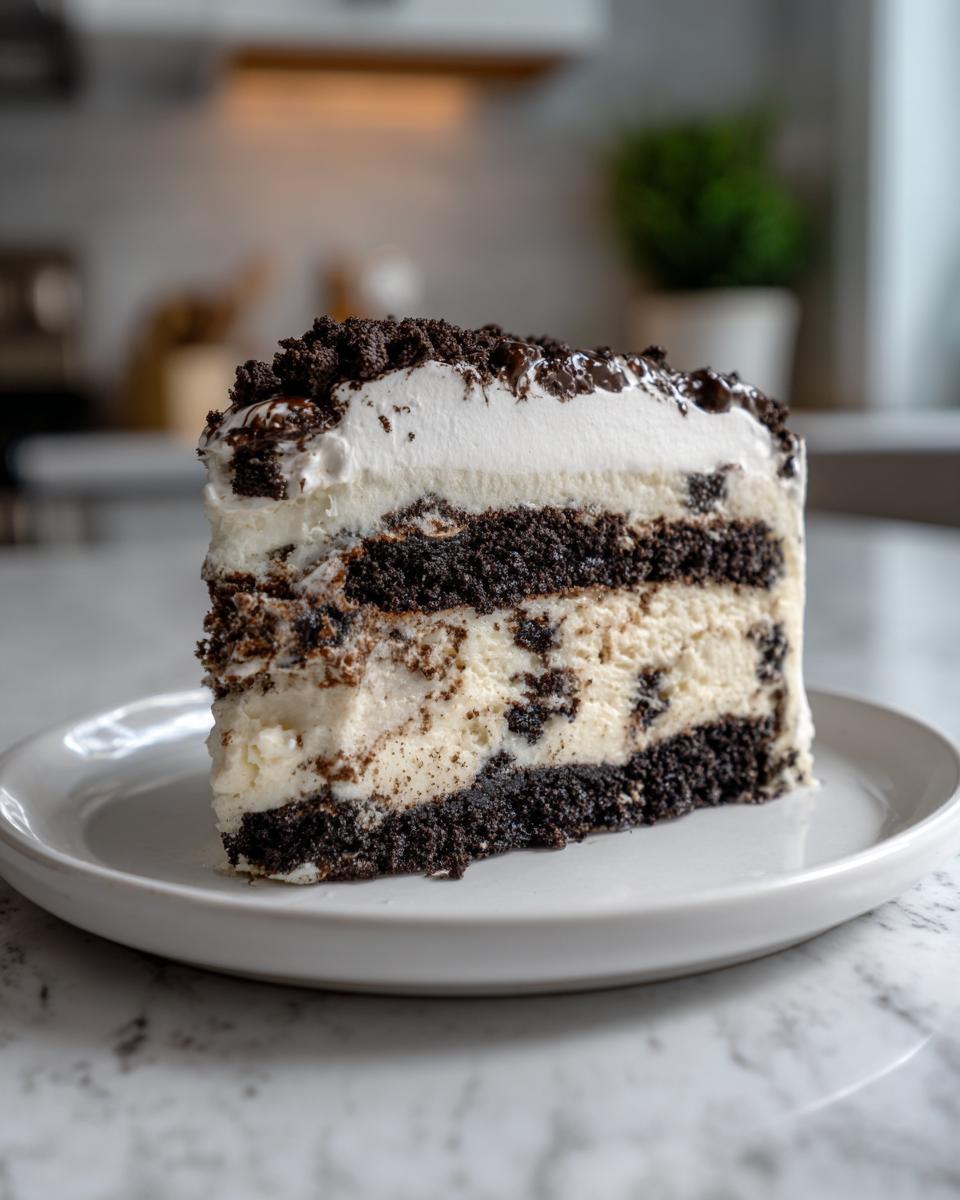
Even though this is a no-bake recipe, it takes a little finesse to get those beautiful, clean layers we’re aiming for, especially if you want those perfect slices for your **birthday party cakes**. The biggest thing I always preach about is the ice cream state. If you try to spread ice cream that’s too hard, you’ll dig trenches into the layer underneath! Let it sit on the counter until you can just barely run a spoon through it.
Also, don’t forget the final step before serving! You must let your **ice cream cake** sit out on the counter for about 5 to 10 minutes before you cut into it. If it’s rock hard straight from the freezer, the fudge layer will shatter instead of slicing cleanly. Dipping your knife in hot water between cuts, like a professional, also helps immensely if you’re aiming for magazine-worthy slices!
When you’re ready to serve, run a thin knife around the edge before you release that springform pan. This small action, combined with the proper tempering time, ensures your bottom cookie crust stays intact. You can find more tips on keeping frozen things perfect over at my guide on cheesecake recipes—the core principles of temperature control are the same!
Flavor Variations for Your Custom Ice Cream Cake
Part of the fun with this easy, no-bake recipe is that it’s totally customizable! While the Oreo version is my go-to comfort food, you should never feel locked into just vanilla and chocolate. If you’re making this for a true chocolate fanatic, why not swap the vanilla for mint chocolate chip or even a rich coffee flavor? It kicks the whole experience up a notch and makes a fantastic **summer celebration dessert**.
If you’ve been looking to use up some leftover baked goods, this is your chance! Instead of just Oreos for the crust, you could crush up some fudgy brownies—check out my recipe for peanut butter swirl brownies to see how I get mine extra fudgy—and press those into the bottom. That gives you a brownie crust layer, which takes this simple **ice cream cake** straight into the ultimate frozen dessert category. It’s all about making it *yours*!
Serving Suggestions for Your Perfect Ice Cream Cake
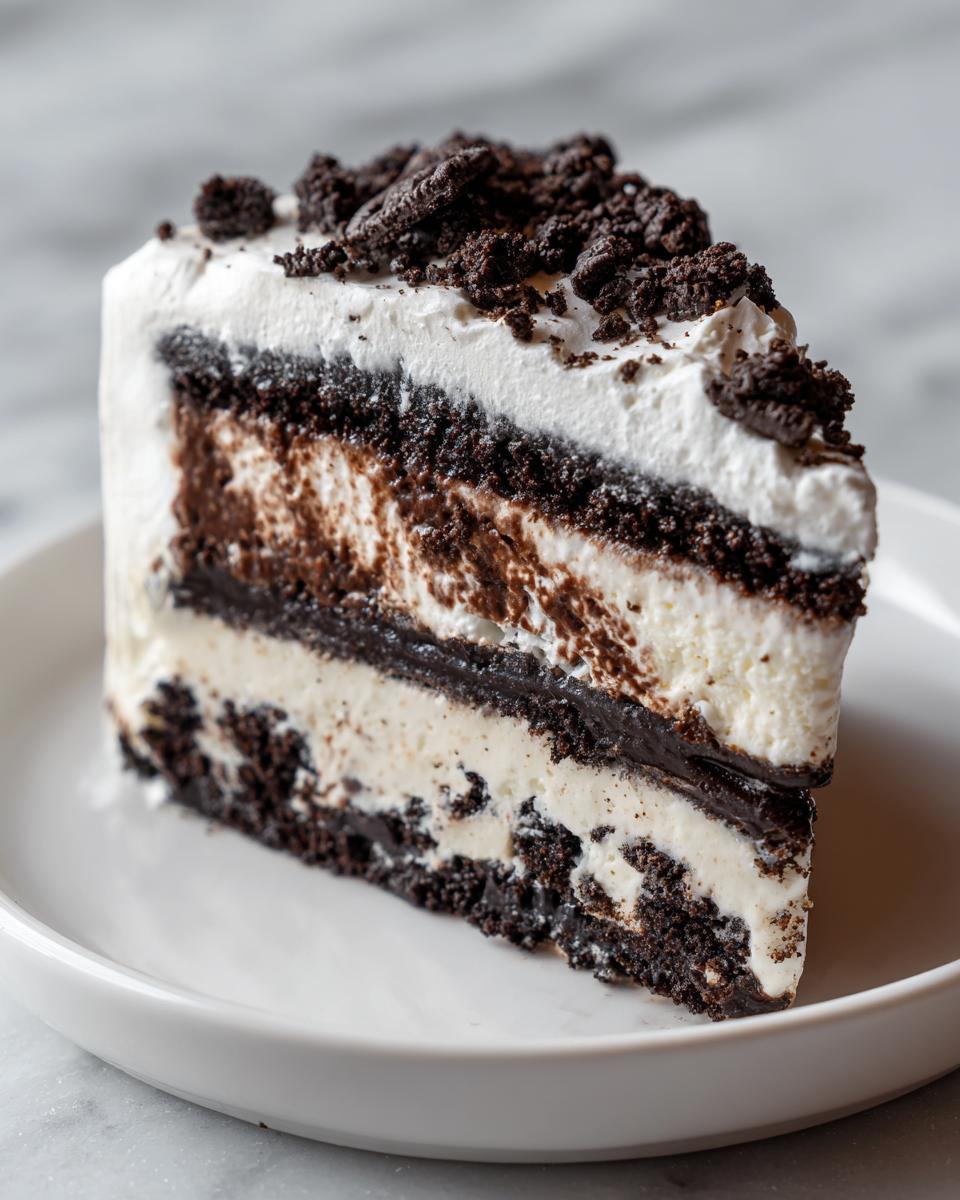
Once you’ve wrestled that frozen beauty out of the springform pan, the real fun begins: decorating! Since this is such a crowd-pleasing treat, especially when the weather heats up and you need **summer celebration desserts**, presentation is everything. We’ve got our beautiful, clean layers showing, topped with a plain white cloud of whipped topping, but we can definitely jazz that up.
My absolute favorite accompaniment is a drizzle of warm caramel sauce alongside the hot fudge swirl. It adds a lovely salty-sweet dimension that cuts through the richness of the chocolate and vanilla. If you’re making this for a kids’ party, you can’t go wrong with rainbow sprinkles—the more color, the better! Just wait until you remove the springform ring to shower the sides and top with those little guys.
For an adult gathering, sometimes I like to add a small touch of something seasonal. If I happened to make a batch of holiday treats, I might sprinkle some crushed peppermint on top instead of Oreos when I make a mint version. Or, if you happen to have leftover eggnog spice mix from making my homemade eggnog recipe, a tiny dusting over the whipped cream adds just an unexpected, cozy note. Remember, this homemade ice cream cake is your canvas, so have fun with it!
Storage and Make-Ahead Tips for This Frozen Dessert Recipe
I love that you’re planning ahead! This recipe is designed to be one of the absolute best **make ahead frozen desserts** you can have in your back pocket. Since everything is frozen solid, this **ice cream cake** actually gets *better* overnight—it really allows those fudge and Oreo layers to lock in their flavor.
Once you have your cake completely frozen (after that 12-hour minimum freeze we talked about), you need to protect it from freezer burn or absorbing weird smells. The key here is wrapping. First, make sure the top layer of whipped cream is dry, then cover the *entire* springform pan very snugly with a layer of plastic wrap. Don’t let the plastic actually touch the topping if you can help it, but seal it tight!
After the plastic wrap, I strongly recommend wrapping the whole thing in a layer of aluminum foil. That double barrier is your best defense against freezer air. You can store this beauty safely for up to two weeks. Honestly, it rarely lasts that long in my house, but if you need to bake it way before a big event, this is how you keep it tasting perfectly fresh.
Just remember my earlier tip: when you pull this perfect slice of **homemade ice cream cake** out for your party, give it that crucial 5 to 10 minutes on the counter to temper. It makes slicing way smoother! For more details on keeping frozen things ready to go, check out my full guide on make ahead frozen desserts.
Frequently Asked Questions About Making Ice Cream Cake
I know you might have a few lingering questions about making this ultimate **frozen dessert recipe** a reality, especially if this is your first time trying a homemade **ice cream cake**. Don’t worry, I’ve handled all these snags myself over the years, so let’s tackle the common sticking points before you grab your springform pan!
Can I use different ice cream flavors?
Absolutely! That’s the beauty of this recipe. While I love the classic chocolate/vanilla duo, this works wonderfully as a **cookies and cream dessert** if you use cookies and cream ice cream for both layers. Feel free to swap in your favorites—mint chocolate chip, strawberry, or even coffee ice cream for a more grown-up twist. Just make sure you let them soften equally before spreading, okay?
Do I have to use the hot fudge?
You don’t *have* to, but honestly, skipping it loses a ton of flavor and moisture! That fudge layer between the soft ice cream and the whipped topping is what keeps this from feeling too plain. If you absolutely can’t, you can substitute it with marshmallow fluff or use a thin layer of melted chocolate chips mixed with a little peanut butter, which is a great alternative if you have leftover peanut butter swirl brownies you want to crush up!
What size pan works best for this recipe?
I designed this recipe specifically for a 9-inch springform pan because that ensures your layers are tall and satisfying for 10 good servings. If you use a 9×13 pan, you’ll need to double the batch to get any real height, or you end up with a very thin **easy layered cake**. If you must use a different size for your **kids party food**, just remember the total volume needs to fit, and adjust your freezing times!
How do I get those clean layers when slicing?
This is the secret trick for a gorgeous **copycat ice cream cake** presentation! Before you cut, take your sharp, long knife and dip it into a tall glass of *very hot* water. Wipe the blade completely dry—hot and dry is the magic combination—and make your cut. Dip, wipe, cut again. This melts just enough of the ice cream for a clean pass, giving you those perfect slices every time.
Estimated Nutritional Data for This Ice Cream Cake
Alright, I know that when you’re bringing out a showstopping **ice cream cake** like this, you’re probably more worried about smiles than macros, but my philosophy around food dexterity means being transparent about what we’re eating! Since this recipe uses store-bought ingredients like cookies and ice cream, the final numbers can swing a little bit depending on brand choices. So, please treat this like a fun guideline, not a strict diet breakdown.
This data below is based on one generous slice (1/10th of the cake) assuming standard vanilla and chocolate ice cream and regular Oreos were used. It’s definitely a rich treat for your **summer celebration desserts**, but hey, that’s why we only make it for special occasions!
- Serving Size: 1 slice
- Calories: 450
- Sugar: 45g
- Fat: 25g
- Saturated Fat: 15g
- Sodium: 320mg
- Carbohydrates: 55g
- Protein: 6g
Keep in mind that if you go heavy on the fudge swirl or use premium, high-butterfat ice cream, these numbers will certainly climb! It’s a delicious indulgence, and that’s perfectly okay sometimes.
PrintEasy No-Bake Oreo Ice Cream Cake

You can make this ultimate no-bake ice cream cake using simple layers of ice cream, crushed Oreos, and fudge. It is a crowd-pleasing frozen dessert perfect for birthdays or summer parties.
- Prep Time: 30 min
- Cook Time: 0 min
- Total Time: 12 hours 30 min
- Yield: 10 servings 1x
- Category: Dessert
- Method: No Bake
- Cuisine: American
- Diet: Vegetarian
Ingredients
- 1.5 quarts vanilla ice cream, softened slightly
- 1.5 quarts chocolate ice cream, softened slightly
- 1 package (14.3 ounces) Oreo cookies, crushed into fine crumbs
- 1 cup hot fudge topping, slightly warmed
- 1 tub (8 ounces) frozen whipped topping, thawed
- 1/4 cup crushed Oreo cookies for topping
Instructions
- Prepare a 9-inch springform pan by lining the bottom with parchment paper.
- In a bowl, mix the crushed Oreo crumbs with half of the slightly warmed hot fudge topping. Press this mixture firmly into the bottom of the prepared pan to form the crust. Freeze for 30 minutes.
- Remove the pan from the freezer. Spread the softened vanilla ice cream evenly over the crust layer. Smooth the top with a spatula. Freeze for at least 2 hours, or until firm.
- Once the vanilla layer is firm, spread the softened chocolate ice cream evenly over the vanilla layer. Freeze for another 2 hours, or until firm.
- Spread the remaining half of the hot fudge topping over the chocolate layer. Freeze for 30 minutes.
- Spread the thawed whipped topping over the fudge layer. Smooth the top.
- Cover the cake loosely with plastic wrap and freeze for a minimum of 12 hours, or preferably overnight, to set completely. This step is key for a perfect homemade ice cream cake.
- Before serving, carefully run a thin knife around the edge of the pan before releasing the springform side. Sprinkle the top with the reserved crushed Oreo cookies. Slice and serve this ultimate frozen dessert immediately.
Notes
- You can substitute any two ice cream flavors you prefer for a custom ice cream cake.
- For cleaner slices, dip your knife in hot water and wipe it dry between each cut.
- This make-ahead frozen dessert tastes best when allowed to sit at room temperature for 5 to 10 minutes before slicing.
Nutrition
- Serving Size: 1 slice
- Calories: 450
- Sugar: 45g
- Sodium: 320mg
- Fat: 25g
- Saturated Fat: 15g
- Unsaturated Fat: 10g
- Trans Fat: 0.5g
- Carbohydrates: 55g
- Fiber: 2g
- Protein: 6g
- Cholesterol: 50mg