

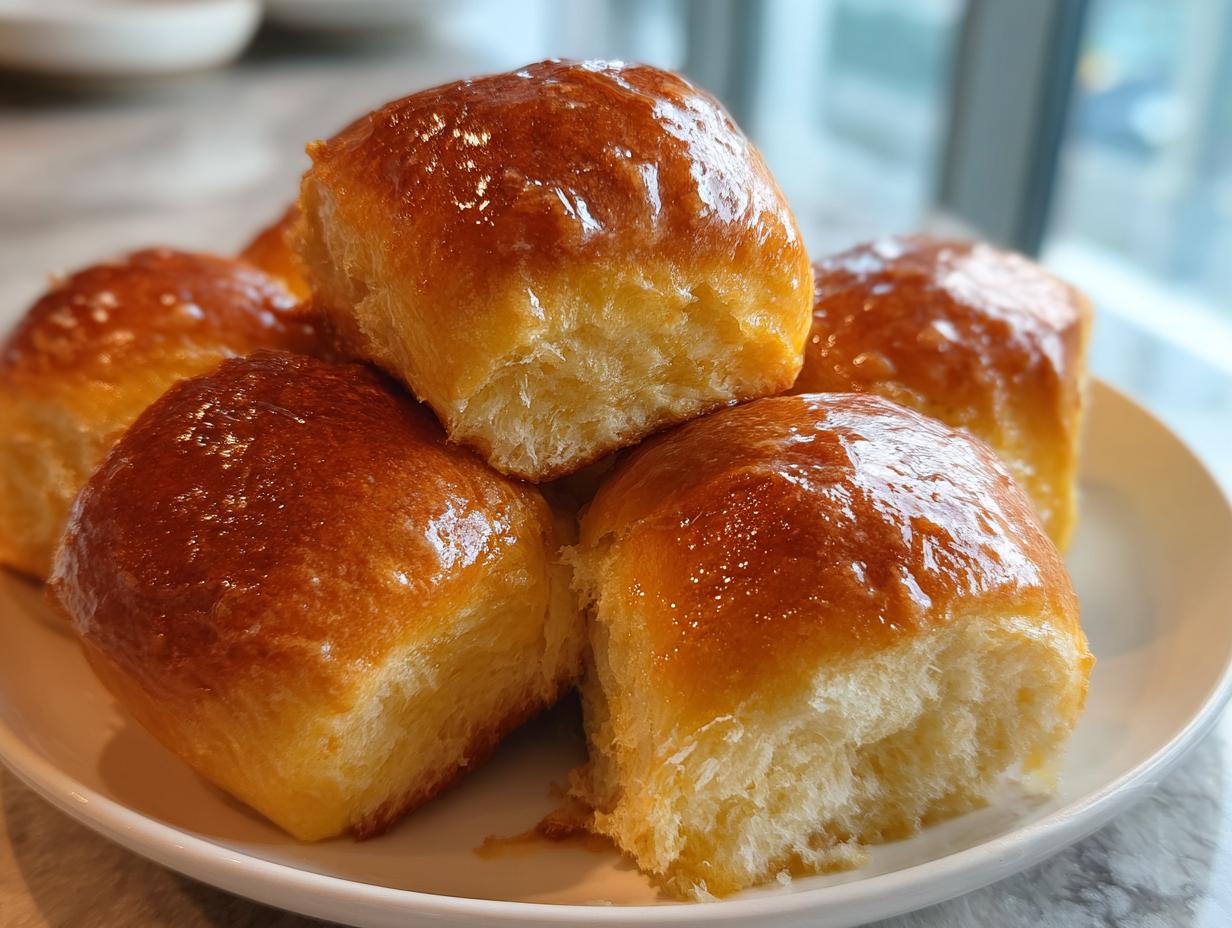
Oh, honey, let me tell you about the smell of fresh bread baking on a Tuesday night. You know that scent? It stops everything, right? When I was deep in the event planning hustle, I thought I didn’t have time for anything that required yeast. But I was wrong! These dinner rolls are proof that you can have that warm, comforting side dish on the table without spending all afternoon waiting for things to rise.
I tweaked and tested so I could get that perfect texture—you know, the one that makes you want to sneak one before dinner is even served. Trust me when I say these are incredibly soft, deeply buttery, and you can get them from scratch to out of the oven in about an hour total. This isn’t gourmet perfection; this is just making special, achievable food for your table when life is already busy. You’ve got this!
- Why You Need These 1-Hour Soft Dinner Rolls in Your Life
- Ingredients for the Best Dinner Rolls From Scratch
- How to Prepare These Easy Dinner Rolls Recipe Steps
- Pro Tips for Perfect Soft Dinner Rolls Every Time
- Storage and Reheating Instructions for Warm Rolls
- Serving Suggestions for Your Homemade Yeast Bread
- Frequently Asked Questions About Making Dinner Rolls
- Nutritional Estimates for These Buttery Dinner Rolls
- Share Your Soft Dinner Rolls Success
Why You Need These 1-Hour Soft Dinner Rolls in Your Life
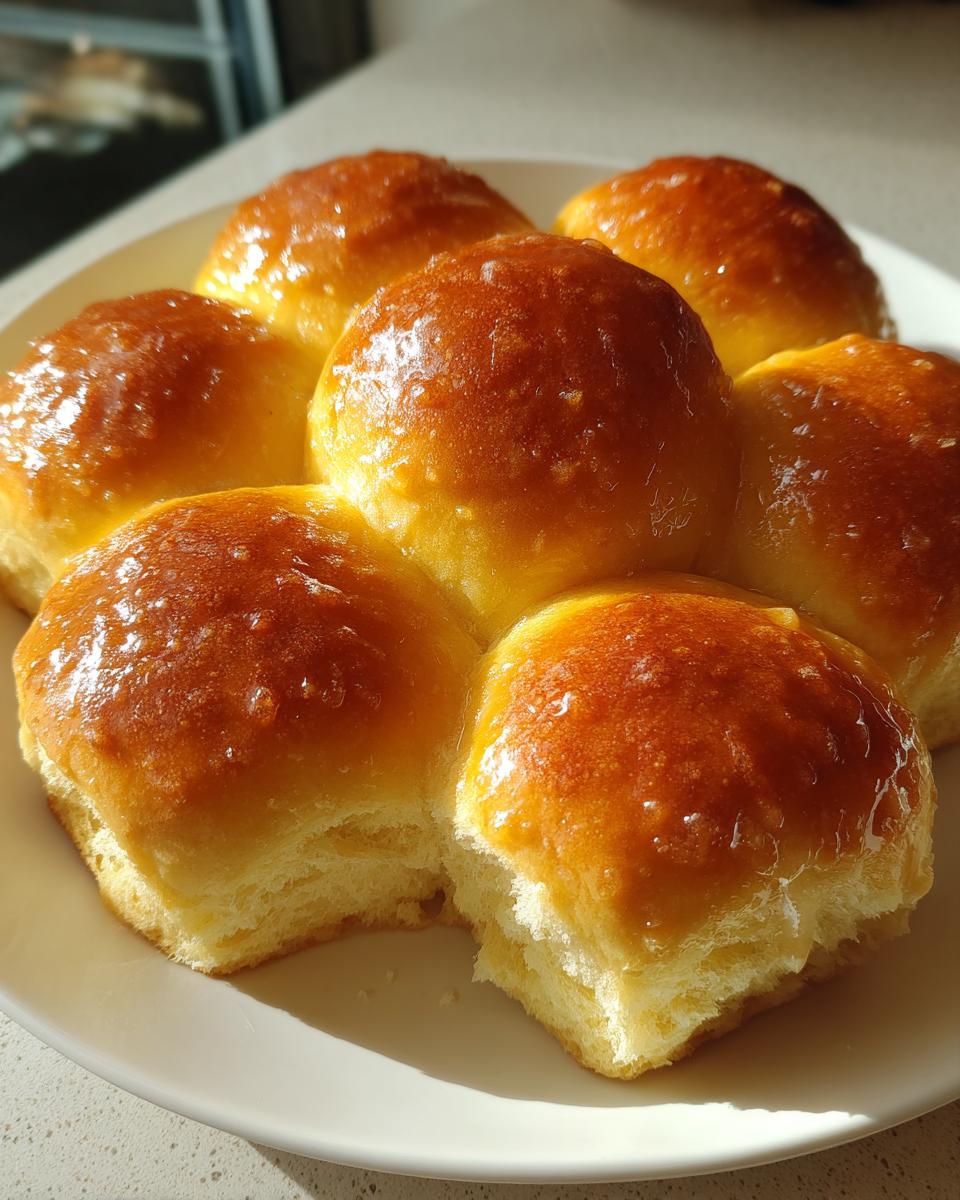
Listen, I get it. You see a recipe that says “yeast” and you immediately think, “Nope, too much time.” That’s what I thought, too, back when I was juggling client deadlines! But these aren’t your grandma’s four-hour dough project—though we love those, too! These rolls are designed for the real world while still delivering that comforting, homemade flavor.
If you are craving that truly pillowy soft texture, but you need that fresh bread side dish ready before the main course is even done simmering, this recipe is your secret weapon. You get all the satisfaction of best dinner rolls from scratch without the marathon commitment.
- They absolutely deliver on texture: Airy, light, and genuinely fluffy.
- They fit into a busy weeknight schedule—seriously, just over an hour start-to-finish!
- They are perfect for soaking up extra sauce or gravy.
Achieving Pillowy Soft Dinner Rolls Fast
How do we cheat the clock? It’s all about controlled warmth and using the right amount of yeast to encourage a fast, strong rise. We coax that dough along without sacrificing the delicate structure. This process gives you that fantastic, quick homemade bread sensation when you bite in.
The Buttery Yeast Rolls Finish
Don’t try to skip the step where you brush them with extra butter right when they come out of the oven. Seriously, DON’T. That final drizzle, while they are piping hot, is what seals in the moisture and gives you those gorgeous, shiny, buttery yeast rolls that everyone raves about. That’s the comfort food magic right there.
Ingredients for the Best Dinner Rolls From Scratch
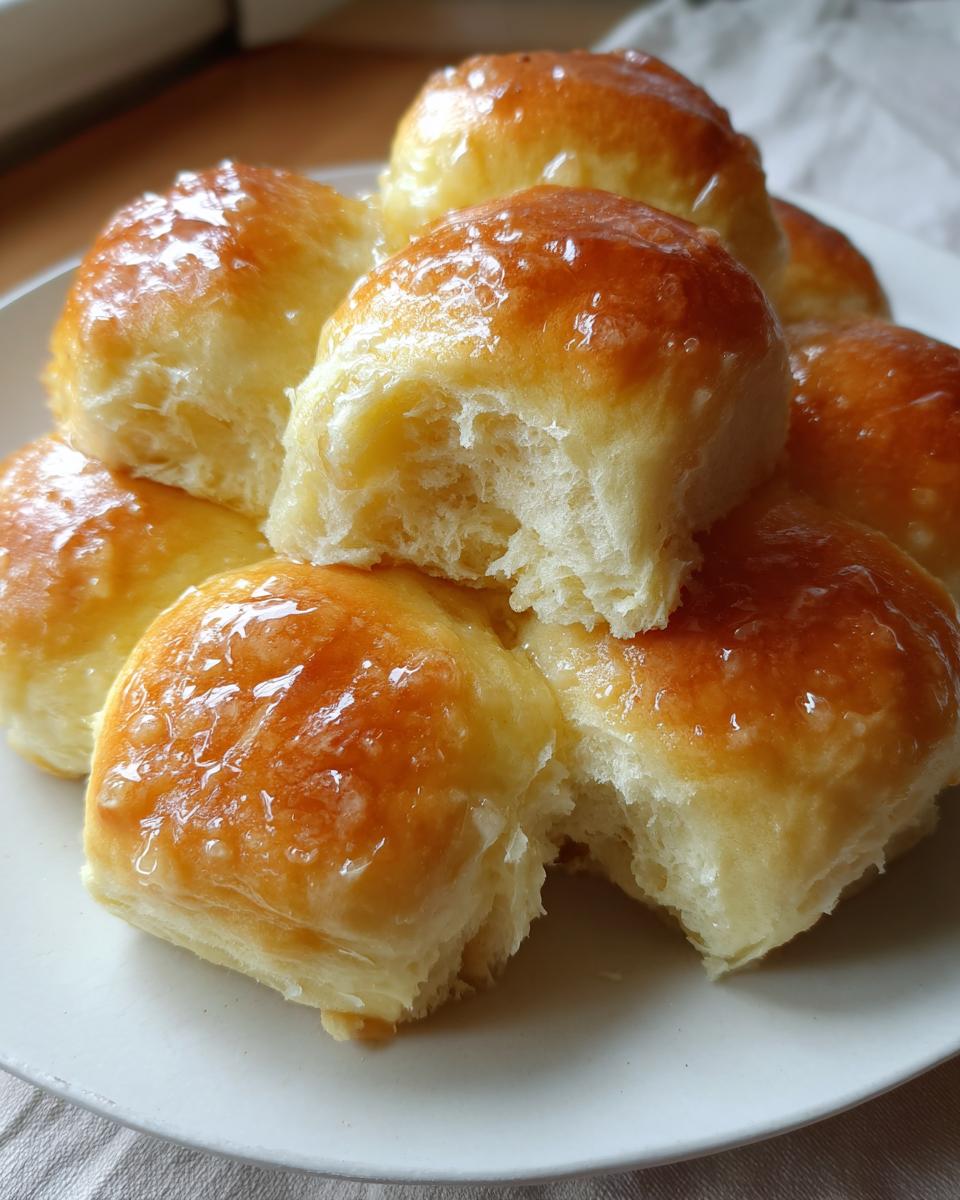
When I set out to make these speedy rolls, I kept one main rule in mind: everything must be something you likely already have tucked away in your pantry. This is the ethos of Food Dexterity—no exotic shopping trips needed for everyday comfort foods! This recipe relies on standard American pantry staples to deliver that classic, yeasty bread flavor that sings next to almost any main dish.
Speaking of classics, if you’re feeling curious about how other folks make similar quick rolls, I saw a great take on the one-hour concept over at 1-Hour Soft Buttery Dinner Rolls that really emphasizes getting out the door fast.
Here is exactly what you need for 12 wonderfully fluffy homemade rolls:
- 1 cup warm water (must be between 105–115°F)
- 2 1/4 teaspoons active dry yeast
- 1/4 cup granulated sugar
- 1/4 cup unsalted butter, melted, plus 2 tablespoons specifically for brushing later
- 1 large egg, lightly beaten
- 3 1/4 cups all-purpose flour, plus more if you need to dust your counter
- 1 teaspoon salt
- 1 large egg, beaten with 1 tablespoon water (this is your egg wash!)
Ingredient Notes and Substitutions for Fluffy Homemade Rolls
Ingredient quality matters, even in a fast recipe! The water temperature is non-negotiable when you’re using active dry yeast. If it gets too hot—say, over 130°F—you literally cook the yeast and it won’t foam up in Step 1. We need that foam! We are aiming for that sweet spot. The gentle warmth wakes them up and gets them ready to work hard for us.
For the flour, I listed all-purpose, which works great and gives you a softer result. If you want a teensy bit more ‘chew’ or structure, especially if you plan on making these into buttery sandwich rolls later, you totally could swap up to a half-cup of that for bread flour. Just work it in slowly during the kneading stage.
And that egg wash at the end? That’s not just for looks, though it does give those beautiful golden tops! It helps seal in the moisture we worked so hard to create inside the dough. It’s a small step that protects all that fluffiness.
How to Prepare These Easy Dinner Rolls Recipe Steps
Now that you have your perfect ingredients lined up, let’s get this bread! Seriously, these steps are straightforward, but the timing is what gets us to that magical sub-60-minute mark for our 1-hour dinner rolls. I promise, if you follow these phases, you won’t end up with hockey pucks, just wonderfully light and airy rolls!
Activating Yeast and Mixing the Dough for Dinner Rolls
First things first, wake up that yeast! In your big mixing bowl, toss the warm water and the yeast right in. Wait about five minutes. If you see foam—that bubbly, happy layer on top—you’re good to go! That means your yeast is alive and ready to make magic happen. If nothing happens there, step back, check your water temp, and grab fresh yeast next time.
Once it’s foamy, stir in that sugar, the melted butter (the first batch!), and your beaten egg. Keep it moving! Next, gradually start adding your flour and salt mixture. Just mix it until it looks shaggy. Don’t try to get it perfect in the bowl; we’re moving to the counter next.
Kneading and the First Rise for Soft Dinner Rolls
Time to get your hands dirty! Turn that shaggy dough out onto a lightly floured surface. Knead this until it feels different—it should start off rough but after about 5 to 7 minutes of working it, it transforms. You’re looking for that beautifully smooth and elastic surface. It should feel soft but hold its shape.
Pop that dough into an oiled bowl, turn it once to coat it lightly with oil, cover it up tight, and put it where it’s warm. This needs 30 minutes to double in size. Thirty minutes! That’s the major shortcut here! While that’s happening, maybe you can whip up a quick dip, like my suggestion for an easy homemade blue cheese dip to serve alongside them later.
Shaping and Baking Your Buttery Yeast Rolls
Gently punch the air out of your risen dough—don’t be too aggressive! Divide that dough evenly into 12 pieces. Roll each piece right between your palms to make a beautiful, tight little ball. Arrange them snugly in your greased 9×13 pan. They’re going to be cozy friends in there!
Now, cover them loosely again for just 15 minutes. This second rest lets them puff up just a bit before they go into the heat. Preheat your oven to 375°F while they rest. Right before they bake, brush the tops lightly with your egg wash. Bake them for 15 to 18 minutes, watching closely until they’re that perfect shade of golden brown. And the grand finale? While they are screaming hot, brush on that last 2 tablespoons of reserved melted butter!
Pro Tips for Perfect Soft Dinner Rolls Every Time
You’ve followed the steps, the aroma is incredible, and you deserve the best results! Baking homemade yeast bread can feel intimidating, but once you master a few little tricks, these dinner rolls will come out looking exactly like the ones you see online. I’ve learned a few things over the years that help move things along smoothly, especially when speed is the goal.
If you want to see an example of rolls that truly nail that light, airy look, check out what Easy Homemade Dinner Rolls look like—they really nail that fluff factor!
Troubleshooting Common Issues with Dinner Rolls
Okay, let’s talk about the ‘what ifs.’ If your dough isn’t rising after that first 30 minutes, don’t panic! First, check the water temperature you used for the yeast. If it was cool, the yeast might just be sleepy, not dead. Try moving the bowl to a warmer spot—I sometimes stick mine in the oven with just the light on if my kitchen is chilly. That gentle warmth does the trick.
Now, sticking? That’s not common with this recipe because we use melted butter and an egg wash, but if any of your rolls decide to glue themselves to the pan, it usually means the pan wasn’t greased quite enough. You need a solid layer of butter or cooking spray across the bottom and sides of that 9×13 dish. For future batches, you might want to look into making up a batch of my homemade cake goop, used for non-stick insurance, though that’s more for cake, the principle holds true for ensuring your beautiful soft dinner rolls release flawlessly!
Flavor Variations: Beyond Classic Dinner Rolls
While these rolls are perfect just slathered with butter, sometimes you want to kick the flavor up a notch! This dough is robust enough to handle a little extra oomph. It’s so flexible!
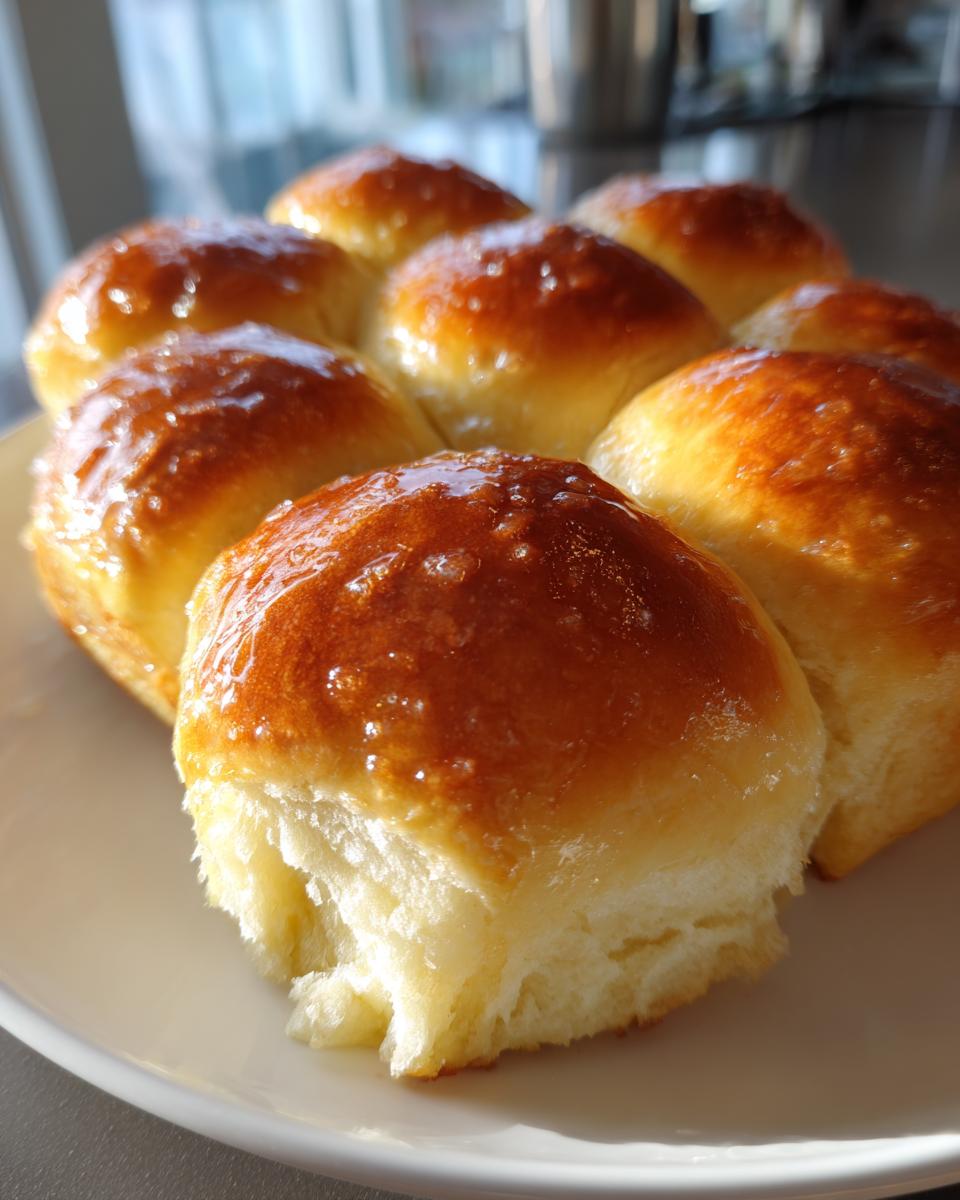
One of my favorite things to do is take that extra 2 tablespoons of melted butter you brush on at the very end (Step 11) and mix in some flavoring. Try adding a teaspoon of garlic powder and a sprinkle of dried parsley. Boom! Instant garlic butter rolls that smell incredible coming out of the oven. Or, if you’re feeling sweet, a tiny dash of cinnamon and a teaspoon of honey mixed into that finishing butter turns them into lightly sweet dinner rolls. These little additions make this basic yeast roll recipe truly your own.
If you’re interested in diving deeper into yeast work later on—maybe when you have more time—here’s my guide on maintaining a sourdough starter, which is a whole different kind of bread adventure!
Storage and Reheating Instructions for Warm Rolls
Let’s be honest, the tragedy of homemade bread is when it doesn’t taste as good the next day. But don’t worry, these wonderfully soft homemade rolls hold up pretty well if you treat them right! My notes say they are best eaten the day you bake them—and I agree, nothing beats that fresh-from-the-oven warmth. But if you absolutely have leftovers, store them in an airtight container at room temperature for up to two days. Keep them covered well so they don’t dry out!
If you need to make something ahead of time, you can even bake them the day before a big dinner. You just need the revival step!
To get that melt-in-your-mouth softness back, just pop them in a low oven. Wrap the rolls loosely in foil—this traps the steam and keeps them from hardening on the edges. Set your oven to about 300°F. Give them about 8 to 10 minutes, or until they are heated all the way through and feel soft again. Don’t bother microwaving them; microwaves just make bread chewy and tough quickly. We want warm rolls, not hard ones!
If you’re looking for other easy things to make ahead for a feast, you should check out my recipe for easy homemade teriyaki sauce—it works great tossed with leftover chicken for a fast lunch the next day!
Serving Suggestions for Your Homemade Yeast Bread
Honestly, once these buttery yeast rolls are sitting on the table, they stop being just a side dish and become the main event! I’ve made these for everything from a casual Tuesday night pot roast to Thanksgiving dinner, and they disappear every single time.
Because they are so tender and slightly sweet, they pair beautifully with anything that has a rich sauce or a lot of flavor to soak up. Don’t let them sit lonely on the bread basket!
If you’re hosting a big dinner, these are the absolute star accompaniment to heavy, savory offerings. Serving them alongside my easy, hearty black bean chili is just divine—you use the roll to sop up every last drop of broth. Trust me on that one!
For holiday spreads—think turkey, ham, or a big roast—these rolls bridge the gap between the savory main course and tangy sides. They go great with turkey drippings, obviously, but they’re also fantastic with cranberry sauce.
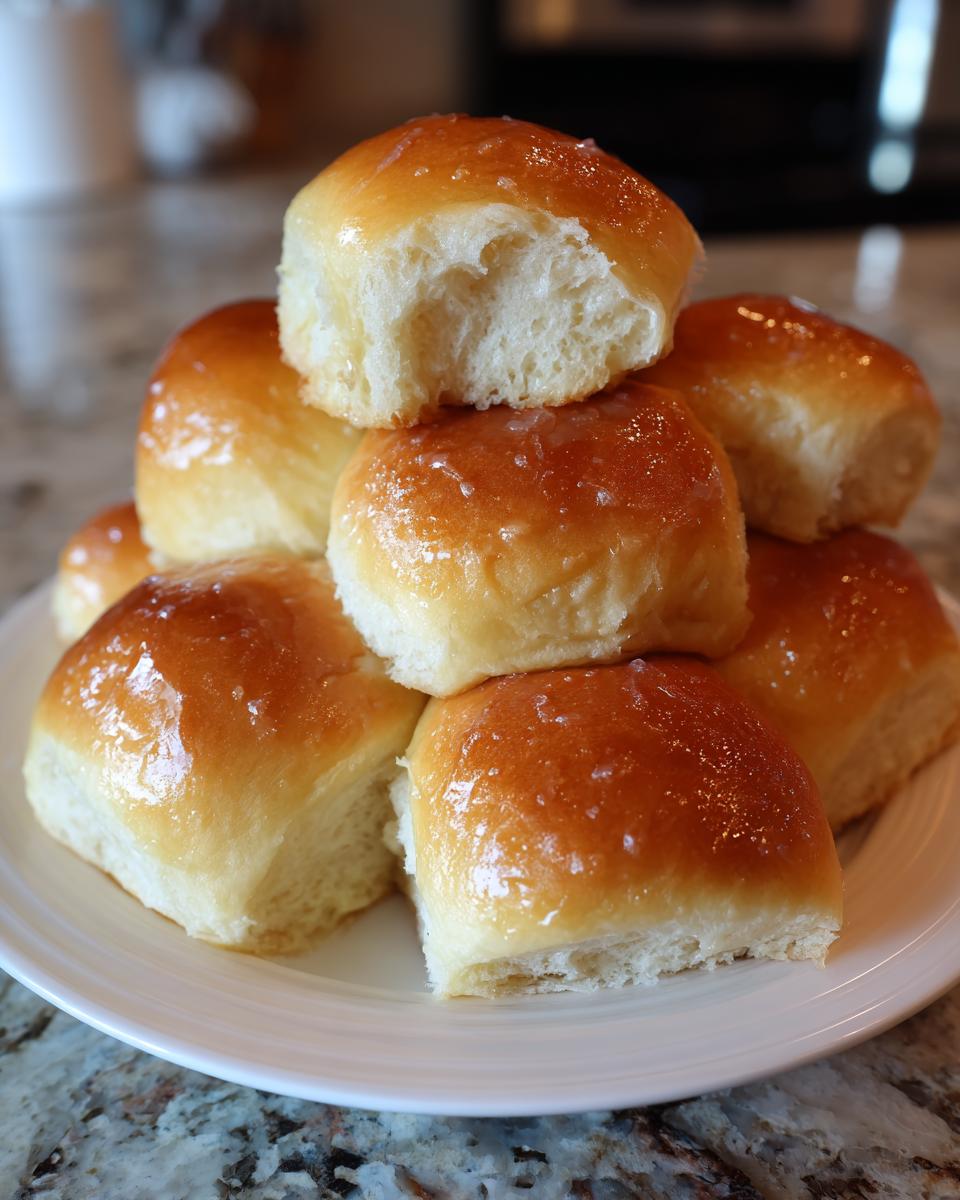
If you’re looking for other classic comfort side dishes to serve up alongside these star rolls, check out this great source for soft, buttery yeast rolls because pairing bread with bread builds character, right? Just kidding! But seriously, they are great with soups or stews too. Anytime you want a little extra something golden and warm on your plate, these are the answer.
Frequently Asked Questions About Making Dinner Rolls
I know when I’m trying out a new, quick recipe like this, I always have a million little questions floating around. Bread making, especially with yeast, can feel fussy, but these dinner rolls are pretty forgiving! Here are some of the things folks usually ask me when they’re trying to get that perfect pull-apart result.
How do I get these to be super fluffy and pillowy soft?
The secret handshake for fluffiness actually happens in a few spots! First, remember that kneading step? You have to get that dough smooth and elastic—that develops the gluten structure needed to trap the gas! Second, the final butter brush when they come out of the oven is key. That fat keeps the exterior soft instead of letting it dry into a hard crust. That’s what gives you that pillowy soft chew!
Can I make these ahead of time, or do they have to be baked right away?
While I truly believe these are best on the day they are baked, you definitely have options if you’re planning a big meal! You can complete Step 6 (shaping the dough balls) the night before. Place them in the greased pan, cover tightly, and put them right in the fridge overnight. This is a great trick because the cold slows the yeast way down. Then, when you wake up, let them sit out on the counter for maybe an hour to warm up slightly, and then proceed with the second rise (Step 8) and bake! It’s a fantastic way to have homemade yeast bread ready to go.
Are these rolls like Parker House rolls recipe style?
That’s a great question! They use similar dough foundations, but no, these definitely aren’t exact Parker House rolls recipe style. Parker House rolls have that signature, gentle fold that creates a little pocket when baked. These are simpler, classic round-shaped soft dinner rolls meant for maximizing that fluffy texture when they bake shoulder-to-shoulder in the pan. If you want that classic folded look, you’d need an extra shaping step where you flatten the rested dough ball slightly and fold it in half before pinching the edges shut—but that adds time!
My kitchen is cold. How can I speed up the rise time slightly?
If you live in a chilly climate like I experienced back in North Carolina sometimes, yeast struggles! If you notice your dough isn’t moving much after 15 minutes during the first rise, try this classic trick: grab a glass measuring cup and put about 1 cup of water in the microwave for about 60 seconds until it’s steaming hot. Don’t pour the water out! Put your covered bowl of dough right next to that hot cup in the microwave (or oven, with just the light on). The steam and warmth create a perfect little proofing box. It helps kickstart those little yeast guys so you can still get your quick homemade bread made!
If you’re looking for other surprisingly fast recipes that deliver big flavor, you should see how simple it is to make my easy homemade chicken nuggets—they’re also much better than store-bought!
Nutritional Estimates for These Buttery Dinner Rolls
Now, I have to put a little disclaimer here because this isn’t a lab, it’s my kitchen! Baking is science, sure, but home baking varies wildly based on humidity, how much flour you accidentally sneak onto the counter, and even the exact brand of butter you use. So, please know these figures are just estimates based on the ingredient amounts listed in the recipe above.
For those of you keeping track of macros or just curious about what’s in these delicious buttery yeast rolls, here’s a rough breakdown per roll (since this recipe makes 12 servings):
- Calories: Around 180
- Fat: About 6g (that butter is working hard to make them soft!)
- Carbohydrates: Roughly 28g
- Protein: About 4g
- Sugar: Around 4g
Remember, if you skip that final butter brush, you’re saving a little fat, but honestly, why would you do that when you’re making soft dinner rolls? These numbers include that glorious buttery finish! These are comfort food, folks, meant to be enjoyed alongside a great meal, not scrutinized too much. Eat one warm, and if you want to make them extra special, try whipping up some homemade honey butter to go with them!
Share Your Soft Dinner Rolls Success
Alright, you’ve done the kneading, you’ve watched them rise, and now you’ve got a pan full of the most glorious, soft dinner rolls I’ve ever seen come out of a home oven. That’s a win, friend! I genuinely hope the smell alone made your dinner table feel instantly cozier.
Now that you’ve developed your new kitchen dexterity, I really want to hear all about it! Did you brush on the garlic butter? Did they stay warm long enough for seconds?
This is what Food Dexterity is all about—real results in your real kitchen. Please, take a minute and leave a rating down below. Five stars if they were everything you hoped for! And if they weren’t perfect, tell me what happened! I love troubleshooting with you all.
If you snapped a picture of those golden beauties ready to be devoured, tag me on social media! Seeing your successes—the actual bread steaming on your family’s table—makes my day. It proves that making truly wonderful, buttery homemade rolls isn’t complicated, it just takes a little confidence. Keep that momentum going, and when you’re ready for another crowd-pleasing side, check out my recipe for ultimate creamy deviled eggs—another classic that’s way better homemade!
PrintThe Ultimate Soft and Buttery 1-Hour Dinner Rolls

You can make incredibly soft, fluffy, and buttery dinner rolls from scratch in about one hour. This easy yeast roll recipe uses basic ingredients to deliver warm, comforting homemade bread perfect for any meal.
- Prep Time: 15 min
- Cook Time: 18 min
- Total Time: 68 min
- Yield: 12 servings 1x
- Category: Side Dish
- Method: Baking
- Cuisine: American
- Diet: Vegetarian
Ingredients
- 1 cup warm water (105-115°F)
- 2 1/4 teaspoons active dry yeast
- 1/4 cup granulated sugar
- 1/4 cup unsalted butter, melted, plus 2 tablespoons for brushing
- 1 large egg, lightly beaten
- 3 1/4 cups all-purpose flour, plus more for dusting
- 1 teaspoon salt
- 1 large egg, beaten with 1 tablespoon water (for egg wash)
Instructions
- In a large bowl, combine the warm water and yeast. Let it sit for 5 minutes until foamy.
- Stir the sugar, 1/4 cup melted butter, and the beaten egg into the yeast mixture.
- In a separate bowl, whisk together the flour and salt. Gradually add the dry ingredients to the wet ingredients, mixing until a shaggy dough forms.
- Turn the dough out onto a lightly floured surface. Knead for 5 to 7 minutes until the dough is smooth and elastic.
- Place the dough in a lightly oiled bowl, turning to coat. Cover the bowl with plastic wrap or a clean towel and let it rise in a warm place for 30 minutes, or until doubled in size. This quick rise is key for 1-hour dinner rolls.
- Gently punch down the dough. Divide it into 12 equal pieces. Roll each piece into a smooth ball.
- Arrange the dough balls in a greased 9×13 inch baking pan, leaving a small space between them for expansion.
- Cover the pan loosely and let the rolls rest for a second rise for 15 minutes. They will puff up slightly.
- Preheat your oven to 375°F (190°C). Brush the tops of the rolls lightly with the egg wash.
- Bake for 15 to 18 minutes, or until the tops are golden brown.
- Immediately after removing the rolls from the oven, brush the tops generously with the remaining 2 tablespoons of melted butter.
- Serve these soft dinner rolls warm.
Notes
- For extra flavor, add 1 teaspoon of garlic powder to the melted butter you brush on top after baking for garlic butter rolls.
- If your kitchen is cold, place the dough in the oven with just the light on to create a warm proofing spot.
- These rolls are best eaten the day they are made, but you can store leftovers in an airtight container at room temperature for up to two days.
Nutrition
- Serving Size: 1 roll
- Calories: 180
- Sugar: 4g
- Sodium: 250mg
- Fat: 6g
- Saturated Fat: 3.5g
- Unsaturated Fat: 2.5g
- Trans Fat: 0g
- Carbohydrates: 28g
- Fiber: 1g
- Protein: 4g
- Cholesterol: 25mg