

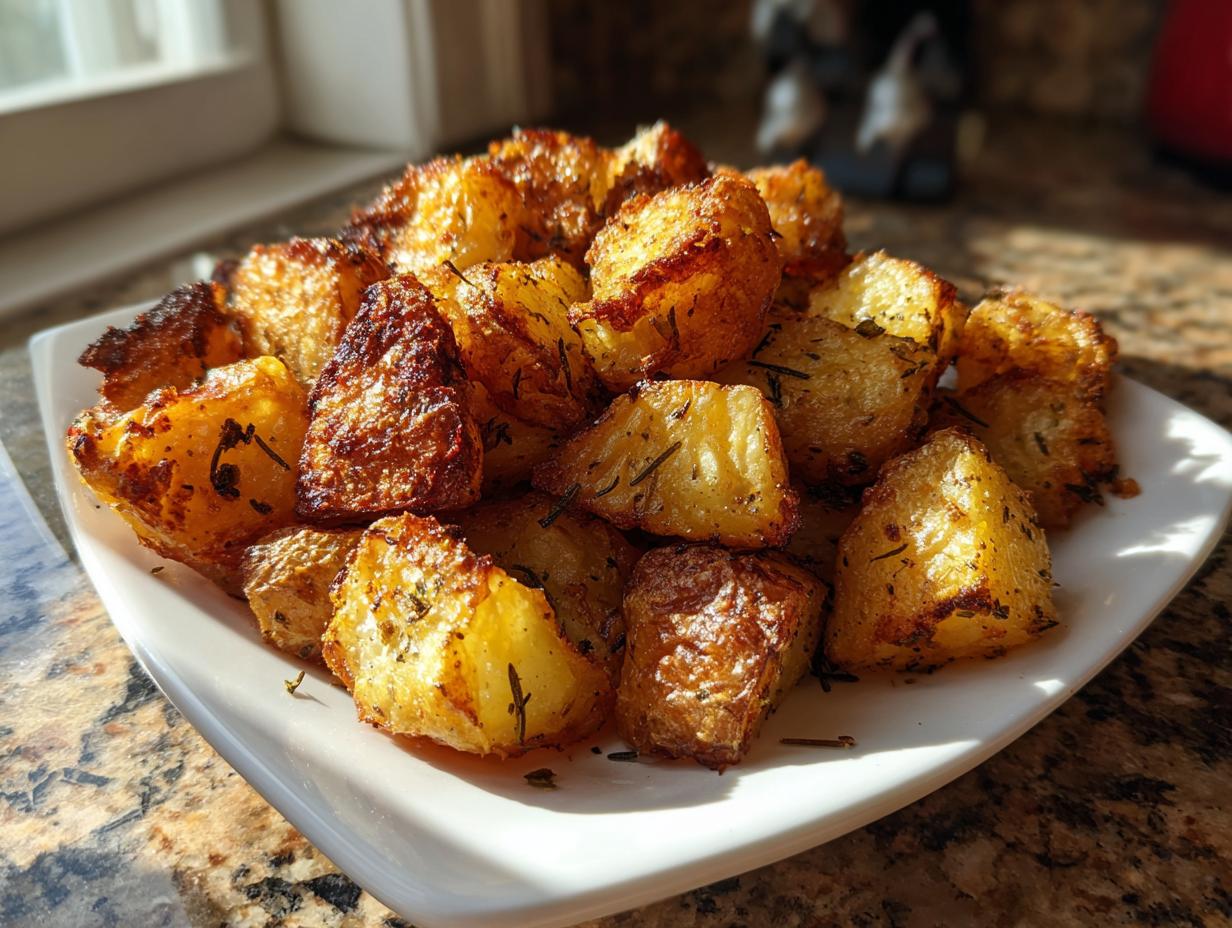
Oh, honey, if you’ve ever been promised crispy roasted potatoes only to pull out a pan of depressing, soggy lumps, then you know the pain. I’ve been there! It feels like such a letdown when you put in the effort for a side dish only to have it fall flat. Here at Food Dexterity, we don’t do flat. We do fluffy centers and shatteringly crisp exteriors, every single time.
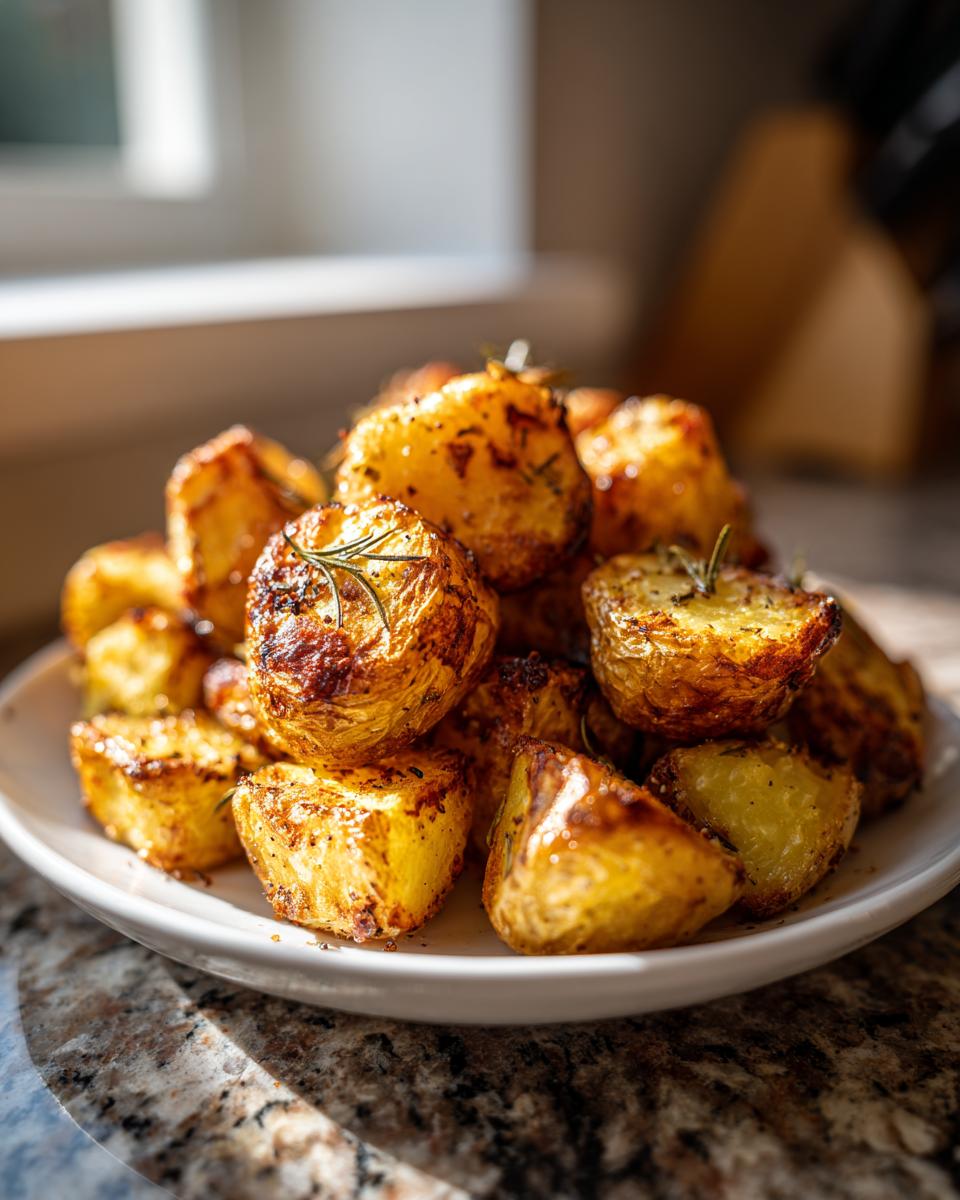
I developed this technique because I needed a reliable way to get those perfect golden chunks without spending all afternoon babying them. This foolproof method is designed to give you the confidence to nail your oven roasted potatoes, no matter how busy your week gets. Trust me, once you see the crunch these babies develop, you’ll never look back!
- Why This Method Guarantees Crispy Roasted Potatoes Every Time
- Ingredients for Ultimate Crispy Roasted Potatoes
- Step-by-Step Instructions for Perfect Roasted Potatoes
- Expert Tips for Next-Level Roasted Potatoes
- Serving Suggestions for Your Easy Potato Side Dish
- Storage and Reheating Instructions for Roasted Potatoes
- Frequently Asked Questions About Oven Roasted Potatoes
- Nutritional Estimates for Simple Roasted Potatoes
- Share Your Perfect Roasted Potatoes Experience
Why This Method Guarantees Crispy Roasted Potatoes Every Time
We aren’t just throwing potatoes in a pan and hoping for the best around here! If you ever want to master the best roasted potatoes technique, you need to know the science. It’s all about prepping the potato surface correctly to maximize crunch while protecting the inside. That’s how you learn how to make roast potatoes crispy for real. Stick with me; this is where your potato game changes forever. This approach, which some seriously experienced cooks swear by, is detailed in spots like other master guides too!
The Crucial Role of Par-Boiling and Roughing Up Edges
See, boiling the potatoes first might feel like an extra step, but it’s non-negotiable! It softens the interior just enough so it gets fluffy during the roast. When you drain them and give that colander a good shake, those slightly tender edges break down and create a beautiful starchy slurry. If you want outrageous crunch, you can even add a little baking soda to that boiling water—it truly helps create that crust!
Achieving Golden Brown Potatoes with the Right Fat
We use a dual-fat approach here for the best results. Olive oil is great for reaching high heat and promoting that gorgeous golden brown potatoes color we are after, but we mix in a little butter for flavor. Crucially, you must spread them in a single layer on your baking sheet. If they are sitting on top of each other, they steam! And steamed potatoes are soggy potatoes. Use two sheets if you need to; keep that surface area free!
Ingredients for Ultimate Crispy Roasted Potatoes
When you’re aiming for the ultimate crunch, you can’t just eyeball things! This recipe uses simple stuff you likely already have, but the measurements are what lock in that perfect texture. I’ve listed everything out below so you can check your pantry now. Remember, we want that fluffy inside and crispy outside!
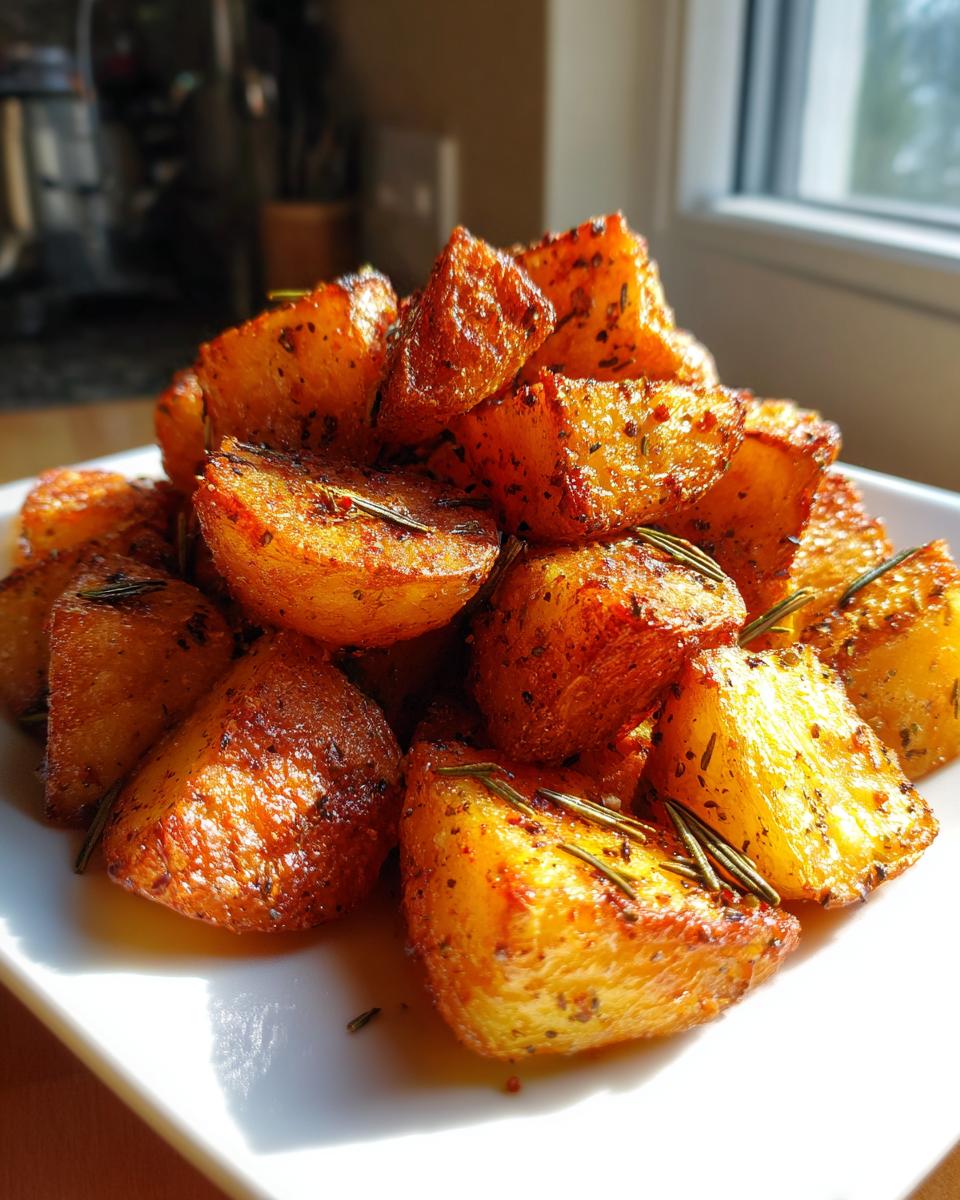
For the potatoes themselves, you need about three pounds. I always suggest Yukon Gold or Russets because their starchiness really helps that exterior crisp up nicely when we boil them first. They need to be cut consistently, aiming for rough 1.5-inch chunks so they cook evenly.
For the flavor coating, we go classic: a mix of olive oil—for that beautiful browning—and a splash of melted butter for richness. Then we hit it hard with the seasoning. Make sure you are slightly crushing your dried rosemary; releasing those oils makes a huge difference in the final aroma of your seasoned roasted potatoes. Salt, pepper, and garlic powder round out the flavor profile perfectly!
Step-by-Step Instructions for Perfect Roasted Potatoes
Alright, let’s get these Yukon Golds into the oven! These steps form the crucial roadmap for getting you those phenomenal, deep-golden simple roasted potatoes. Don’t rush the pre-heat—we need that oven HOT to 425°F (220°C) before anything goes near it. Then, we introduce water. Bring a big pot of salted water to a proper rolling boil. We aren’t making salad here, so make it taste good!
Prep Work: Boiling and Texturizing the Potatoes
Drop your cut potatoes into that boiling water and set your timer for 8 to 10 minutes. You want the edges just starting to give when you prod them—if they fall apart, oops, you’ve gone too far! Drain them completely in a big colander and this next part is magic: let them sit for five minutes untouched to steam off all that extra moisture. Then, seriously, put the lid on and shake them violently! I mean it! When I first tried that little shake, I thought I was going to break the whole colander, but wow, did it ever create those shaggy edges that turn into heavenly crunch! That’s the secret weapon for fluffy inside crispy outside potatoes.
Seasoning and Roasting the Garlic Herb Roasted Potatoes
Next up, we toss those roughed-up guys with our oil and melted butter mix until they are totally slicked. Then bring on the flavor! Sprinkle on your salt, pepper, garlic powder, and rosemary, and mix it gently so every little nook and cranny is coated in that goodness. This is what makes them fantastic garlic herb roasted potatoes. Now, here is the biggest rookie mistake you can make: overcrowding the pan. Spread these seasoned beauties out onto your baking sheet in a single, uninterrupted layer. If they touch too much, they steam! If you have to use two pans, use two pans! They roast for 30 to 40 minutes, and you’ll want to give them a flip halfway through so they get golden everywhere before pulling them out!
Expert Tips for Next-Level Roasted Potatoes
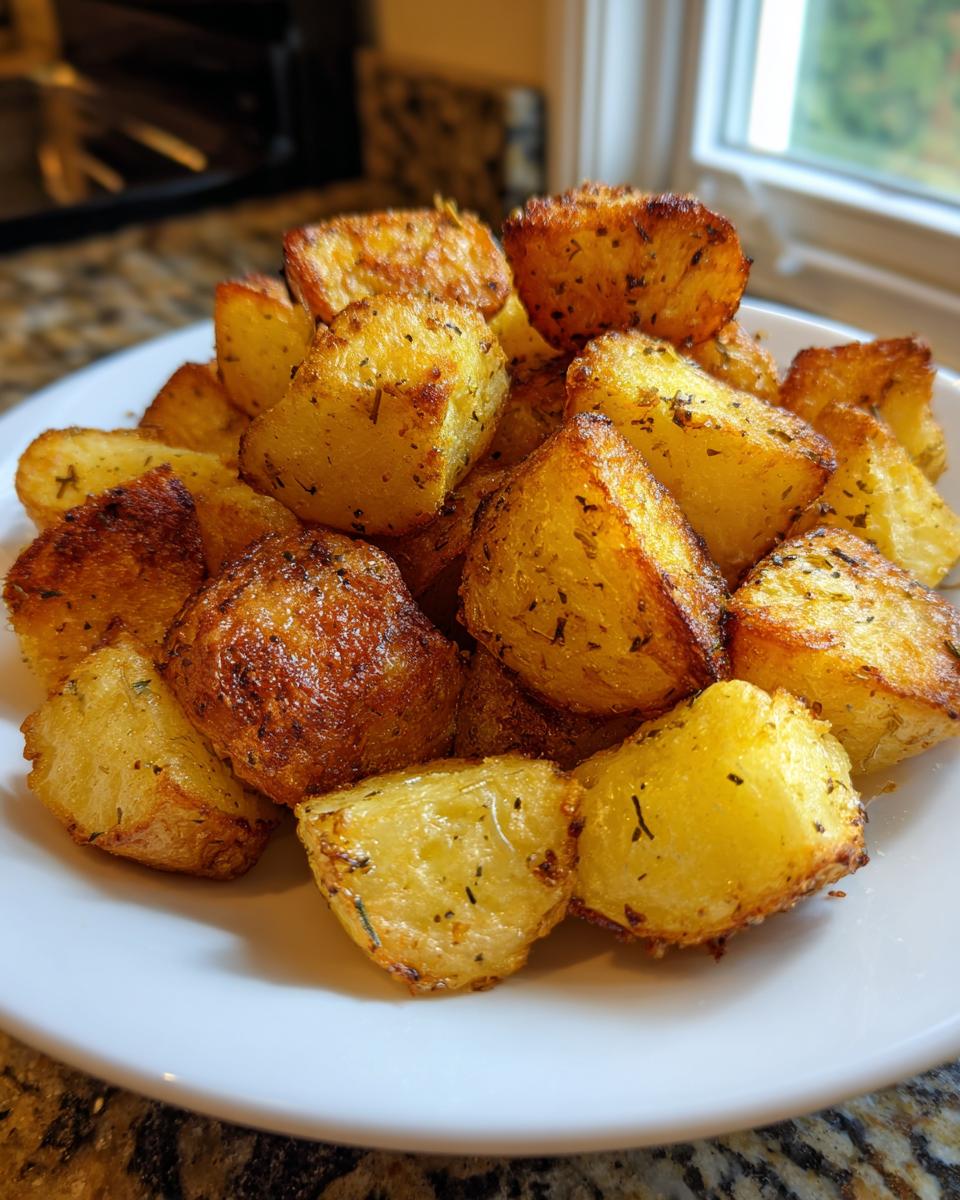
You’ve got the main instructions down, but if you want to go from ‘really good’ to ‘can I have the recipe for these seasoned roasted potatoes?’ then you need these little insider tricks. These are the things I learned from testing batches until my kitchen smelled like a French fry factory! Using the cooking liquid just right, or choosing powerful fats, are major game-changers for texture.
Boosting Crispiness with Baking Soda
This one is fun! If you want truly aggressive crunch, add about a teaspoon of baking soda right into that boiling water when you’re softening your chunks. It might sound weird, but baking soda raises the pH level of the water. What that does is help those starches on the potato surface break down quicker, creating a much more powerful, rough exterior layer just waiting to crisp up in the oven heat. It’s little tricks like this that make all the difference.
Fat Substitutions for Richer Roasted Potatoes
While our recipe calls for a great combo of oil and butter to get those lovely buttery roasted potatoes look, don’t be afraid to experiment with richer fats if you have them! If you happen to have duck fat or beef tallow on hand, swapping those for some of the olive oil will give your potatoes an unbelievable depth of flavor and an even better crust. It’s a splurge, sure, but for a holiday dinner? Absolutely worth it for that savory boost.
Serving Suggestions for Your Easy Potato Side Dish
Honestly, you can serve these easy potato side dish potatoes with pretty much anything, but they shine next to robust flavors. They aren’t just for holidays, folks! Since they take under an hour, they are perfect for transforming a basic Tuesday night into something special. The rosemary really sings when paired with roasted chicken or pork chops. If you are making a good steak, forget the sad baked potato—you need these golden beauties right there next to it.
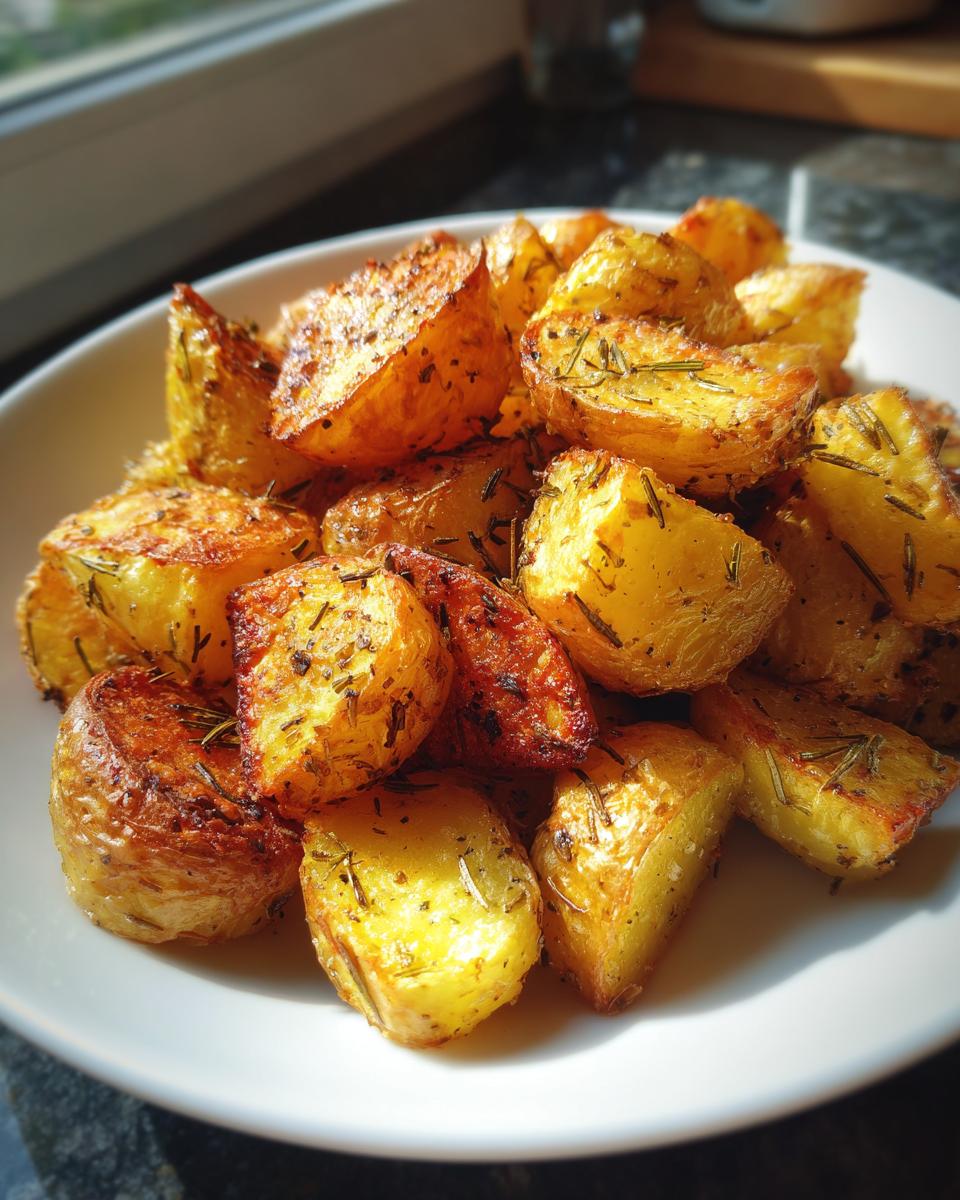
If you’re looking for a full meal setup, try serving them alongside our quick lemon herb salmon. The bright acidity cuts through the richness of the fat we used for roasting. These rosemary potatoes recipe components are designed to support whatever big flavor you’ve got planned!
Storage and Reheating Instructions for Roasted Potatoes
Okay, sometimes we have leftovers, and that’s fine! But the biggest tragedy is reheating those perfect crispy roasted potatoes only to find they’ve gone soft. If you must store them, let them cool completely first, then keep them in a loosely covered container—not airtight—in the fridge for maybe two days. The key to getting that crunch back?
Forget the microwave, please! That just steams them again. You need 425°F heat! Spread the cold potatoes back onto a clean baking sheet and pop them back into a hot oven for about 8 to 10 minutes. That blast of dry heat will cook off any residual moisture and bring back that glorious, golden exterior right away.
Frequently Asked Questions About Oven Roasted Potatoes
I know you might have a few lingering questions before you roast your first batch, especially if you’re trying to tweak things for your family. That’s totally fine! Developing your own food dexterity means knowing how to adapt things safely. Here are a few things I get asked all the time about getting those perfect oven roasted potatoes.
Can I use baby potatoes instead of cutting chunks for roasted potatoes?
You absolutely can use baby potatoes! When you do that, you can actually skip that whole boiling process we talked about. Since they are smaller, they cook faster all the way through in the oven. Just make sure you toss them well in the fat, and plan on adding an extra 10 minutes or so to your total roasting time!
What is the best type of potato for crispy roasted potatoes?
If you want that super crispy exterior and that fluffy, light center for your crispy roasted potatoes, you need high-starch potatoes. I always lean toward Russets or Yukon Golds. Their starch content breaks down perfectly when boiled and roughed up, giving you that unbeatable contrast. Avoid waxy potatoes if crispiness is your absolute goal!
How do I make these into parmesan roasted potatoes?
Oh, that’s a delicious thought! Adding Parmesan is super easy. Wait until the potatoes are almost done roasting—maybe the last 8 to 10 minutes—and then pull the tray out. Sprinkle your grated Parmesan evenly over them, toss them gently right there on the hot pan, and put them back in until the cheese melts and gets golden. Don’t add it too early, or the cheese might just burn!
Nutritional Estimates for Simple Roasted Potatoes
Now, I know we aren’t precisely measuring macros when we are pulling these golden treasures out of the oven, because the joy of comfort food is sometimes just trusting the process! But for those of you who like to keep track, these estimates are based on the recipe provided above, serving 6 generous portions.
Keep in mind that exact numbers can change drastically depending on the exact type of potato you use or if you decide to substitute that olive oil for, say, duck fat (which would boost the fat content, admittedly!).
- Serving Size: 1 serving
- Calories: 280
- Fat: 15g
- Saturated Fat: 3g
- Carbohydrates: 33g
- Fiber: 4g
- Protein: 4g
- Sodium: 350mg
- Sugar: 1g
Think of these numbers as a good baseline for your delicious, simple roasted potatoes. They are hearty, satisfying, and honestly, they are worth every single calorie when they come out that crispy!
Share Your Perfect Roasted Potatoes Experience
Look, I know you just nailed those crispy roasted potatoes, and I am genuinely thrilled for you! Getting that perfect crunch takes a little finesse, but now you’ve got the trick down, you’re officially a pro at making that show-stopping easy potato side dish.
I always want to see what you’re cooking up! Please stop by the comments section below and let me know how they turned out. Did you get that shatteringly crisp exterior? Did your family devour them before you could sneak an extra piece?
More importantly, tell me what you paired them with! Were these golden brown potatoes served alongside a slow-cooked roast, or were they the star of a super quick weeknight meal? Sharing your success helps other cooks in our Food Dexterity community feel confident trying new things. You’ve officially leveled up your side dish game—now go show it off!
PrintThe Ultimate Crispy Roasted Potatoes: Foolproof Method for Fluffy Centers
Learn the simple technique to make oven roasted potatoes that are golden brown and crispy outside while remaining tender inside. This easy potato side dish uses classic garlic and rosemary seasoning.
- Prep Time: 15 min
- Cook Time: 40 min
- Total Time: 55 min
- Yield: 6 servings 1x
- Category: Side Dish
- Method: Oven Roasting
- Cuisine: American
- Diet: Vegetarian
Ingredients
- 3 pounds Yukon Gold or Russet potatoes, peeled and cut into 1.5-inch chunks
- 1/4 cup olive oil
- 1 tablespoon unsalted butter, melted
- 1 teaspoon kosher salt
- 1/2 teaspoon black pepper
- 1 teaspoon garlic powder
- 1 teaspoon dried rosemary, crushed slightly
Instructions
- Preheat your oven to 425°F (220°C). Bring a large pot of salted water to a boil.
- Add the potato chunks to the boiling water. Cook for 8 to 10 minutes until the edges begin to soften slightly. Do not overcook.
- Drain the potatoes completely in a colander. Let them sit for 5 minutes to allow excess steam to escape.
- Gently shake the colander to rough up the edges of the potatoes. This step creates more surface area for crisping.
- In a large bowl, combine the olive oil and melted butter. Add the drained potatoes and toss gently to coat them evenly.
- In a small dish, mix the salt, pepper, garlic powder, and dried rosemary. Sprinkle this seasoning mix over the potatoes and toss again until everything is well combined.
- Spread the seasoned potatoes in a single layer on a large, rimmed baking sheet. Do not overcrowd the pan; use two sheets if necessary to ensure crispiness.
- Roast for 30 to 40 minutes, flipping the potatoes halfway through the cooking time. The potatoes are done when they are deep golden brown and crispy on the outside.
- Serve immediately as your easy potato side dish.
Notes
- For extra crunch, you can add 1 teaspoon of baking soda to the boiling water during the par-boiling step.
- If you prefer a richer flavor, substitute the olive oil with duck fat or beef tallow.
- If you use baby potatoes, you can skip the par-boiling step but increase the roasting time by 10 minutes.
Nutrition
- Serving Size: 1 serving
- Calories: 280
- Sugar: 1
- Sodium: 350
- Fat: 15
- Saturated Fat: 3
- Unsaturated Fat: 12
- Trans Fat: 0
- Carbohydrates: 33
- Fiber: 4
- Protein: 4
- Cholesterol: 5