
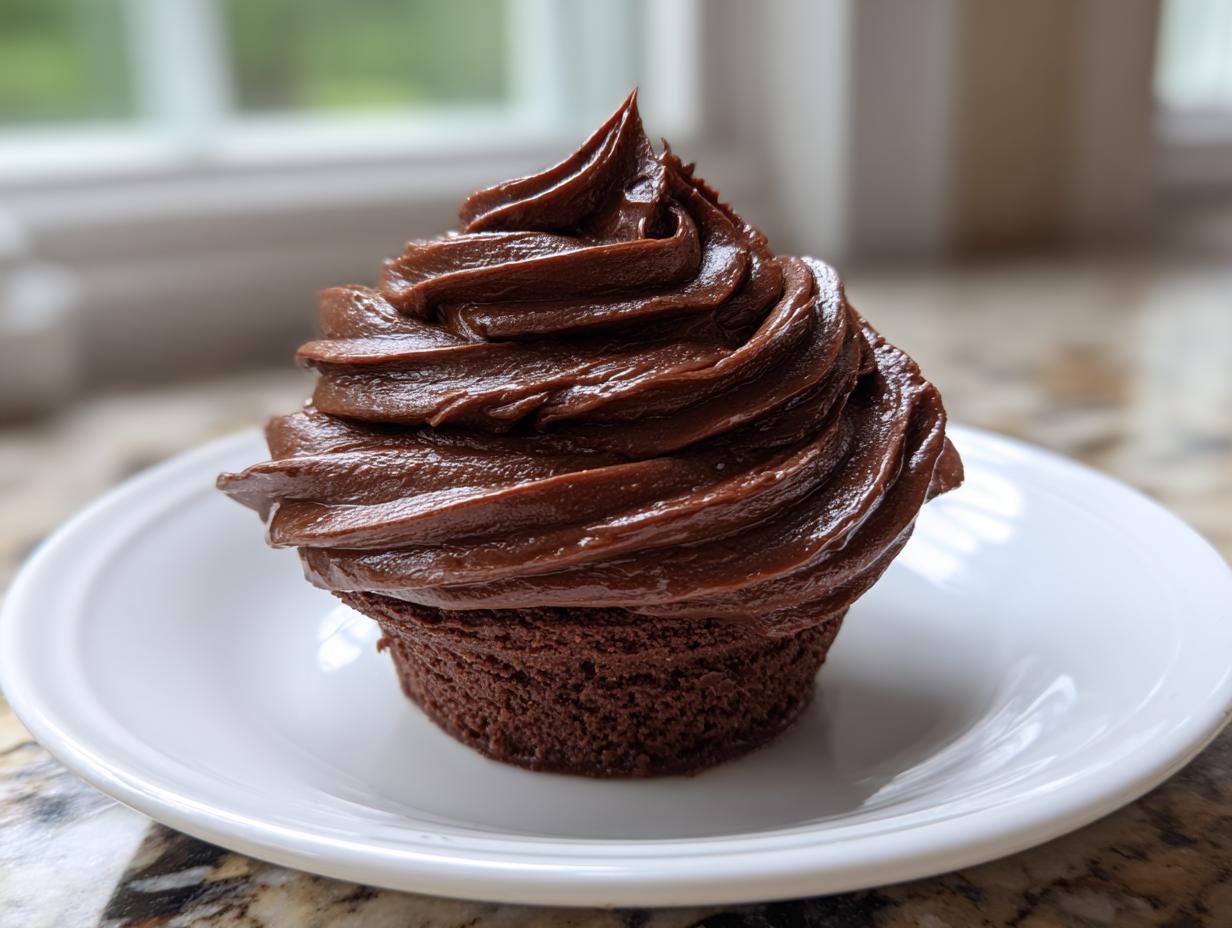
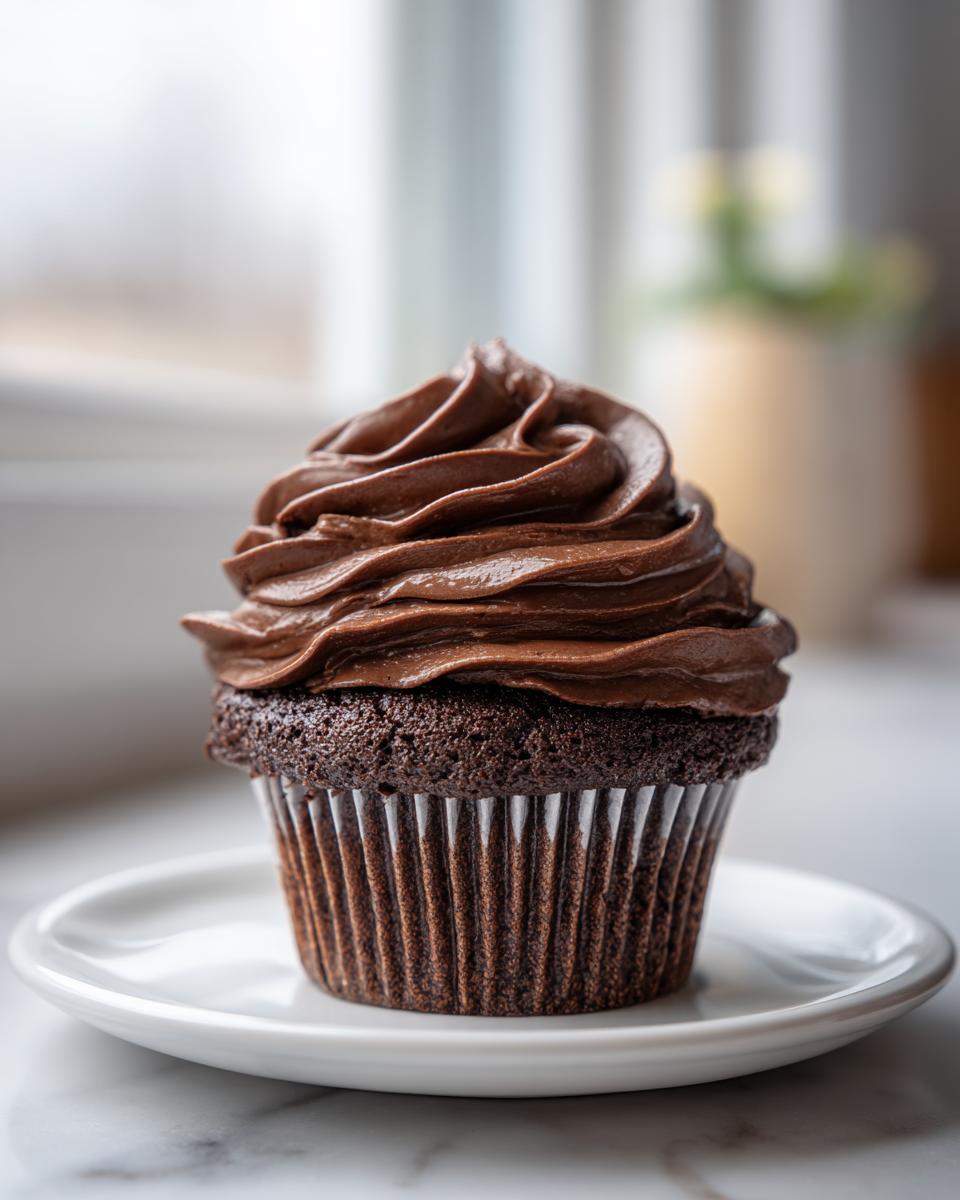
Let’s settle this right now: store-bought **chocolate frosting** simply cannot compete with what comes out of your own kitchen. I totally get it—life is hectic, and sometimes opening a tub feels like the only option. But trust me, creating something this rich and fluffy from scratch is totally part of the Food Dexterity philosophy. This is my go-to, **classic chocolate buttercream frosting** recipe, designed to give you that perfect, velvety coating without making you feel like you need a pastry degree. It’s pure, achievable comfort food, and it’ll make your cakes taste like they came straight from a bakery. You’re going to love how easy it is to master this one. For more on how we bring simplicity to the kitchen, check out our story here!
- Why This Classic Chocolate Frosting Recipe Is Foolproof
- Ingredients for the Best Chocolate Buttercream Frosting
- How to Prepare This Easy Homemade Chocolate Frosting
- Making Your Chocolate Frosting Look Glossy and Professional
- Storage and Making Ahead with Your Chocolate Frosting
- Serving Suggestions for This Indulgent Chocolate Dessert Topping
- Frequently Asked Questions About Chocolate Frosting
- Estimated Nutritional Data for Chocolate Frosting
- Share Your Homemade Chocolate Frosting Creations
Why This Classic Chocolate Frosting Recipe Is Foolproof
The secret to making this the **best chocolate buttercream frosting** isn’t some fancy technique; it’s actually about respecting the basics! If you follow two simple rules—making sure the butter is perfectly softened (not melted!) and sifting your dry ingredients—you’ve already won half the battle. This is designed to be a **no fuss chocolate frosting**, which is exactly what we aim for here at Food Dexterity. It’s reliable enough for a busy Tuesday but rich enough for any celebration. We want you to spend less time worrying about lumps and more time enjoying your amazing simple dessert recipes.
- It consistently produces a light, fluffy result.
- Uses easy-to-find pantry staples only.
- It’s quick! You’ll be done decorating in minutes.
Achieving Silky Smooth Chocolate Frosting Texture
Texture is everything when it comes to frosting, right? We’re aiming for that gorgeous, **silky smooth chocolate frosting** that spreads easily without tearing up your cake layers. The magic happens when you beat the mixture on high speed for at least three full minutes after everything is combined. That whipping action incorporates just the right amount of air, making it fluffy but still rich. Don’t rush this part! If it looks too thick, just add milk one teaspoon closer at a time until it feels perfect for your project.
Ingredients for the Best Chocolate Buttercream Frosting
Alright, let’s talk about what goes into this amazing dessert topping. Honestly, you probably have most of this right now! Since we aren’t using melted baking chocolate here, this recipe relies on good quality unsweetened cocoa powder to get that deep chocolate flavor, which is fantastic for control over the final texture. Remember, the quality of your sifted powdered sugar and cocoa powder makes such a difference in avoiding grittiness in your final **chocolate frosting using cocoa powder**. Keep everything measured precisely, and you’ll have the absolute **best chocolate buttercream frosting** ready in no time. It’s simple stuff, but the details matter!
Ingredient Notes and Substitutions for Perfect Chocolate Frosting
You need to treat your ingredients right! I cannot stress enough: make absolutely certain your one cup of butter is truly softened—leave it out for a good hour. If it’s too melty, your frosting will separate. Also, please sift both the powdered sugar and cocoa powder; nobody wants a lump of dry sugar in their fluffy creation! My favorite little trick when I have time? Swap out the milk for heavy cream if you have it. Just a splash of cream makes this **chocolate frosting** unbelievably rich and decadent. It really elevates the experience!
How to Prepare This Easy Homemade Chocolate Frosting
Getting this **easy homemade chocolate frosting** going is totally straightforward, but pay attention to the order, okay? Remember, we are building flavor and structure here, not just dumping things together! First thing, make sure that butter is soft and ready, then grab your electric mixer. Beat that butter until it actually looks creamy, about two full minutes. That’s your foundation!
Now for the gradual additions. You want to add the sifted sugar and cocoa powder in stages, alternating with that milk or cream. Start low so you don’t make a chocolate cloud in your kitchen! Mix until it’s *just* combined before you crank up the speed. Once everything is cooperating, mix on medium-high for a good solid three to five minutes. This is non-negotiable if you want that fluffy texture we talked about. Don’t forget the vanilla and the pinch of salt right before you really beat it smooth! If you follow those steps, you’ll have a gorgeous topping ready for your next easy weeknight dinners dessert.
Tips for Pipeable Chocolate Frosting Consistency
If you need this **chocolate frosting** to hold sharp edges for decorating, you need it slightly stiffer than if you were just slopping it onto a brownie. You’ll use less milk—maybe just three tablespoons total—to keep the consistency dense. If you’ve already mixed it and it feels too loose for piping, don’t panic! Just pop the whole bowl into the fridge for about ten minutes. A quick chill firms it right up, and then you just beat it again for 30 seconds to restore the fluff. That keeps it perfectly **pipeable chocolate frosting**!
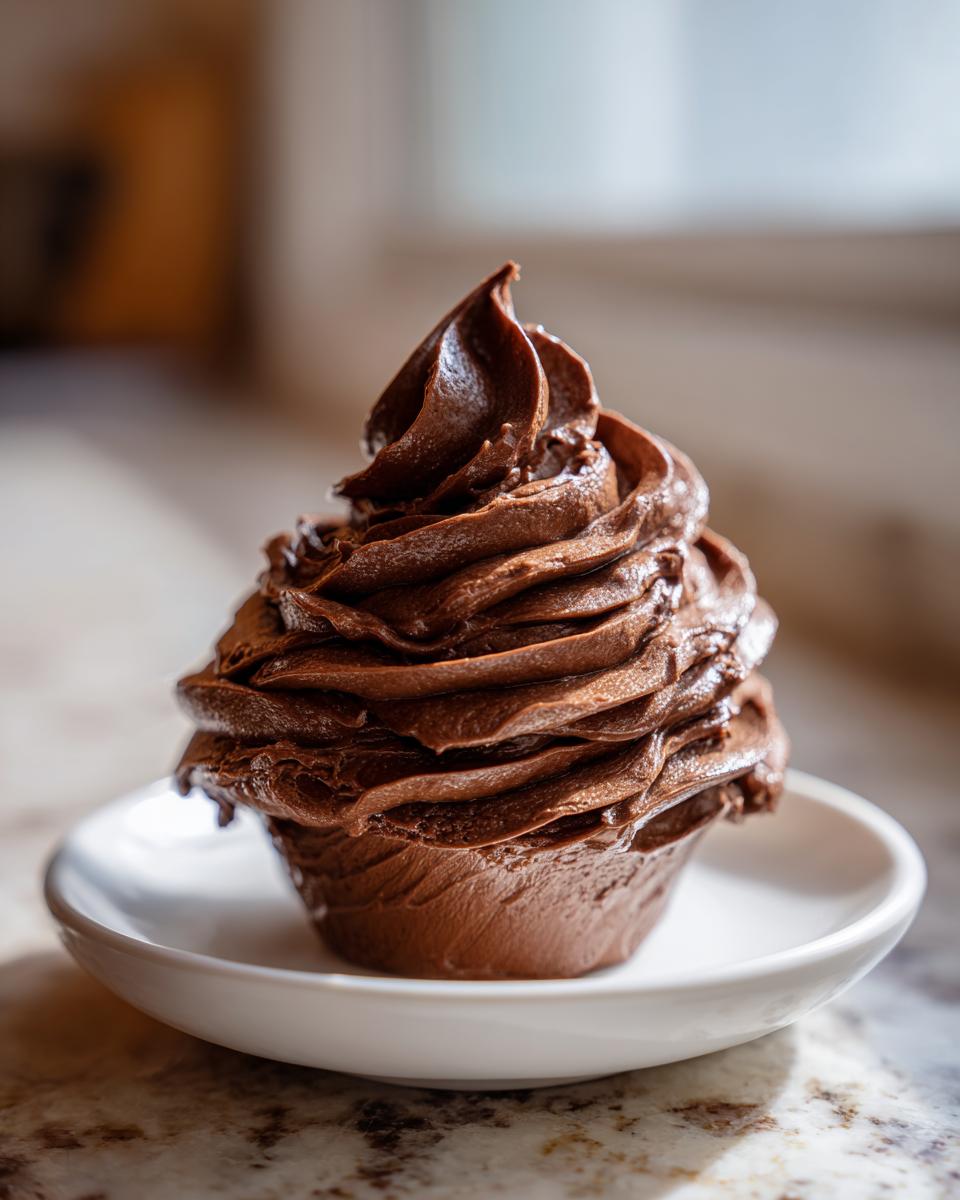
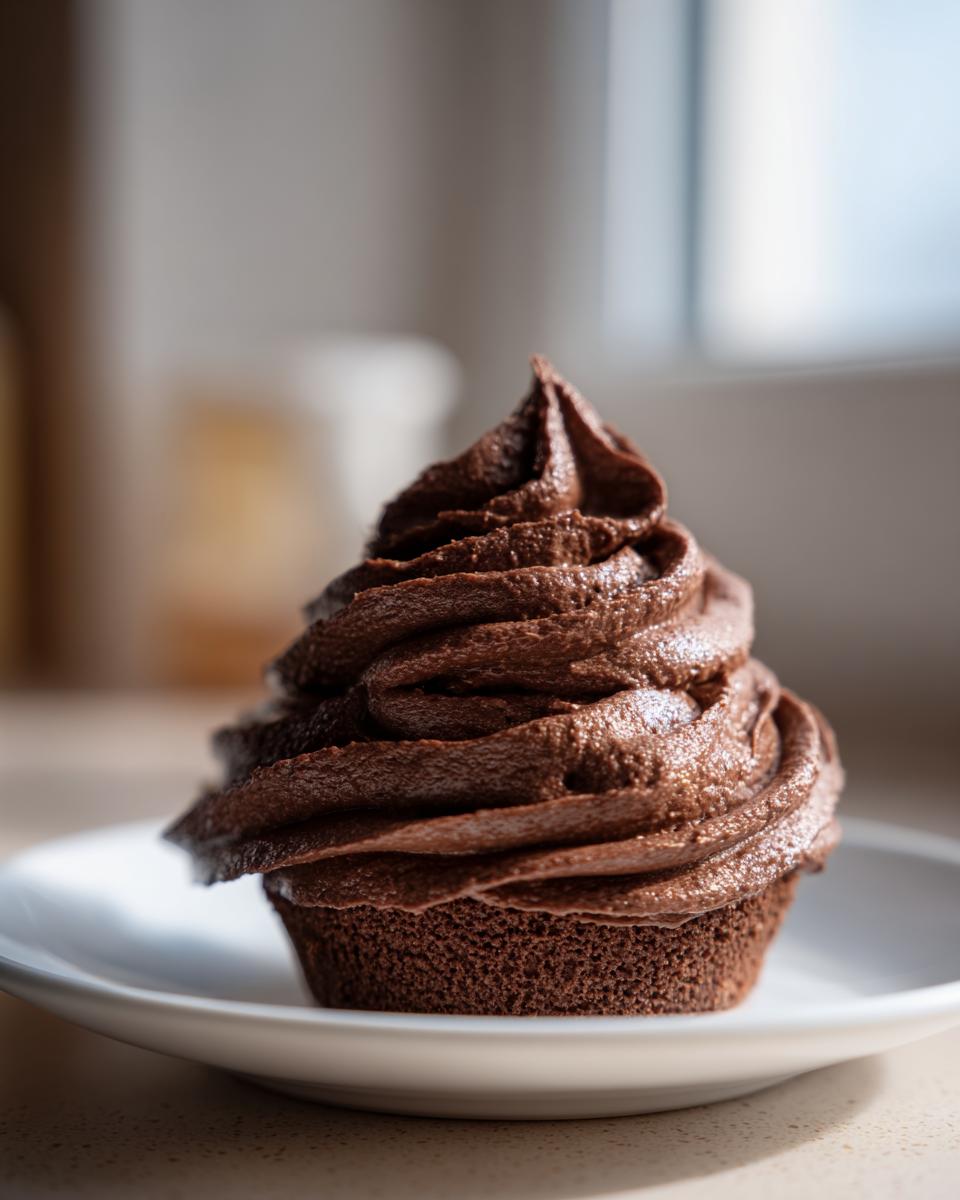
Making Your Chocolate Frosting Look Glossy and Professional
We’ve spent all this time making the *best* chocolate frosting, so let’s make sure it looks as good as it tastes! Achieving that smooth, **glossy chocolate cake topping** look is all about the final stage of beating and keeping things cool. If your frosting starts to look a little dull or grainy while you’re spreading it, it usually means the butter is getting too warm, or you didn’t beat out enough air initially. Remember that long, high-speed beat discussed earlier? Keeping that going until the frosting is truly light and fluffy is what gives it that sheen, not only fluffiness!
For the absolute prettiest finish, try spreading it on a chilled cake. A cold surface helps the fats in the frosting set up quickly, locking in that smooth appearance. If you end up with a slightly duller look, a quick, gentle swipe with a warm offset spatula can sometimes wake up the gloss again. For more inspiration on making your desserts shine, check out some other great frosting tips, or look at our favorite simple dessert recipes for decorating ideas!
Storage and Making Ahead with Your Chocolate Frosting
One of the best parts about this **chocolate frosting** is that you can totally make it ahead of time! Just put your finished batch into an airtight container. If you plan to use it within a couple of days, keeping it on the counter is usually fine since it’s mostly fat and sugar. But for anything longer, the fridge is your friend.
If it chills down, it’s going to get really hard—this is normal! Don’t try to spread brick-hard frosting, please! Just set it out on the counter for about an hour before you need it, or you can microwave it for about 5 seconds if you’re in a rush for a quick softening. Then, beat it again with your mixer for just 30 seconds to bring back all that lovely fluffiness. It’s good as new, I promise!
Serving Suggestions for This Indulgent Chocolate Dessert Topping
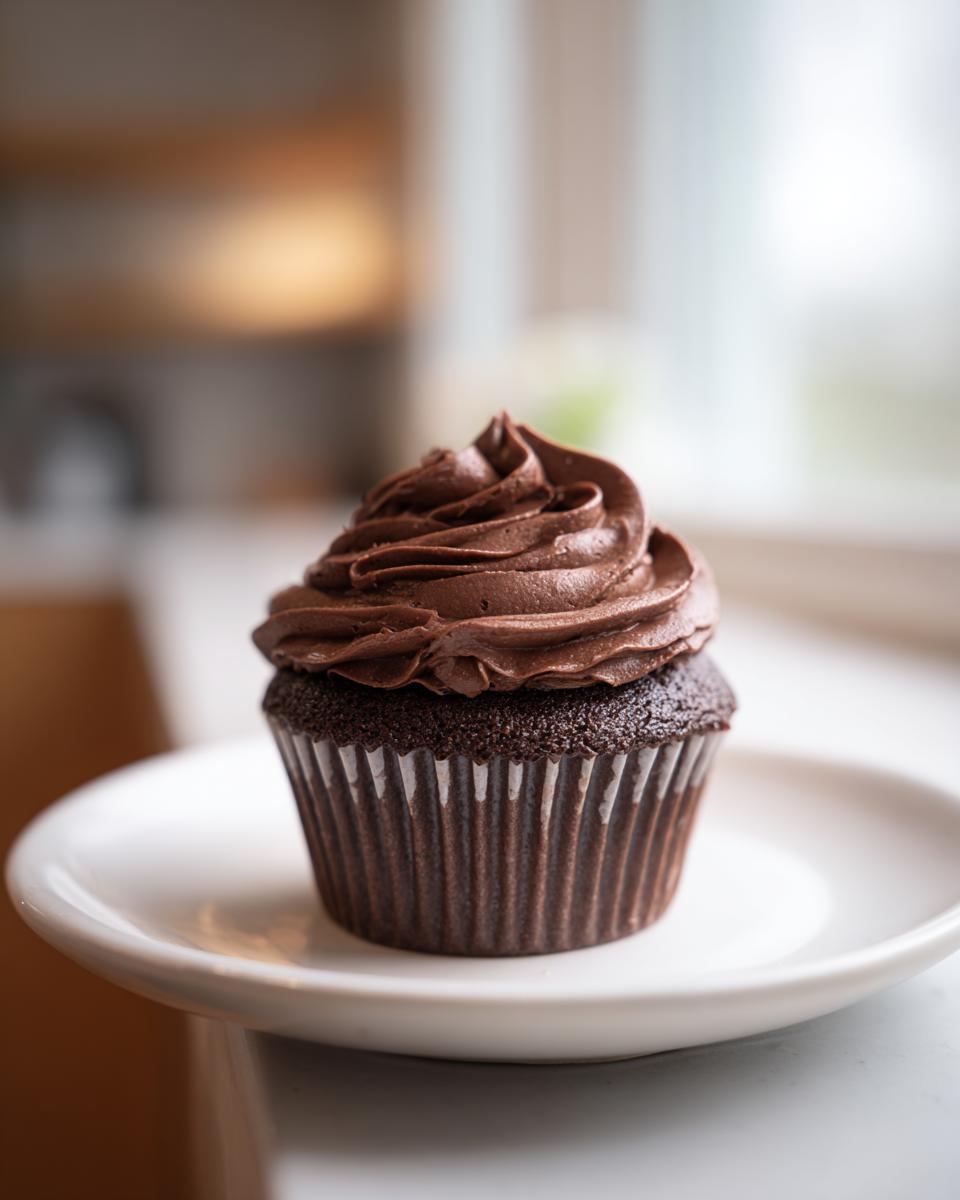
So you have this incredible, rich batch of **chocolate frosting**. Now what? This is truly an **indulgent chocolate dessert topping** that goes way beyond just a basic cake layer. Of course, it’s fantastic on cupcakes—it pipes like a dream, remember? But my real favorite, the one I always use when I make those gooey Cosmic Brownie Copycat, is slathering this on a thick, fudgy brownie base. Honestly, I think it’s the **best frosting for brownies** because it adds the lightness that cuts through deep chocolate intensity. You can also use it as a thick filling between crispy wafer cookies for an easy icebox cake!
Frequently Asked Questions About Chocolate Frosting
I know you might have a few burning questions about getting this perfect batch going. It’s always good to double-check things before you start mixing, so here are the things folks ask me most often about this recipe!
Can I make this chocolate frosting using melted chocolate instead of cocoa powder?
You absolutely can, but just know you’re changing the game a little! Using melted baking chocolate—especially dark chocolate—will give you a much richer, denser, and decidedly fudgier **chocolate frosting**. This recipe is designed for fluffy buttercream using cocoa, so if you switch to melted chocolate, you might need an extra spoonful or two of milk to keep it spreadable. It’s delicious, but it won’t be quite the same light texture.
How long does it take to make this quick chocolate frosting 10 minutes recipe?
This recipe really is a **quick chocolate frosting 10 minutes** job, I promise! That 10-minute total prep time assumes you’ve done the crucial prep work first, though. That means your butter has to be fully softened, and your powdered sugar and cocoa powder need to be pre-sifted into separate bowls. If you start with everything ready to go, you can definitely have this **easy homemade chocolate frosting** whipped up and ready to move onto your cake in under ten minutes flat.
Estimated Nutritional Data for Chocolate Frosting
Look, I’m not a dietitian pretending to have lab equipment, so take these numbers with a big grain of salt! This is just an estimate based on the standard measurements for our **chocolate frosting** recipe. When you’re making something this purely delicious, nutritional facts are definitely secondary, right?
Here is the ballpark breakdown per serving (about 1/4 cup of frosting):
- Calories: 320
- Fat: 18g (including 11g saturated fat)
- Carbohydrates: 41g
- Sugar: 42g (Yep, it’s frosting!)
- Protein: 2g
- Cholesterol: 45mg
Just remember, these figures rely on using standard unsalted butter and whole milk. If you switch to cream for a richer texture, the fat content will go up! But that’s the price of truly indulgent **homemade chocolate frosting**, and I think it’s well worth it for a special occasion topping!
Share Your Homemade Chocolate Frosting Creations
Well, that’s it! You’ve officially mastered what I think is the most satisfying, velvety, and utterly delicious **classic chocolate frosting** out there. Seriously, throw that jarred stuff away! I hope you had as much fun making this as I do every single time, whether it’s for a huge layer cake or just sneaking a spoonful while cleaning the bowl.
Now, I really want to see what you’ve cooked up! Did you stick with the fluffy buttercream version, or did you sneak in that heavy cream for extra richness? Head over to the comments below and give this recipe at least five stars if you loved it! Tell me what dessert you used your amazing homemade topping on. If you have pictures, I’d love for you to tag us or get in touch via my contact page—I absolutely adore seeing your beautiful baking projects come together. Happy spreading!
PrintClassic Chocolate Buttercream Frosting: Fluffy and Rich

Make a classic, fluffy chocolate buttercream frosting that is rich in flavor and perfect for coating layer cakes or topping cupcakes. This recipe uses simple pantry ingredients for a homemade result superior to store-bought options.
- Prep Time: 10 min
- Cook Time: 0 min
- Total Time: 10 min
- Yield: About 3 cups 1x
- Category: Dessert Topping
- Method: Mixing
- Cuisine: American
- Diet: Vegetarian
Ingredients
- 1 cup unsalted butter, softened
- 3 1/2 cups powdered sugar, sifted
- 1/2 cup unsweetened cocoa powder, sifted
- 1 teaspoon vanilla extract
- 3 to 5 tablespoons whole milk or heavy cream
- Pinch of salt
Instructions
- Place the softened butter in a large mixing bowl. Beat the butter with an electric mixer on medium speed until it is smooth and creamy, about 2 minutes.
- Gradually add the sifted powdered sugar and cocoa powder to the butter mixture, alternating with the milk or cream, starting and ending with the dry ingredients. Mix on low speed until just combined.
- Add the vanilla extract and salt. Increase the mixer speed to medium-high. Beat for 3 to 5 minutes until the frosting is light, fluffy, and smooth. Add more milk, one teaspoon at a time, if the frosting seems too stiff.
- If you want a denser, fudgier texture, reduce the mixing time to 2 minutes and use only 3 tablespoons of milk.
- Use the frosting immediately to cover your cooled cakes or cupcakes.
Notes
- For the best texture, ensure your butter is truly softened but not melted.
- Sifting the powdered sugar and cocoa powder prevents lumps in your final frosting.
- This recipe makes enough frosting to generously cover one 9-inch two-layer cake or about 18 standard cupcakes.
- If the frosting becomes too soft while working, chill it in the refrigerator for 10 minutes before beating it again briefly.
Nutrition
- Serving Size: 1/4 cup
- Calories: 320
- Sugar: 42g
- Sodium: 45mg
- Fat: 18g
- Saturated Fat: 11g
- Unsaturated Fat: 7g
- Trans Fat: 0.5g
- Carbohydrates: 41g
- Fiber: 1g
- Protein: 2g
- Cholesterol: 45mg