
You know those weeks where you just need something sweet, impressive for company, but the thought of turning on the oven makes you want to hide? Trust me, I live that life constantly navigating event planning; that’s where my Food Dexterity philosophy really kicks in! We’re skipping the hard work but keeping all the wow factor today. If you’ve been searching for the ultimate solution for fast, incredible no bake candy, you’ve found it: the magical stuff everyone calls Cool Whip Candy.
This recipe is pure genius because it proves you don’t need a complicated process to get phenomenal results. We’re aiming for those delightfully Easy Dessert Recipes that taste like you spent hours fussing, when really, you just needed a freezer and three simple items. That’s what this blog is all about—making your kitchen life easier without sacrificing any of that homemade deliciousness. You can check out more of my quick and simple ideas over at my simple dessert recipes section!
- Why This Easy Cool Whip Candy is Your New Favorite No Bake Candy
- Gathering Ingredients for Your 3-Ingredient Cool Whip Candy
- Step-by-Step Instructions for Making Cool Whip Candy
- Expert Tips for the Best 3 Musketeers Copycat Recipe Cool Whip Candy
- Variations on Classic Cool Whip Candy
- Serving Suggestions for Your Creamy Homemade Candy
- Storage and Reheating Instructions for Cool Whip Candy
- Frequently Asked Questions About Cool Whip Candy
- Estimated Nutritional Snapshot of This Cool Whip Candy
Why This Easy Cool Whip Candy is Your New Favorite No Bake Candy
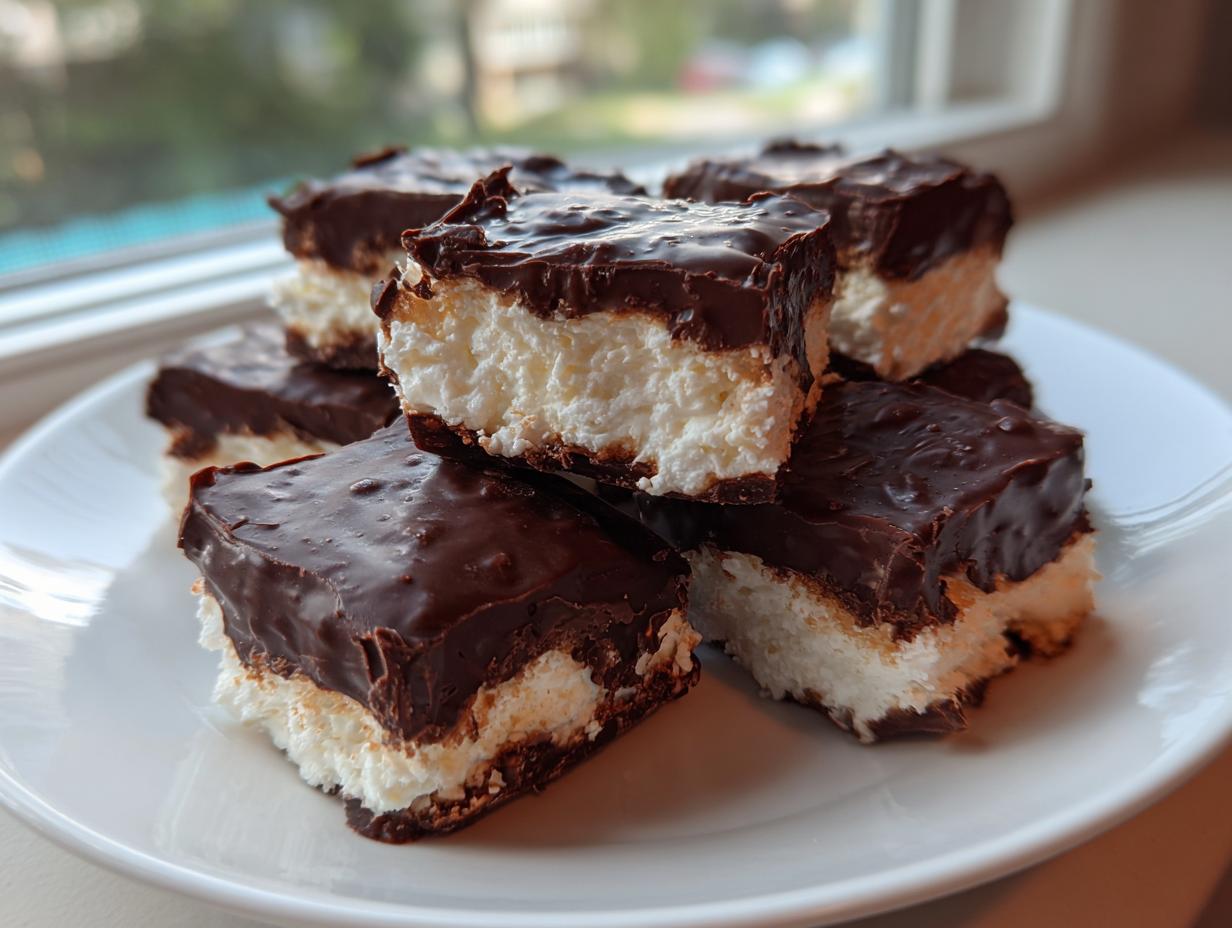
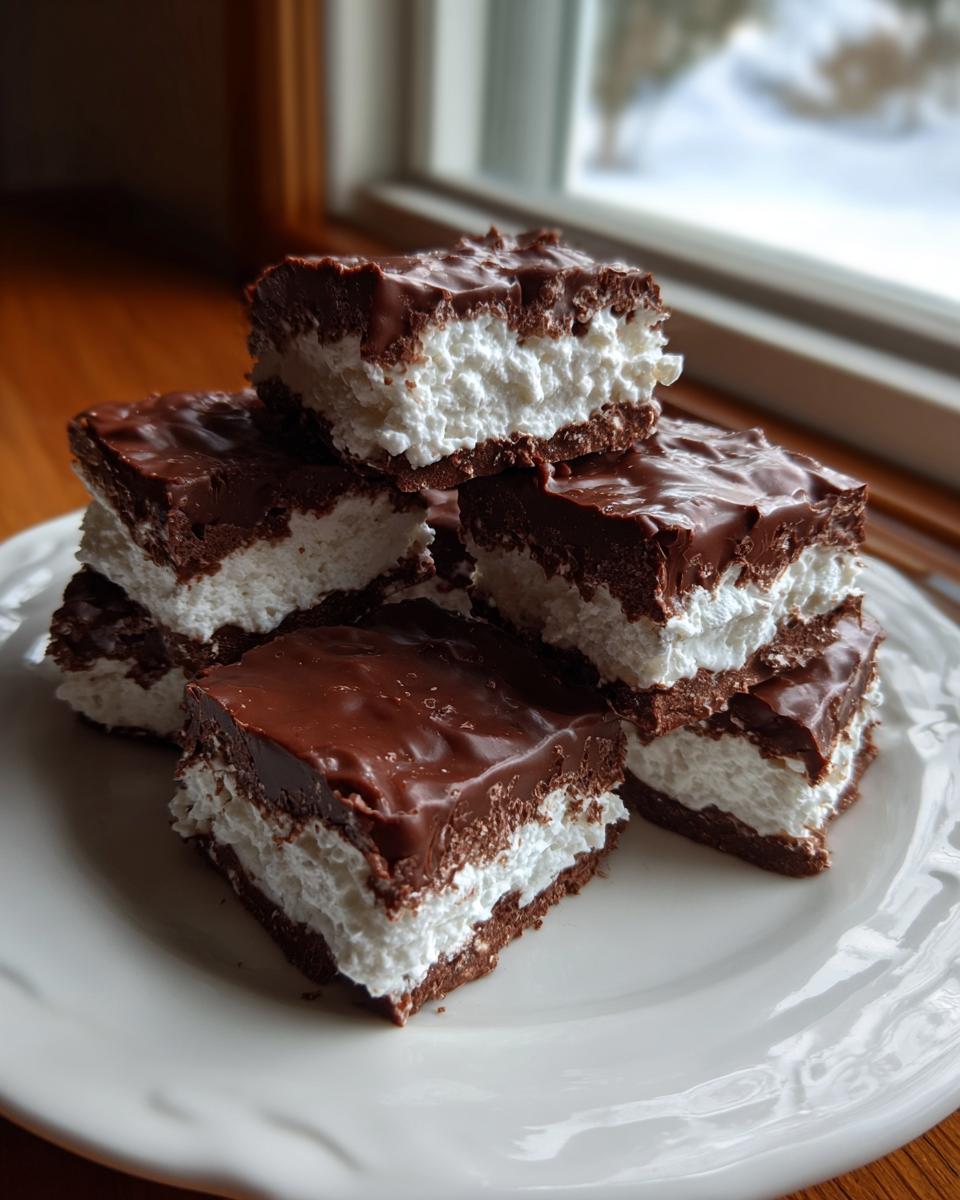
Honestly, if I’m prepping for a big party or trying to survive the late-November rush, I turn to this No Bake Candy recipe every single time. We’re talking minimal ingredients—just three!—and absolutely zero oven time. It’s the perfect rescue mission for when you need 3 Ingredient Desserts that still feel special, not desperate. This little square of magic tastes exactly like a classic, airy candy bar, which is why I call it my secret weapon for Holiday Candy Ideas.
When I was deep in event planning back in Austin, I didn’t have hours to spend baking fancy things. This Fluffy Candy became my go-to; I could make a whole batch while waiting for a conference call to start. If you follow my lead and check out my other simple cookie recipes, you’ll see I love shortcuts that taste gourmet!
Achieving the Perfect Fluffy Cool Whip Candy Texture
The texture is everything here—we want that melt-in-your-mouth fluffiness, not sad, deflated sweetness. My number one rule? Use the whipped topping thawed, but only just thawed enough to mix. If it gets soupy, it’s game over. When you add that powdered sugar, mix it in just until it disappears. Overbeating introduces air, but then it collapses when it freezes! You’re just combining; don’t let your mixer run wild. That slight resistance you feel is exactly what gives you that perfect, light center!
Gathering Ingredients for Your 3-Ingredient Cool Whip Candy
This is where the magic of budget friendly desserts really shines. When I look at the ingredient list, I just smile because it’s so straightforward. We aren’t breaking the bank or hunting down specialty items for this batch of Cool Whip Candy.
Here is exactly what you need to pull this off. Remember, these ingredients need to be ready to go!
- One cup of powdered sugar (that’s the sweetener!)
- One cup of semi-sweet chocolate chips (for dipping later)
- One standard (8 ounce) container of frozen whipped topping, which must be completely thawed first.
It’s unbelievable that these three things turn into candy, isn’t it? Check out how I make other great budget-friendly desserts here!
Ingredient Notes and Substitutions for Cool Whip Candy
Let’s talk about the topping, because this is important for our Simple Whipped Topping Recipes. You absolutely have to use that stabilized, frozen whipped topping—the kind that comes in the tub. Do not substitute this with fresh heavy cream or cream cheese because the structure just won’t set up right in the freezer. Fresh cream will weep, and cream cheese makes it dense fudge, not airy candy!
If you are really not feeling the chocolate coating, you can skip that dip entirely! Once the base is frozen solid, you can cut it into squares and just roll them lightly through powdered sugar instead. It gives you a totally different, but equally delicious, experience.
Step-by-Step Instructions for Making Cool Whip Candy
Alright, let’s get this no-bake magic started! When you follow these steps, you’ll be amazed at how simple it is to create these perfect little squares. I promise, these Quick Sweet Snacks feel way more complicated than they are. Just stick to the freezing times, and you’ll be golden! You can see all my tips for fast treats when you check out my section on quick sweet snacks!
Preparing the Fluffy Base and Freezing
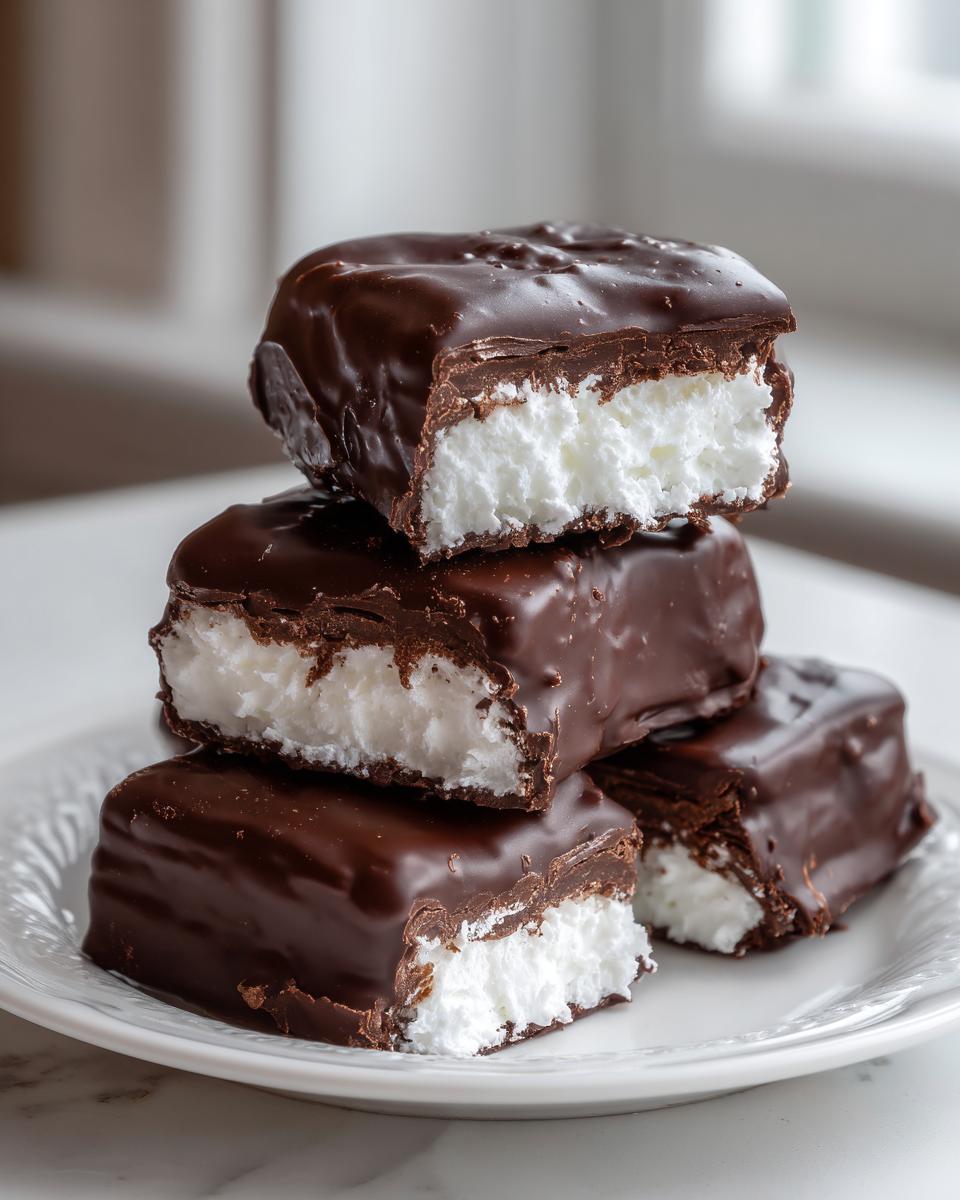
First things first, get a pan ready. I swear by lining an 8×8 inch pan with parchment paper, making sure you leave an overhang on two opposite sides. That overhang is your built-in handle for lifting the whole thing out later—genius! In a bowl, gently fold your thawed whipped topping and powdered sugar together. Do not whip it like crazy, or you’ll lose that beautiful volume underneath. Spread this evenly into your lined pan. Now comes the hardest part: waiting. You need to freeze this base for at least two full hours, or until it is rock solid. This freezing is what allows you to cut clean pieces that won’t smash when you dip them, which is key for the chocolate coating step later!
Mastering the Chocolate Coating for Your Cool Whip Candy
Once your base is frozen and you’ve cut it into those bite-sized pieces, it’s time for the best part: turning them into incredible Chocolate Coated Treats. Put your chocolate chips in a microwave-safe bowl. Here’s my trick for smooth chocolate: use short bursts—30 seconds max—stirring thoroughly between each burst. This is vital; if you overheat it, you risk seizing the chocolate, and nobody wants clumpy coating!
Use a fork to dip each frozen candy square. Let the excess drip off for just a second, then scrape the fork gently against the edge of the bowl while lifting. Pop those coated beauties back onto that parchment-lined sheet. A quick 15 to 20 minutes in the fridge lets that chocolate shell set up beautifully. Easy peasy!
Expert Tips for the Best 3 Musketeers Copycat Recipe Cool Whip Candy
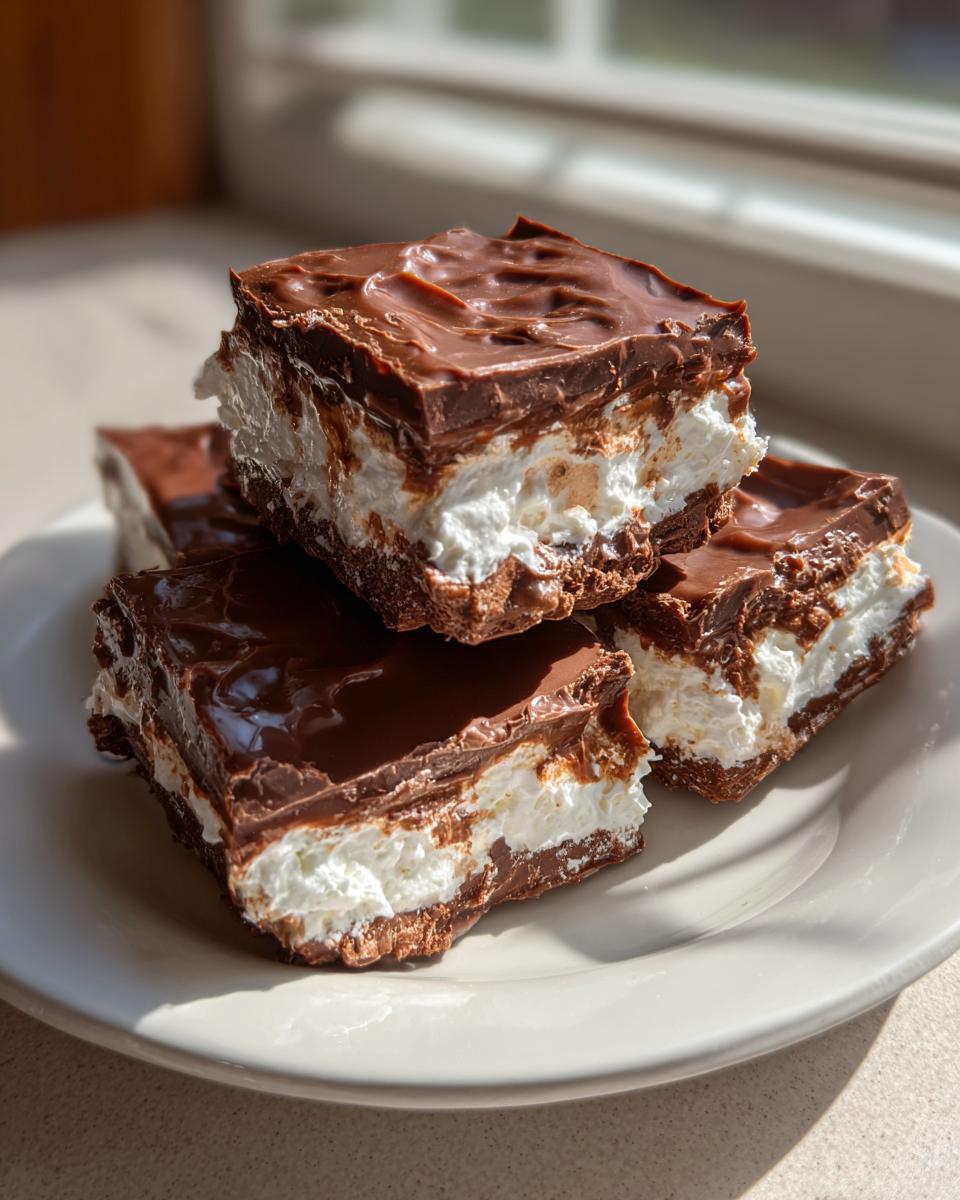
We want this 3 Musketeers Copycat Recipe to look like it came from a fancy candy shop, even though it was made in about five minutes of actual hands-on time! The key to nailing that perfect chocolate shell is temperature control. If your candy squares aren’t completely frozen when they meet the warm chocolate, they absorb it too fast and get mushy right away. You need that cold block to set the coating instantly.
Also, when you’re cutting those squares out before dipping, use a really sharp, large knife. Heat the knife blade under hot water for a few seconds, wipe it dry, and then slice. That slightly warm blade glides right through the frozen base, giving you sharp, professional-looking pieces every time. For more great recipe mashups, you can check out how I tackled my Big Mac Sauce copycat—it’s all about nailing the essence of the original!
If you want to see how someone else manages the coating, I always recommend checking out guides like the one from Delish Craze on their approach to Cool Whip Candy. Getting that smooth dip is half the battle!
Variations on Classic Cool Whip Candy
While the classic chocolate-dipped version of this Cool Whip Candy is amazing—truly—sometimes I get bored, or maybe I just need to use up an extra flavoring bottle I bought for a forgotten project! That’s when I dive into variations. Since this is one of the best Quick Candy Recipes out there, you can change it up without adding any significant time to the schedule.
The best place to start experimenting is right in the base mixture before you freeze it. After you’ve stirred in the powdered sugar, try adding a dash of pure vanilla extract. It really deepens the flavor profile and makes it taste richer, even though it’s still super simple.
For a festive twist, especially around Christmas, peppermint extract works wonders. Think mint chocolate chip, but in candy form! You only need about half a teaspoon, trust me, peppermint is powerful stuff. Don’t forget, if you’re into those flavored centers, I have a fantastic recipe for chocolate covered cherries that shows how a simple extract can transform a dessert!
Coating swaps are just as fun. If you aren’t a fan of semi-sweet chocolate, melt down white chocolate chips instead. White chocolate gives it a completely different profile that pairs wonderfully with the vanilla base. You can even mix in a teaspoon of coconut oil with the white chocolate to keep it smooth for dipping, just like we talked about earlier. Or, for a salty-sweet punch, try dipping the frozen squares into melted peanut butter chips. It’s a whole new experience!
Serving Suggestions for Your Creamy Homemade Candy
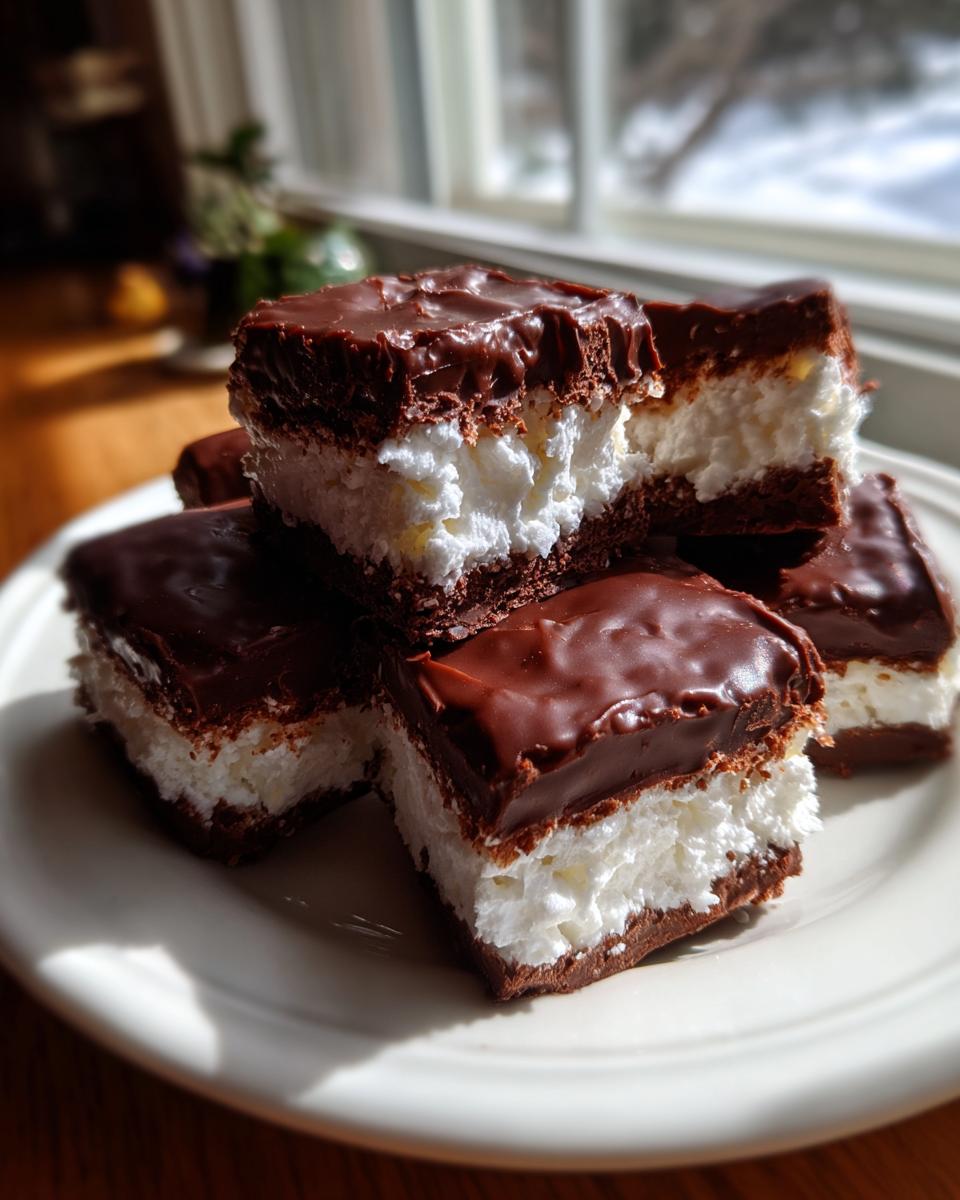
Now that you’ve done the hard work of dipping and setting your Cool Whip Candy, the next step is showing them off! These little squares shine at every event, whether you are setting up a huge spread of Holiday Candy Ideas or just need a quick bite for a casual weeknight dessert. They look incredibly professional, which is always a win.
For parties, I like to skip the boring platter. Instead, grab those tiny paper cupcake liners—you know, the ones you use for mini muffins—and place one candy square in the bottom of each. It makes them easy for guests to grab without getting chocolate on their fingers. It’s a small touch, but it takes these Party Treats to the next level.
If you made a huge batch, you can combine them with some nuts or other small chocolates on a tiered serving tray. It seriously looks like you spent a whole day prepping, but we know better, right? For more ideas on making appetizers and treats look fancy without the fuss, you can check out my cranberry brie bites recipe for inspiration!
Storage and Reheating Instructions for Cool Whip Candy
Because this Cool Whip Candy relies on that delightful, airy whipped topping, we have to be mindful about storage. Good news: Since this is a no oven dessert, cleanup is easy, and storing leftovers is mostly hands-off! You absolutely must keep these candies chilled. If you leave them out on the counter for too long, especially if it’s warm in your house, that fluffy interior starts to soften way too fast and can even get weepy.
The best way to keep them fresh and firm is in an airtight container in the refrigerator. Layer them carefully between sheets of wax paper or parchment paper—don’t just toss them in! They should stay perfect for about a week this way. That gives you plenty of time to nibble on them throughout the week!
If you need to make them way ahead of time—like for a big holiday cookie swap—the freezer is your friend. Pop the chocolate-coated squares into a freezer-safe bag or container (again, separating layers with parchment is a must). They freeze beautifully! I find they hold up great in the freezer for almost two months, tasting nearly fresh when thawed overnight in the fridge. If you’re looking for more solutions for make-ahead holiday sweets, take a peek at my guide for no-bake Christmas desserts!
Frequently Asked Questions About Cool Whip Candy
I know when I first started making these, I had about a million questions buzzing around my head—it feels almost too easy, right? Here are the things I get asked most often about perfecting this Cool Whip Candy!
Can I use real whipped cream instead of the frozen whipped topping?
Oh, I totally get why you’d ask that! Fresh is usually best, but for this specific recipe, you really need that stabilized, frozen whipped topping that comes pre-made in the container. If you try to use freshly whipped cream, it just doesn’t have the structural integrity needed to freeze firm enough to cut and dip. It tends to weep or deflate completely once it thaws slightly, so stick to the tub stuff!
What happens if I skip the freezing step before dipping the chocolate?
If you skip the two-hour freeze, you risk a huge, messy flop! When you try to dip room-temperature or only slightly chilled candy into hot melted chocolate, the base absorbs the chocolate instantly, and you’ll end up with soft, sticky blobs that melt right off your dipping tool. The freezing step is required to make sure the center is hard enough to handle the hot chocolate coating without dissolving.
Can I make this 3 Ingredient Dessert without any chocolate coating at all?
You absolutely can! Like I mentioned in the tips section, if you cut the frozen base into squares, you can simply roll them in powdered sugar instead of dipping them. This gives you a slightly different texture—a bit more like a powdered sugar confection—but it’s still incredibly tasty and works great if you have a chocolate allergy or just aren’t feeling the chocolate that day.
How long do these treats last once they are made?
Because of the whipped topping, they definitely need to stay cold. Stored properly in an airtight container in the fridge, they taste fantastic for about a week. Longer than that, and the texture starts to change slightly, though they remain perfectly safe to eat! If you want to make a huge batch for later, freezing is the way to go. You can find more tips on chilling and freezing desserts on my no-bake ice cream cake post!
Estimated Nutritional Snapshot of This Cool Whip Candy
Now, I always want to give you a general idea of what you’re working with when you talk about treats like this. Since these Cool Whip Candy pieces are so small and delicious, it’s easy to sneak a few! Keep in mind that these numbers are just estimates, okay? They depend entirely on the brand of chocolate chips you use and the exact size you cut your candy.
I based these estimates on using standard semi-sweet chips and the yield being about 24 small squares. Remember, the magic of these Quick Candy Recipes is that they are so easy, you can always adjust the ingredients next time around!
- Serving Size: 1 piece
- Calories: 120
- Sugar: 14g
- Fat: 7g
- Protein: 1g
- Sodium: 15mg
Just like with any dessert, these lovely, creamy squares are best enjoyed in moderation. I always look at them as being similar to a small store-bought treat—a perfect little splurge when you need it!
PrintEasy 3-Ingredient Cool Whip Candy (3 Musketeers Copycat)
Make this simple, no-bake Cool Whip Candy that tastes just like a fluffy 3 Musketeers bar. This recipe uses minimal ingredients and is perfect for quick holiday treats or parties.
- Prep Time: 15 min
- Cook Time: 5 min
- Total Time: 2 hours 20 min
- Yield: About 24 pieces 1x
- Category: Dessert
- Method: No Bake/Freezing
- Cuisine: American
- Diet: Vegetarian
Ingredients
- 1 cup powdered sugar
- 1 cup melted semi-sweet chocolate chips
- 1 (8 ounce) container frozen whipped topping, thawed
Instructions
- Line an 8×8 inch baking pan with parchment paper, leaving an overhang for easy removal.
- In a medium bowl, mix the thawed whipped topping and powdered sugar together until just combined. Do not overmix, or the topping will deflate.
- Spread the mixture evenly into the prepared pan. Freeze for at least 2 hours, or until firm.
- Once firm, lift the candy out of the pan using the parchment paper overhang and cut it into small, bite-sized squares.
- Place the chocolate chips in a microwave-safe bowl. Microwave in 30-second intervals, stirring well after each interval, until the chocolate is smooth and fully melted.
- Dip each frozen candy square into the melted chocolate, ensuring it is fully coated. You can use a fork to lift the candy out of the chocolate.
- Place the coated candies back onto a parchment-lined baking sheet.
- Refrigerate until the chocolate coating is set, about 15 to 20 minutes. Store the finished Cool Whip Candy in an airtight container in the refrigerator.
Notes
- For a slightly different texture, you can roll the frozen squares in powdered sugar instead of dipping them in chocolate.
- If you want a richer chocolate coating, add 1 teaspoon of coconut oil to the chocolate chips before melting.
- This recipe is a great budget friendly dessert option for large gatherings.
Nutrition
- Serving Size: 1 piece
- Calories: 120
- Sugar: 14g
- Sodium: 15mg
- Fat: 7g
- Saturated Fat: 4g
- Unsaturated Fat: 3g
- Trans Fat: 0g
- Carbohydrates: 15g
- Fiber: 0g
- Protein: 1g
- Cholesterol: 5mg