
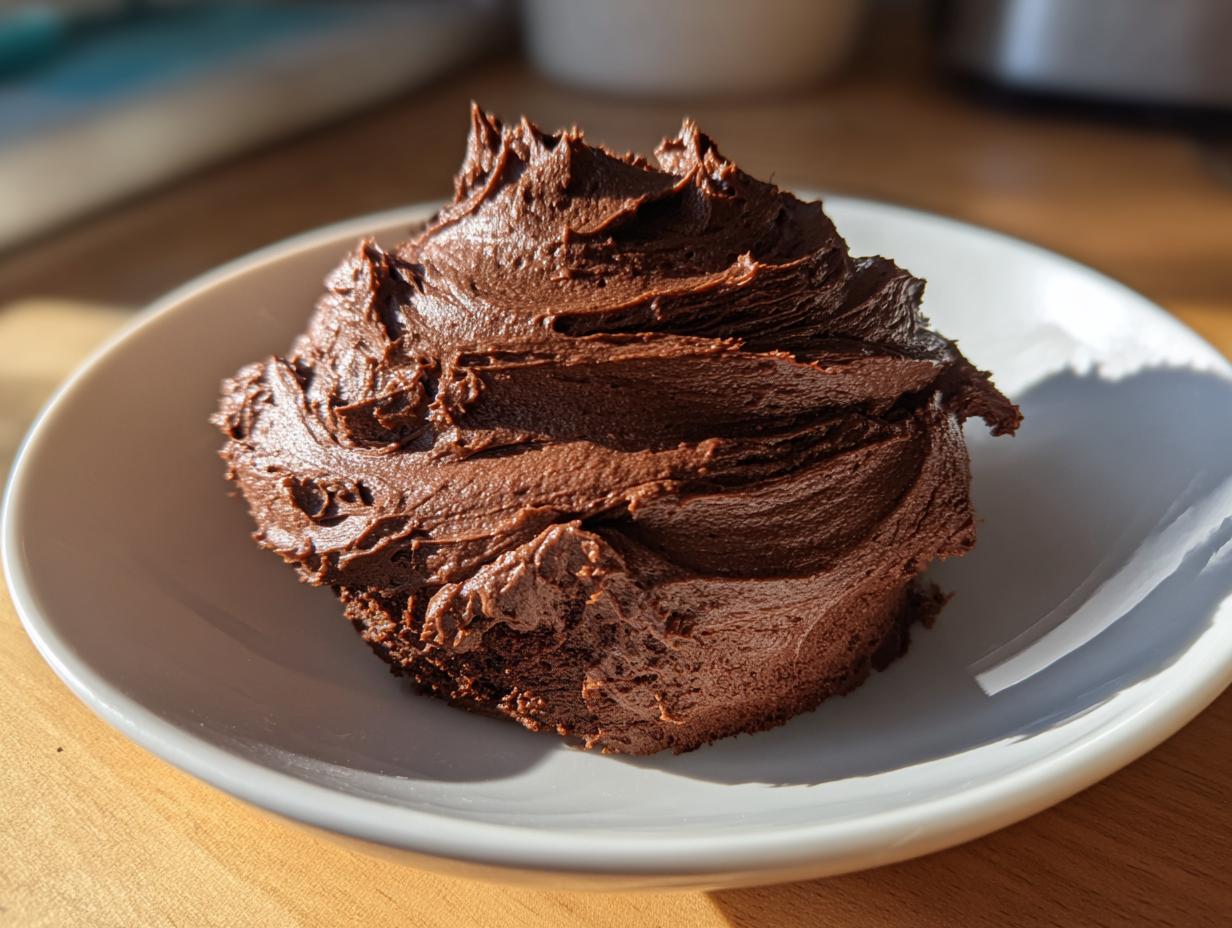
We all know the struggle, right? You bake this beautiful cake—maybe the one from my moist chocolate fudge cake recipe—and then you face the frosting. So many recipes promise the moon but deliver something grainy, too sweet, or frankly, too floppy to handle a piping bag. That frustration stops right here! At Food Dexterity, I, Charlotte Hayes, believe cooking should feel intuitive and yield beautiful results every time without the stress. This is why I developed what I truly believe is the ultimate, rich, and silky **chocolate buttercream frosting**. It has that deep cocoa punch you crave and a texture that behaves exactly how you want it to.

- Why This is the Best Chocolate Buttercream Frosting You Will Make
- Ingredients for Ultimate Rich Chocolate Buttercream Frosting
- How to Prepare Perfect Piping Chocolate Buttercream Frosting
- Troubleshooting Common Chocolate Buttercream Frosting Issues
- Storage and Making Ahead with Your Chocolate Buttercream
- Serving Suggestions for This Creamy Frosting Recipe
- Frequently Asked Questions About Homemade Chocolate Icing
- Nutritional Estimate for Chocolate Buttercream Frosting
- Share Your Perfect Chocolate Buttercream Frosting Creations
Why This is the Best Chocolate Buttercream Frosting You Will Make
I’ve tested dozens of mixes, and this version of **chocolate buttercream frosting** is the one I keep coming back to, especially when a cake needs to look like it came from a high-end bakery. It’s truly foolproof, which is exactly my style here at Food Dexterity. You shouldn’t need hours to make a phenomenal topping! If you love this, you should try my classic vanilla buttercream frosting recipe too.
- It has that deep, authentic chocolate flavor—not just sugar overload.
- The texture is unbelievably creamy and never gritty.
- It’s incredibly stable; this frosting pipes beautifully and holds sharp edges.
- Seriously one of the quickest homemade frostings you’ll ever whip up!
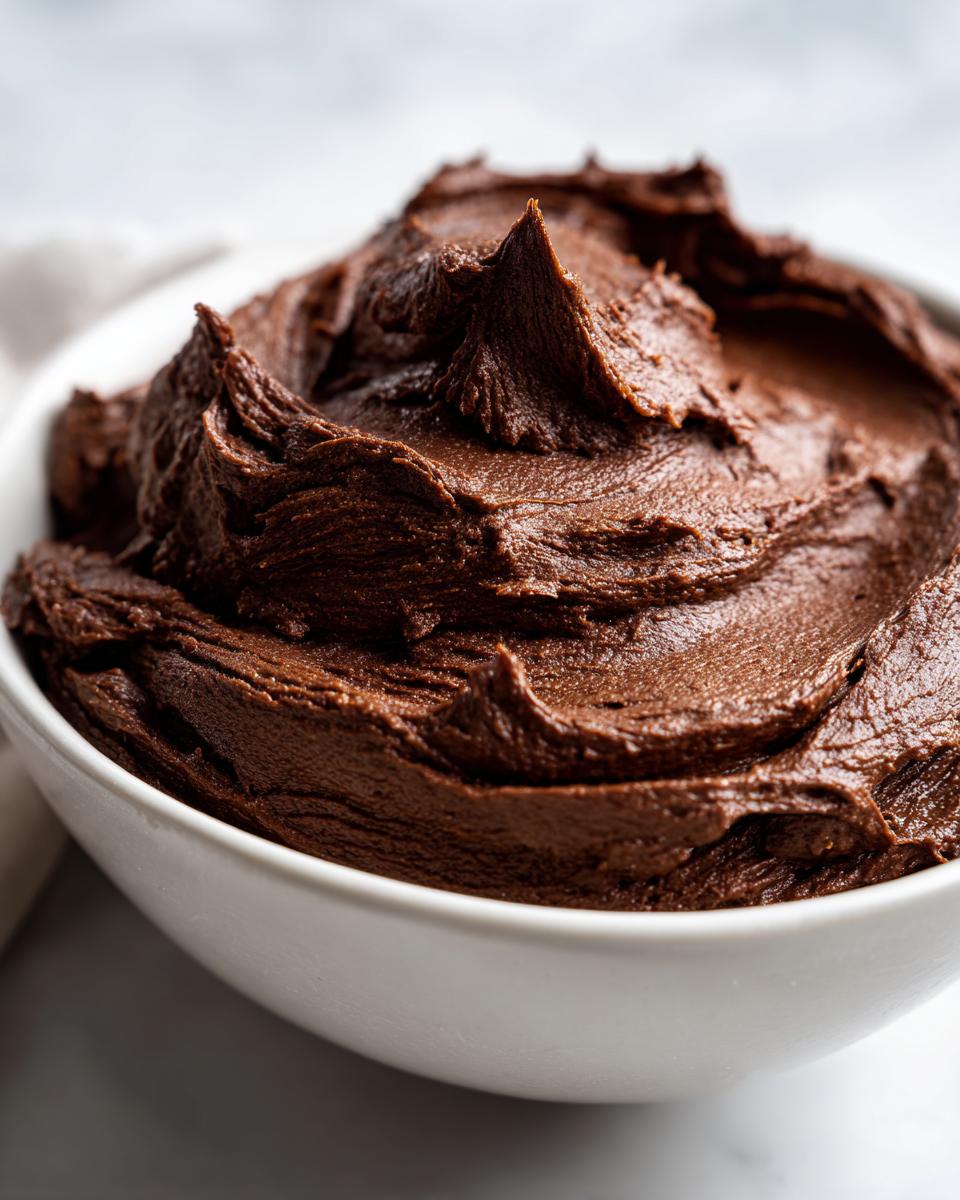
Achieving a Silky Smooth Buttercream Recipe Texture
The biggest complaint people have about homemade icing is that grainy feeling. We are banning that, right now. The absolute secret to making this a first-rate **smooth buttercream recipe** is simple: you must sift! Don’t skip sifting the powdered sugar and the cocoa powder. Trust me, it takes two extra minutes, but those two minutes prevent lumps of sugar from ruining your silky finish.
Ingredients for Ultimate Rich Chocolate Buttercream Frosting
Getting the ingredients right is the first step toward making excellent **chocolate buttercream frosting**. I try to keep things simple here, using pantry staples, but the quality matters! If you want a really deep, addictive chocolate flavor, you might also love my easy 3-ingredient chocolate fudge recipe for a different kind of indulgence.
Here’s what you need:
- 1 cup (2 sticks) unsalted butter, softened
- 3 1/2 cups powdered sugar, sifted
- 3/4 cup unsweetened cocoa powder, sifted
- 1/2 teaspoon salt
- 1 teaspoon vanilla extract
- 3 to 5 tablespoons heavy cream or milk
Ingredient Notes and Substitutions for Chocolate Buttercream
Don’t just dump everything in the bowl! A few notes will really help this come together perfectly. First, make sure your butter is actually softened, not melted! If it’s too warm, your frosting will be a soupy mess. It should give just slightly when you press it, but still look solid.
When it comes to the cocoa powder, I almost always recommend using Dutch-process cocoa if you can find it. It gives you that gorgeous, dark color and a much smoother, less acidic chocolate flavor. If you only have natural cocoa, that’s fine, but be ready for a slightly sharper bite.
For the liquid, I prefer heavy cream because it adds just a tiny bit of extra fat and richness, which helps stabilize the frosting for piping. But if you’re out, whole milk works just fine! Just add it slowly, tablespoon by tablespoon, until you hit that perfect creamy consistency. Remember, we are building layers of flavor and texture here!
How to Prepare Perfect Piping Chocolate Buttercream Frosting
Ready to make some decorating magic? Getting this **chocolate buttercream frosting** right comes down to managing your mixer speeds and when you introduce the ingredients. Don’t rush the steps, and you’ll end up with the best homemade icing for your chocolate raspberry cake or cupcakes! Here’s exactly how I tackle it:
- First up, the butter! You need that soft, room-temperature butter in your mixing bowl. Get your electric mixer going on medium speed and beat it until it’s truly smooth and creamy. This takes about two quick minutes, but it’s important to make sure there are no hard lumps left.
- Now we add the dry stuff. With your mixer still on low speed—and I mean *low* so you don’t cover your kitchen in powder—gradually add in your sifted powdered sugar and that sifted cocoa powder. We mix low until it just starts to come together. Stop and scrape down those sides really well!
- Time for flavor! Toss in the salt and the vanilla extract. Then, crank that speed up to medium-high and let it go for a solid 3 minutes. This whipping time is what starts lightening up the whole mixture and giving it that initial fluffy base.
- This is where we control the texture. Add 3 tablespoons of your heavy cream or milk while mixing on medium speed until everything looks smooth. If it still seems too stiff for spreading or you really want that gorgeous piping look, add the rest of the cream, just one tablespoon at a time, until you love the consistency.
- For the grand finale! Beat the frosting on high speed for a final minute. This last blast of speed incorporates a ton of air which makes it silky and really helps it hold those beautiful decorative shapes.
Use it right away, or cover it up! Keep it at room temperature for up to two days if you aren’t using it immediately.
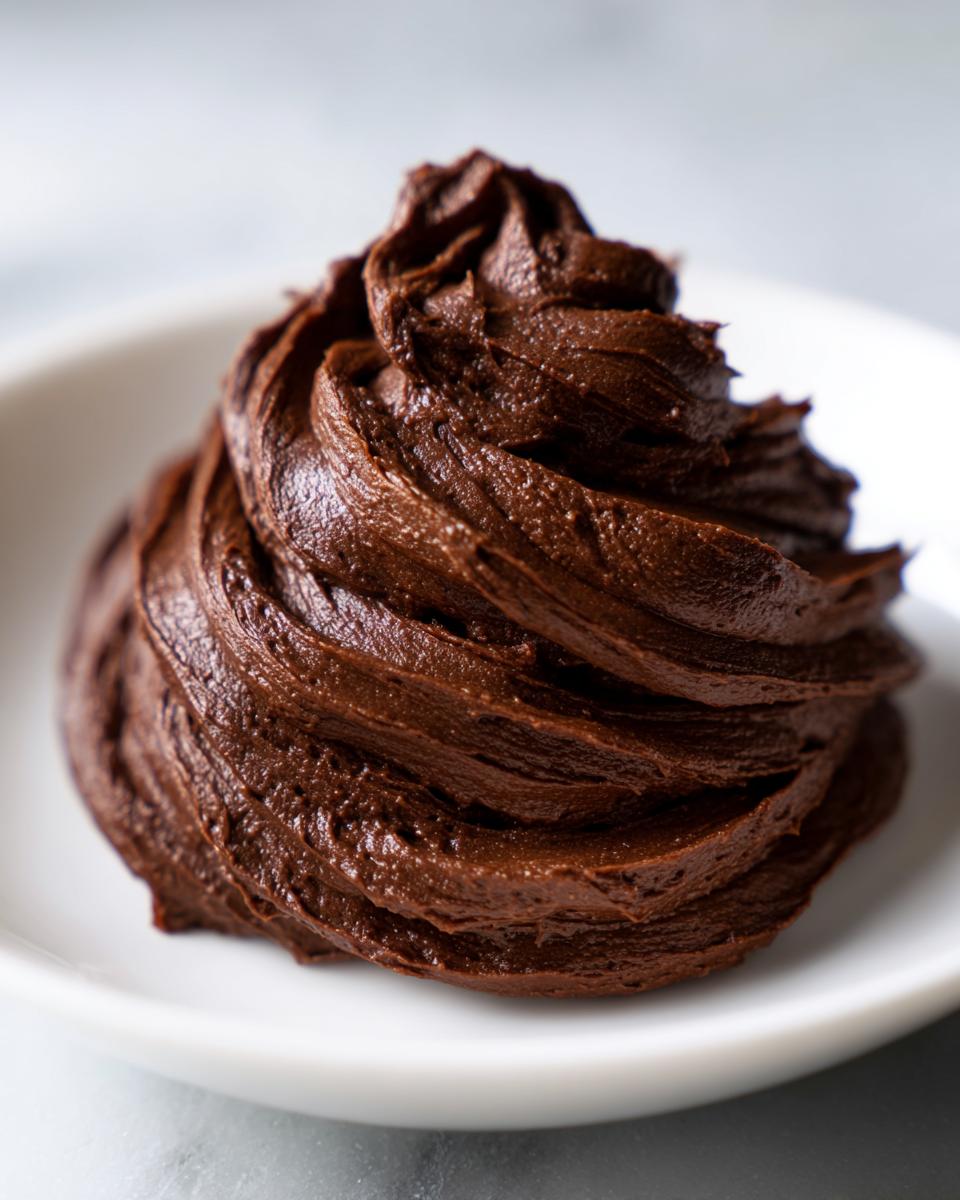
Tips for a Fluffy Chocolate Frosting That Holds Shape
Stability is everything when you’re aiming for that professional look. If you want a stunningly **fluffy chocolate frosting** that doesn’t melt off your sweets the second it leaves the fridge, pay close attention to temperature.
The biggest secret for keeping it stiff for piping is making sure that initial butter-and-sugar stage is perfect. Don’t over-cream the butter *before* adding the sugar, or you can over-aerate it too early.
- If you beat the ingredients in a warm kitchen and your frosting starts looking soft or slumping while mixing, stop immediately! Put your mixing bowl (just the bowl!) into the freezer for about 10 minutes. That quick cool-down firms everything up perfectly without letting the butter get hard again.
- Always add the liquid slowly. If you dump in all 5 tablespoons of cream at once, you might turn your beautiful thick mixture into a thin glaze! We are trying to build structure, not soup!
- Beat it long enough! That final minute on high beat is crucial. It whips air in just before you stop, making it light and airy but still firm enough to hold those lovely star tips you’re planning to use.
Troubleshooting Common Chocolate Buttercream Frosting Issues
Okay, let’s be real for a second. Even the best recipes can hit a snag when you’re actually standing over the mixer. That’s fine! That’s baking! My goal here at Food Dexterity is to arm you with solutions so a minor hiccup doesn’t derail your entire dessert plan. If you run into trouble making this **chocolate buttercream frosting**, odds are, it falls into one of three categories. Don’t stress; we’ve run into these same issues when making our no-bake chocolate eclair cake, too!
My Frosting is Too Sweet!
This happens, especially if you’re using a sweeter type of powdered sugar. American buttercream is naturally sugar-forward, but if it’s burning your tongue, we can balance that out!
- The Salt Trick: Did you weigh your ingredients? If you used too little cocoa, it can taste overly sweet. Add 1/4 teaspoon more salt—it sounds crazy, but salt really helps to mute the perception of pure sugariness.
- A Tiny Acid Kick: Seriously, just a drop or two of lemon juice or even white vinegar can shock the sweetness level back into balance. You won’t taste the acid at all, but you’ll notice the chocolate flavor pops forward instead!
My Chocolate Buttercream Frosting is Too Thin or Runny
If you added that last tablespoon of cream and now your frosting is looking suspiciously like ganache, don’t panic. You just need to add more bulk!
- Add More Dry Ingredients: Slowly add more sifted powdered sugar, about 1/4 cup at a time, mixing slowly first, then beating well until you get the thickness back.
- Add More Cocoa: If adding more sugar makes it too sweet (refer to the tip above!), you can use cocoa powder to bulk it up instead. Add 1 tablespoon of sifted unsweetened cocoa powder at a time. This will darken the color slightly, but it thickens beautifully and boosts that rich flavor!
Why is My Frosting Grainy or Gritty?
If you skipped the sifting step, this is probably why! Undissolved sugar particles feel awful on the tongue. If your **chocolate buttercream frosting** feels sandy, here’s how you save it:
- The Heat Fix: Take about 1/2 cup of your grainy frosting and microwave it for about 10 seconds, just until it melts slightly. It doesn’t need to be hot, just noticeably softer. Then, mix this melted portion back into the main batch. The heat helps dissolve those sugar granules and might smooth out the grittiness.
- Beat Longer at High Speed: Usually, a good minute or two on high speed in the final step of the recipe is enough to incorporate air and smooth everything out. If you’re desperate, whip it hard—you’re aerating the mixture, which helps the sugar particles suspend better.
Storage and Making Ahead with Your Chocolate Buttercream
One of the best things about this recipe for **chocolate buttercream frosting** is how well it keeps! Unlike some delicate frostings, this American style is pretty hardy. Knowing how to store it might save you in a pinch, especially if you’re planning a big bake ahead of time. Remember, this recipe yields about 3 cups, which is typically enough for one standard 9-inch layer cake or about 18 average-sized cupcakes. That’s quite a bit of deliciousness to manage!
If you’re using this **homemade chocolate icing** the same day, just keep it covered at room temperature. It should be good for about 6 to 8 hours, provided your kitchen isn’t searing hot. I certainly wouldn’t leave it out if the AC was struggling! If you happen to have leftovers, or if you made a huge batch like I often do, popping it in the fridge is the way to go for longer storage.
When you refrigerate your chocolate buttercream, make sure it’s in an airtight container. It will firm up hard—that’s the butter doing its job. If you try to slap cold frosting onto a room-temperature cake, you’re going to pull crumbs everywhere. Don’t do that to yourself!
Bringing Cold Buttercream Back to Perfect Piping Consistency
If you kept your **chocolate buttercream frosting** in the fridge, you MUST bring it back slowly. Do not try the microwave; you’ll melt the butter and ruin the texture we worked so hard to achieve in the mixer!
Start by letting the container sit out on the counter for at least an hour. I like to test it by poking it with a fork—if it’s pliable but still cool, we’re ready for the magic step: re-beating.
- Scrape the chilled frosting back into your mixing bowl.
- Beat it on medium speed for about 3 minutes until it loosens up. It might look slightly separated or curdled at first—pay no attention to that!
- Once it looks smooth again, increase the speed to medium-high or high and beat it for another 2 to 4 minutes. This step reincorporates all that lovely air you lost during chilling, making it light, fluffy, and ready for smooth application or confident piping, just like when you first made it.
It’s almost as good as fresh, and it’s so satisfying knowing you planned ahead! If you need ideas for what to put this creamy frosting on next, I’ve got a great savory dip idea hiding over there if you need a break from sweets!
Serving Suggestions for This Creamy Frosting Recipe
Alright, you’ve got this gorgeous, thick batch of **chocolate buttercream frosting** ready to go, and I know you want to use it immediately! While spreading it generously over a chocolate fudge cake is always a winner in my book, this particular **creamy frosting recipe** is so versatile, it deserves to shine on lots of different desserts. Honestly, sometimes I just taste-test with a spoon, and I don’t even feel bad about it!
Because we got that stability just right—remember all that beating we did?—this frosting is perfect for anything requiring a little structure. It really shines when you want that classic, bakery-style finish.
The Ultimate Chocolate Cupcake Topping
This is probably its most popular gig, and for good reason. This frosting perfectly caps off vanilla, yellow, or even coffee-flavored cupcakes. Use a large star tip, like a Wilton 1M, and swirl it high and proud. The chocolate flavor is intense enough to stand up to the vanilla cake, but if you’re making plain cupcakes, this homemade **chocolate icing** makes them feel incredibly special.
Beyond the Cake: Brownies, Cookies, and Fills
Don’t limit this decadent topping to just cakes! For brownies, you have two options, depending on your mood. If you want a thinner chocolate layer that sets up nicely, thin the batch slightly with an extra splash of milk (just before you whip it at the end). If you want thick, indulgent clouds of frosting, use it thick right out of the mixer!
It also works wonderfully as a filling between layers instead of just being the exterior coat. And on cookies? Forget about it! Spread it thick on Oreos or homemade chocolate chip cookies for an incredible sandwich cookie effect. It’s perfect for topping my easy decadent chocolate lava cake recipe if you want to turn that molten center into a slightly cooled, fudgy mound.
Using it as an American Buttercream Chocolate Element
When people refer to **American Buttercream Chocolate**, they are usually looking for this exact mixture: a sweet, rich, butter-based topping. Because it uses sugar and butter as its base, it relies on that high sugar content to keep it shelf-stable for a couple of days at room temperature, making it ideal for bake sales or big dessert spreads. If you want to try something different, try swirling in a tiny bit of peanut butter or some melted, slightly cooled dark chocolate during that final high-speed beat for a custom creation!
Frequently Asked Questions About Homemade Chocolate Icing
I know you might have lingering questions when trying something new, especially when you are aiming for that perfect, shiny finish. It’s totally normal! I always want you to feel confident walking into your kitchen, so let’s clear up any last-minute worries about making this **homemade chocolate icing**. Whether you’re concerned about the heat or wondering how to level up the texture, I’ve got you covered. For more ideas that make your kitchen feel like home base, check out my recipe for chocolate babka—it’s a total showstopper!
Can I make this chocolate buttercream frosting ahead of time?
Absolutely, yes! This is one of the big wins for this recipe. You can safely make your **chocolate buttercream frosting** up to three days ahead of time. Once cooled, store it in a completely airtight container in the refrigerator. It will get very hard, which is fine. Just remember what I said earlier: you have to bring it back to room temperature slowly and give it a really good, long whip on high speed before you even think about frosting a cake. That beating step is the key to bringing back that beautiful, smooth texture.
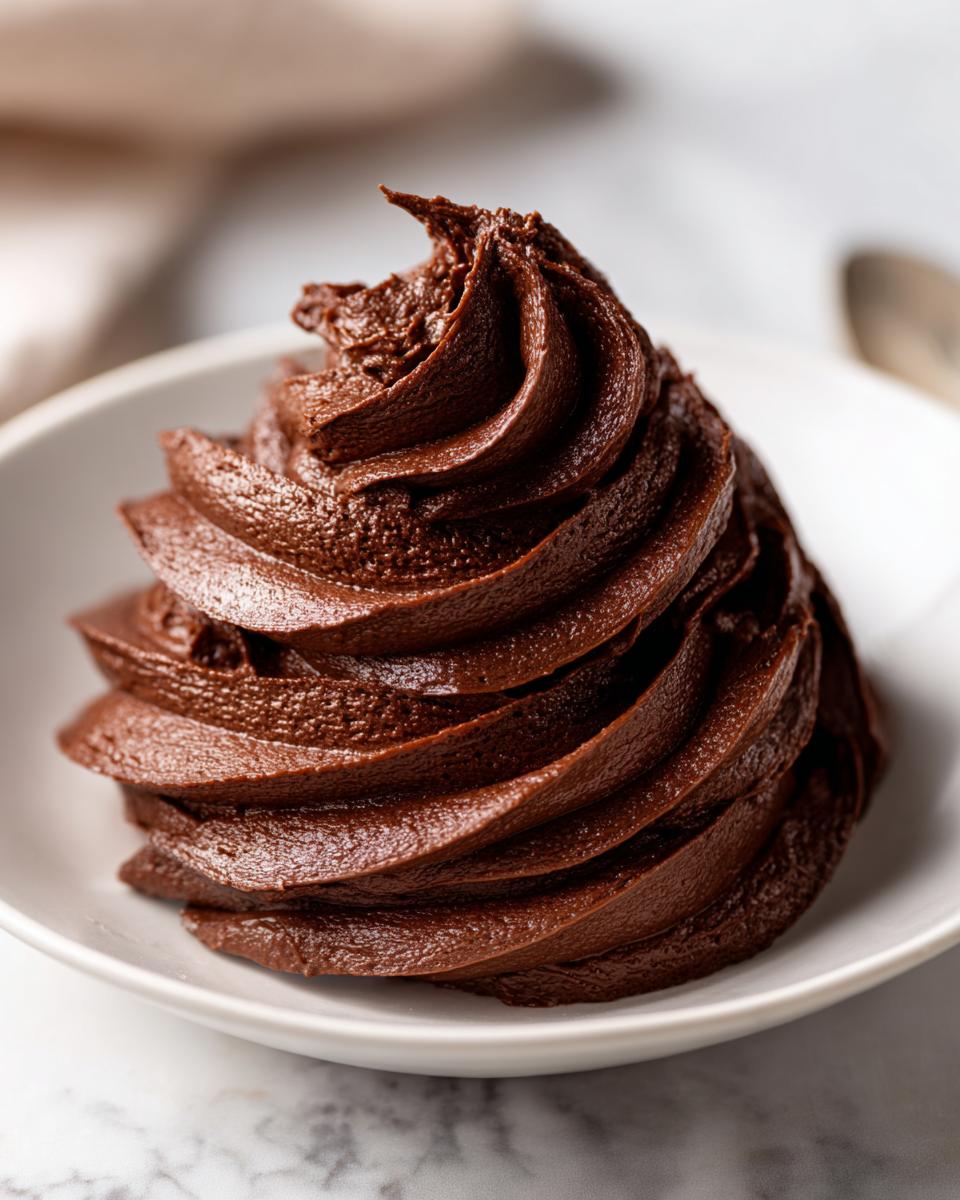
How do I get a Bakery Style Chocolate Frosting look?
Oh, I love this question! Everyone wants that ultra-smooth, almost matte finish you see in professional bakeries, and it all comes down to air management. To achieve a true **bakery style chocolate frosting**, you need to focus heavily on that final aeration step. When you finish mixing in your liquid (Step 4), don’t skip Step 5 in the instructions where you beat it on high speed for a full minute!
That high-power beat forces tiny air bubbles into the mixture without melting the butter, which is what creates that incredible lightness and ability to hold sharp edges. Also, make sure your cooled cake layers are rock solid before you start frosting. A warm cake is the enemy of sharp edges, no matter how great your buttercream is!
What if I want a deeper, darker chocolate flavor?
If you are a chocolate maximalist like me, you might want more punch than just standard cocoa powder gives you. Here’s a little trick that elevates any batch of **homemade chocolate icing** instantly: add a small amount of espresso powder right along with your dry ingredients. You won’t taste coffee, I promise! Instead, coffee is a phenomenal flavor enhancer for chocolate, making the existing cocoa taste deeper, richer, and more intense. Start with just half a teaspoon; sometimes that’s all you need to transform it!
Nutritional Estimate for Chocolate Buttercream Frosting
When we’re making something this delicious, it’s easy to forget about the numbers, but I always like to give a quick overview of what we’re working with here. Remember, this is for our fantastic **creamy frosting recipe**, and these numbers are just estimates based on the standard ingredients I used when I originally developed this batch.
If you use a different brand of butter or a different type of sugar, those calculations can shift slightly. I always tell people not to stress too much over this part; the real joy is in the making and the eating!
Here’s the nutritional breakdown per serving (we’re estimating a serving size as about 1/4 cup, because let’s be honest, a scoop is rarely measured in tablespoons):
- Calories: 350
- Fat: 19g (with 12g saturated fat)
- Carbohydrates: 48g
- Sugar: 45g
- Protein: 2g
- Sodium: 85mg
See? High in sugar and fat, as any good butter-based frosting should be! It’s a treat, not an everyday staple, and that’s perfectly okay. If you’re looking for something a little lighter for a weeknight treat, maybe check out my easy homemade blue cheese dip recipe for a savory alternative!
Share Your Perfect Chocolate Buttercream Frosting Creations
Now, the fun part! You’ve whipped up what I hope is the **best chocolate buttercream frosting** you’ve ever tried. I put all my best tips and tricks into this recipe, but honestly, the real magic happens in your kitchen when you make it your own.
I would absolutely love to see what you put this gorgeous, stable frosting on! Did you try it on a simple sheet cake? Did you manage those perfect swirls on a dozen cupcakes? Or did you just sneak a few spoonfuls when no one was looking? Tell me everything!
Please take a moment to leave a star rating right here on the recipe card. That feedback is so important—it helps me know what’s working for you, and it signals to other new bakers that this recipe is trustworthy and delivers that rich flavor they are looking for.
- Leave a comment below telling me what you frosted this time—was it a classic cake, or did you get creative?
- If you made any little adjustments (maybe you added a touch more vanilla or used milk instead of cream), share so the community can learn from you!
- If you snapped a photo, tag me on social media! I love seeing my recipes in the wild.
Happy baking, my friend! And remember, if you need one more fantastic dessert to round out the week, you should definitely check out my easy festive strawberry champagne punch recipe—it’s perfect for celebrating all your successful frosting adventures!
PrintThe Ultimate Rich & Silky Chocolate Buttercream Frosting (Pipes Perfectly)
Make the best homemade chocolate buttercream frosting. This recipe yields a rich, creamy, and smooth texture that holds its shape well for easy cake decorating and piping.
- Prep Time: 10 min
- Cook Time: 0 min
- Total Time: 10 min
- Yield: About 3 cups 1x
- Category: Dessert
- Method: Mixing
- Cuisine: American
- Diet: Vegetarian
Ingredients
- 1 cup (2 sticks) unsalted butter, softened
- 3 1/2 cups powdered sugar, sifted
- 3/4 cup unsweetened cocoa powder, sifted
- 1/2 teaspoon salt
- 1 teaspoon vanilla extract
- 3 to 5 tablespoons heavy cream or milk
Instructions
- Place the softened butter in a large mixing bowl. Beat with an electric mixer on medium speed until the butter is smooth and creamy, about 2 minutes.
- Gradually add the sifted powdered sugar and sifted cocoa powder to the butter mixture. Mix on low speed until just combined. Scrape down the sides of the bowl as needed.
- Add the salt and vanilla extract. Increase the mixer speed to medium-high and beat for 3 minutes until the frosting is light and fluffy.
- Add 3 tablespoons of heavy cream or milk. Beat on medium speed until the frosting is smooth. If the frosting seems too stiff for spreading or piping, add the remaining cream, one tablespoon at a time, until you reach your desired consistency.
- Beat the frosting on high speed for 1 minute to incorporate air, making it extra fluffy and silky. This step helps it pipe well.
- Use immediately to frost cakes or cupcakes, or store covered at room temperature for up to 2 days.
Notes
- Sifting the powdered sugar and cocoa powder prevents lumps and ensures a smooth buttercream recipe.
- For a deeper chocolate flavor, use Dutch-process cocoa powder.
- If the frosting gets too soft while working, chill the bowl for 10 minutes before beating again.
- This recipe makes enough creamy frosting for one 9-inch layer cake or about 18 cupcakes.
Nutrition
- Serving Size: 1/4 cup
- Calories: 350
- Sugar: 45g
- Sodium: 85mg
- Fat: 19g
- Saturated Fat: 12g
- Unsaturated Fat: 7g
- Trans Fat: 0.5g
- Carbohydrates: 48g
- Fiber: 1g
- Protein: 2g
- Cholesterol: 60mg