

Oh, I know that feeling! Sometimes you just need something deeply satisfying, something rich, dark, and utterly decadent without spending an afternoon fussing over sugar temperatures. That’s why I landed on this amazing Easy 3-Ingredient Chocolate Fudge. Seriously, this simple fudge recipe is the answer when you crave that melt in your mouth candy texture but don’t have time for the old-fashioned fuss. Here at Food Dexterity, we aren’t about complicated, stressful baking; we are about finding delicious shortcuts that deliver maximum impact. This recipe proves you can achieve that gorgeous, dense, homemade treat you dream about, even on your busiest Tuesday.
- Why This Easy Chocolate Fudge Is Your New Kitchen Staple Fudge
- Ingredients for the Best Homemade Fudge Recipes
- How to Prepare This Easy Chocolate Fudge
- Tips for Success When Making Fudge
- Variations: Gourmet Fudge Varieties to Try Next
- Storage and Reheating Instructions for Your Fudge
- Serving Suggestions for This Decadent Chocolate Candy
- Frequently Asked Questions About Making Fudge
- Share Your Foolproof Fudge Creations
Why This Easy Chocolate Fudge Is Your New Kitchen Staple Fudge
I’m telling you, once you make this recipe, you will throw out any old, fussy fudge instructions you’ve been hoarding. This isn’t grandma’s ten-step candy-making process; this is pure, straightforward decadence. It fits perfectly into my philosophy of making great food accessible, even when life is moving too fast!
- It’s a genuine No Bake Fudge solution that sets up beautifully.
- It uses shelf-stable kitchen staples, meaning you can whip it up anytime inspiration strikes.
- It results in that dreamy, dense square that just disappears the second it hits your tongue.
If you’re looking for some more quick wins in the kitchen, especially for simple dessert squares, you should definitely check out my guide to simple dessert recipes nearby!
Foolproof Texture: Achieve Smooth Creamy Fudge Every Time
This is the biggest selling point, honestly. So many people avoid making homemade fudge because they are terrified of getting that gritty, grainy result. Who has time to babysit a sugar thermometer? Good news! Because we are using sweetened condensed milk, we skip all that high-heat guesswork. The result is incredible; it’s that smooth creamy fudge texture that feels so luxurious and truly melt in your mouth candy quality.
Speed and Simplicity: The 5 Minute Fudge Recipe Advantage
The active time here is almost nothing! You are literally heating, stirring, and pouring. The cook time is less than five minutes—that’s quicker than boiling water for pasta! This makes it the ultimate Quick Dessert Idea for when company unexpectedly shows up or for satisfying a sudden chocolate craving before bed. It’s the definition of Easy Fudge Anyone Can Make.
Ingredients for the Best Homemade Fudge Recipes
Okay, let’s talk about what goes into this magic square of deliciousness. The beauty of this specific fudge recipe is that it’s just three items! It truly is the perfect example of a kitchen staple fudge that you should be able to make on a whim. I always keep these things on hand, because you never know when a serious sweet treat emergency might pop up.
- One (14 ounce) can of sweetened condensed milk—this is our secret weapon for smoothness!
- One (12 ounce) package of semi-sweet chocolate chips.
- One teaspoon of good quality vanilla extract.
Now, here’s a little bit of my Food Dexterity wisdom: the quality of your chocolate chips really shines through here because there are so few ingredients. Don’t skimp! If you use cheap chips, you’ll taste it. Investing in a good brand of semi-sweet chocolate chips elevates this from a simple treat to truly decadent chocolate candy.

Ingredient Notes and Substitutions for Your Fudge
This is where people often try to “jazz it up” and accidentally ruin the texture, so listen closely! Sweetened condensed milk is non-negotiable. Do NOT swap this out for evaporated milk. Evaporated milk is just plain milk that’s had some water removed; condensed milk has tons of sugar cooked down, which is what keeps this fudge perfectly creamy and stops it from getting grainy.
If you find semi-sweet just a touch too sweet for your liking, I’ve had great success swapping the chips for bittersweet baking bars, chopped fine. It gives the final fudge a much deeper, darker profile, which I love when I’m feeling fancy. Just make sure whatever you use melts down nicely!
How to Prepare This Easy Chocolate Fudge
Alright, let’s get hands-on! Preparing this dessert is ridiculously simple, but like any good confection, the details matter. Remember, we’re aiming for that gorgeous, foolproof texture, which means respecting the low heat and keeping things moving. My goal is always that you never have to worry about having the right tools, which is why this recipe is great because it’s a true Fudge Without Candy Thermometer method.
If you’re planning this out for a busy week, maybe you’re looking at easy weeknight dinners, this topping comes together way faster than any baked dessert. It’s quick, comforting, and satisfying!
Prepping Your Pan for Perfect Fudge Release
This is the first step, and if you skip it, you’ll be scraping the bottom of that pan later—trust me, I’ve learned the hard way! Take an 8×8 inch pan—or a smaller loaf pan if you want it super thick—and line it completely with parchment paper. The key here is leaving plenty of overhang on the sides, like little handles coming up over the edge. Lightly grease that paper just to be safe! When the fudge is rock solid later, you just grab those paper handles and lift the entire square right out. So easy!
Melting and Mixing for Smooth Creamy Fudge
Get a medium saucepan and keep the heat on low. Low, low, low! You’re combining the sweetened condensed milk and the chocolate chips. Now, stir constantly. If you walk away for even thirty seconds, you risk scorching the bottom, and nobody wants bitter fudge. Stir until everything is melted down and looks glossy and perfectly smooth. As soon as it’s combined, pull the pan completely off the burner before you mix in your vanilla extract. That gentle mixing ensures those gorgeous flavors marry without overheating the sugar structure. We don’t want boiling; we want silk!
Tips for Success When Making Fudge
Even though this is the easiest fudge recipe in the world, a few little tricks will take it from “good” to “I can’t believe I made this myself!” These are the little pieces of kitchen wisdom I’ve collected that make sure your squares set up perfectly every time and have that incredible melt in your mouth candy quality.
First off, think about your pan size if you want a specific thickness. The standard 8×8 pan gives you standard squares, but if you’re feeling extra indulgent and want something truly thick—the kind of piece that needs two hands—use a 9×5 loaf pan instead. It will take a little longer to chill through, but the reward is super thick layers of chocolate goodness!
- Use high-quality chocolate chips or chopped bars. Since there are only three ingredients, the chocolate flavor can’t hide!
- Resist the urge to stir after pouring! Once it’s in the pan, don’t try to smooth it aggressively or you might introduce air bubbles that cause uneven setting in your fudge.
- Let it chill completely. I know waiting is the hardest part, but you must give it a solid two hours in the fridge. Trying to cut warm fudge is just messy!
If you are a fan of layered chocolate treats, you absolutely have to try my recipe for those amazing buckeye brownies next. They have that same fudgy density but with a fun peanut butter swirl!
Variations: Gourmet Fudge Varieties to Try Next
While this three-ingredient chocolate fudge is magnificent in its simplicity, I fully support taking creative license once you’ve mastered the base recipe. Once you know how easily this comes together, you start seeing possibilities everywhere. This is where you can really start playing around with flavors and textures to make it uniquely yours—think of this as your entry ticket to making gourmet fudge varieties without the fuss!
Remember those notes I mentioned? You absolutely have to try adding chopped nuts or mini marshmallows if you haven’t already. A half-cup of toasted pecans stirred in right at the end adds the most wonderful crunch contrast to the smooth chocolate. Think about making this a holiday special!
For something truly elevated that still keeps that no-fail texture, here are a couple of my favorite additions:
- Espresso Kick: Whisk in one teaspoon of instant espresso powder right alongside your vanilla extract. It doesn’t make it taste like coffee, but it deepens that chocolate flavor so much. It turns it into a much more sophisticated, darkly flavored fudge!
- Swirl It Up: Try making a peanut butter version! Melt half the batch of chocolate as directed, reserving the other half. Then, melt 1 cup of peanut butter chips with a little extra sweetened condensed milk separately. Swirl the two mixtures together in the pan before chilling. It creates a gorgeous marble effect that screams indulgence.
- Mint Chocolate Magic: Swap the vanilla extract for one teaspoon of good quality peppermint extract. You can even crush up some peppermint candies and sprinkle them over the top for a festive look, especially great for no-bake dessert ideas like this that are perfect for gifting.

The base recipe holds up beautifully to flavors, so go ahead and experiment! Just make sure whatever you add in doesn’t add too much extra liquid, or you might throw off the setting time on your fantastic homemade fudge.
Storage and Reheating Instructions for Your Fudge
Now that you’ve made this incredible, easy fudge, the next big question is: how do I keep it perfect? The good news is that because this recipe is so dense and rich, it lasts a surprisingly long time, making it perfect for making ahead for parties or holiday treats!
I usually store mine right on the counter in an airtight container. Since this fudge doesn’t rely on fresh dairy products like heavy cream (thanks to that can of condensed milk!), it holds up really well at room temperature for about a week. Make sure the container is truly sealed, though, because fudge can sometimes pick up ambient flavors in the kitchen. I love having these squares ready to go for a quick afternoon sweet fix or when unexpected guests pop over.
If you make a massive batch—and trust me, you might—you can absolutely chill it. Refrigeration keeps it firm for longer, maybe up to three weeks! However, chilling makes it quite hard, so if you pull it straight from the fridge to slice, you might find your knife struggling. My trick for cutting rock-solid fudge is to let it sit on the counter for about 30 minutes before slicing. Once it warms up just slightly, it cuts like butter.
Oh, and if you ever need a super quick something to pair with your dessert squares, maybe something lighter like a salad, my guide on quick lunch recipes has some nice fresh ideas for the daytime!
Can you freeze it? Yes, you absolutely can! Wrap those perfect squares tightly in plastic wrap and then place them in a freezer-safe bag. They’ll last for a couple of months frozen. When you want one, just let it thaw in the fridge overnight. It comes out tasting fresh, like you just made it! See? Easy storage for the easiest fudge recipe ever.
Serving Suggestions for This Decadent Chocolate Candy
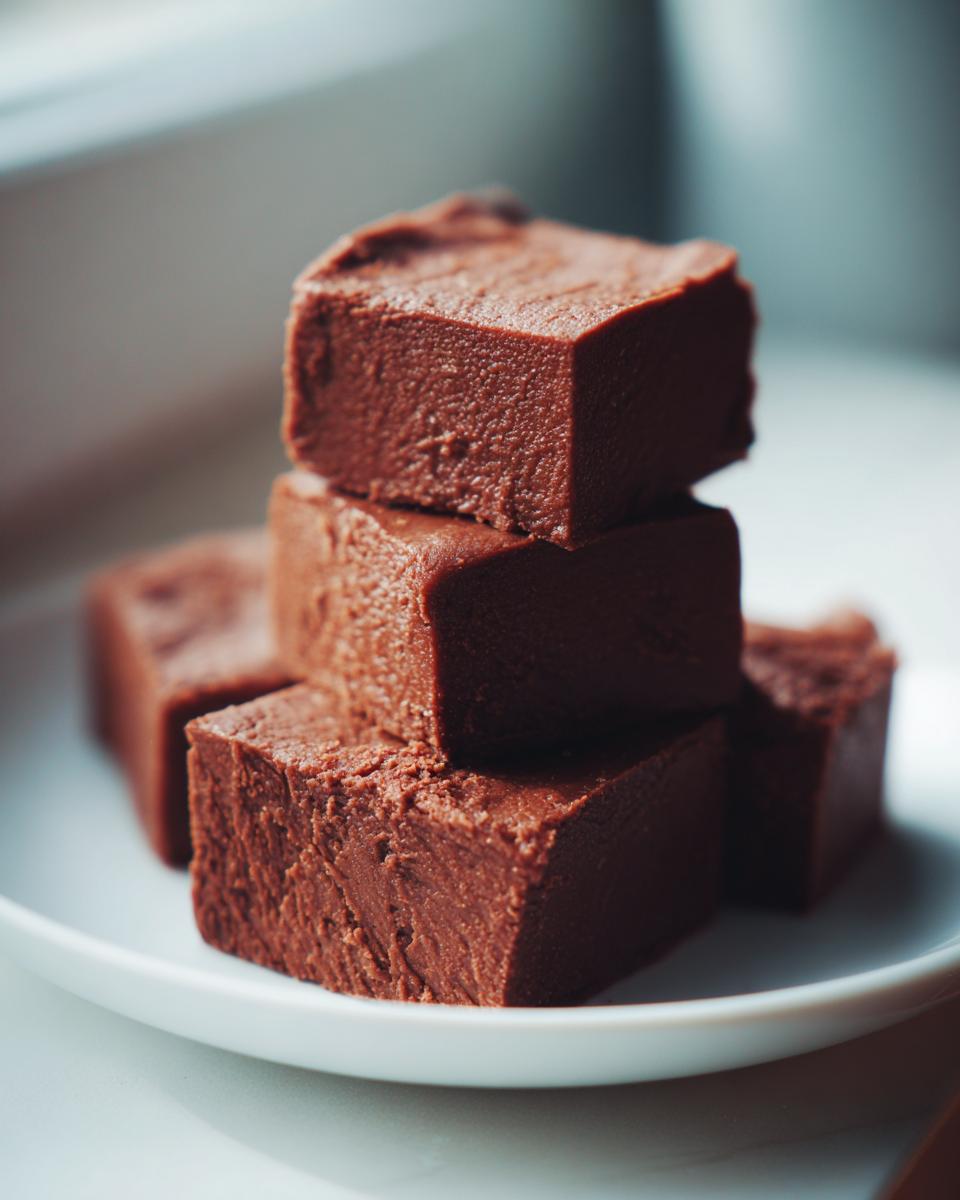
Once you have perfectly chilled and shiny blocks of this fudge, what do you do next? Well, you serve it, of course! But presentation counts, even when we’re keeping things simple. This isn’t just a casual sweet treat; it’s decadent chocolate candy that deserves a little moment in the spotlight, especially if you’re putting some together for fudge for gifting!
If you’re making this batch for a party platter, don’t just toss the squares on a plate. Cut them into smaller, neat bite-sized pieces. That makes people feel like they are sampling something truly special, rather than grabbing a giant chunk. It’s psychology, folks, and it works every time!

Here are a few ways I like to serve up this easy chocolate fudge:
- The Coffee Companion: This is rich, right? So serving a small square alongside a strong cup of black coffee or a latte is divine. The bitterness of the coffee balances the sweetness beautifully.
- Holiday Gifting Platter: If you’re making these for Christmas or another holiday, stack them neatly in small cellophane bags, tied with a bright ribbon. They look homemade, luxurious, and thoughtful—perfect for any holiday fudge recipe collection.
- Contrast with Fruit: For a slightly lighter feel, serve a small piece of fudge next to a crisp slice of green apple or a few fresh raspberries. The sharpness of the fruit cuts through the richness so nicely. We have a great recipe for chocolate covered cherries that pairs well with these flavors, too, if you want to lean into the chocolate theme!
- The Simple Dust: If you want zero extra work, just place the cut squares on a tiered serving tray and lightly dust the top with unsweetened cocoa powder or powdered sugar right before serving. It makes them look professional, trust me.
Honestly, whether you’re eating it straight from the pan while standing over the sink (don’t judge me!) or presenting it elegantly with coffee, this fudge is a guaranteed crowd-pleaser. It’s ready whenever you are!
Frequently Asked Questions About Making Fudge
I’ve gathered a few things people always ask me when they try this batch of fudge for the first time. Making candy can feel intimidating, but remember, this is the easy way! We want to get you the results of a Classic American Fudge without any of the drama.
If you’re serving this alongside appetizers, you might want to look at my recipe for easy cranberry brie bites—they are a total crowd-pleaser!
Can I use milk chocolate instead of semi-sweet in this fudge recipe?
You certainly can, but you need to know what you’re signing up for! Milk chocolate has a higher milk and sugar content than semi-sweet, so your final piece of fudge will be noticeably sweeter. It will also likely be a little softer when set. If you are trying to achieve that deep, rich chocolate flavor, stick to semi-sweet or dark. If you love sweet, go for it, but just be prepared that it might be gooier!
How long does this No Bake Fudge need to chill?
The absolute minimum sweet spot for chilling this No Bake Fudge is two hours. That gives it enough time to firm up solid so you can lift it out of the pan cleanly using those parchment paper handles. If you’re in a major rush—and I mean an emergency rush—you can pop it in the freezer for about 30 minutes, but don’t leave it much longer than that! Freezing for too long can actually change the texture of the fudge and make it brittle.
What causes fudge to become grainy and how does this recipe prevent it?
That horrible grainy texture happens when the sugar crystals decide to grow too large during the cooking process, which usually happens when you overheat the mixture or don’t stir properly when making traditional candy. The whole point of using sweetened condensed milk here is that it does a lot of the crystallization work *for* us! This three-ingredient fudge basically sidesteps the entire issue. We use low heat and just melt everything, so we don’t ever form those big, gritty sugar structures that ruin a beautiful piece of chocolate candy.
Share Your Foolproof Fudge Creations
Seriously, that’s all there is to it! You’ve just made decadent chocolate candy with basically zero effort. I’m so excited for you to see how amazing this turns out. Once it’s set up and you’ve cut those perfect squares, the real fun begins: taste testing! And I really want to see what you come up with.
Please, please give this fudge recipe a rating using those little stars below—it helps other folks who are hesitant about making candy trusts that this simple method actually works. And don’t be shy in the comments below!
I need to know the important details. Did you stick to the original recipe, or did you try one of my variation ideas? Let me know: What mix-ins did you add to your fudge? Did you go for nuts, or did you try melting in some peanut butter chips? I love hearing how you adapt these simple recipes in your own kitchens. If you run into any issues or just want to share a picture, you can always reach out via my contact page, too!
PrintEasy 3-Ingredient Chocolate Fudge

Make rich, smooth chocolate fudge using only three simple ingredients. This no-bake recipe delivers a creamy, melt-in-your-mouth texture without needing a candy thermometer.
- Prep Time: 10 min
- Cook Time: 5 min
- Total Time: 2 hours 15 min
- Yield: 16 servings 1x
- Category: Dessert
- Method: No Bake
- Cuisine: American
- Diet: Vegetarian
Ingredients
- 1 (14 ounce) can sweetened condensed milk
- 1 (12 ounce) package semi-sweet chocolate chips
- 1 teaspoon vanilla extract
Instructions
- Line an 8×8 inch baking pan with parchment paper, leaving an overhang on the sides for easy removal. Lightly grease the paper.
- In a medium, heavy-bottomed saucepan over low heat, combine the sweetened condensed milk and chocolate chips.
- Stir constantly until the chocolate is completely melted and the mixture is smooth. Do not let the mixture boil or overheat.
- Remove the pan from the heat and stir in the vanilla extract until combined.
- Pour the fudge mixture into the prepared baking pan and spread it evenly.
- Refrigerate for at least 2 hours, or until the fudge is firm enough to cut.
- Lift the fudge out of the pan using the parchment paper overhang. Cut into small squares.
Notes
- For a richer flavor, use semi-sweet or dark chocolate bars instead of chips.
- If you want a thicker fudge, use a 9×5 inch loaf pan instead of an 8×8 inch pan.
- You can add 1/2 cup of chopped nuts or mini marshmallows after stirring in the vanilla for variation.
Nutrition
- Serving Size: 1 square
- Calories: 185
- Sugar: 22
- Sodium: 35
- Fat: 10
- Saturated Fat: 6
- Unsaturated Fat: 4
- Trans Fat: 0
- Carbohydrates: 23
- Fiber: 1
- Protein: 3
- Cholesterol: 10