
When the summer humidity hits—and frankly, even when it doesn’t—I just need something bright. Something that tastes like sunshine and clean air, not like I spent an hour fussing over an oven. That’s why this Creamy No-Bake Key Lime Cheesecake became my absolute go-to. It delivers that signature tangy kick without turning on a single burner. It reminds me of those tough event-planning weeks in Austin when I just needed one small, perfect, refreshing thing to anchor my day.
We’re talking about the ultimate easy dessert here. It’s cool, it’s velvety smooth, and that zingy lime flavor is just intoxicating. If you’ve been searching for the best key lime cheesecake that requires zero baking stress, trust me, you’ve found it.
- Why This No-Bake key lime cheesecake is Your Best Summer Dessert
- Gathering Ingredients for Your Tangy Lime Cheesecake
- Step-by-Step Instructions for No Bake Key Lime Cheesecake
- Tips for Success with Your key lime cheesecake Recipe
- Variations on the Classic key lime cheesecake
- Serving Suggestions for This Creamy Lime Dessert
- Storage and Make Ahead Cheesecake Guidelines
- Frequently Asked Questions About key lime cheesecake
- Sharing Your Homemade key lime cheesecake Experience
Why This No-Bake key lime cheesecake is Your Best Summer Dessert
When you need a truly refreshing lime treat without the commitment of baking, this is the recipe you reach for. It’s all about delicious results with minimal fuss, which is exactly what I aim for in my kitchen now. Forget waiting for anything to cool down; this comes together fast! If you’re looking for simple dessert recipes that really shine, this is it.
- It’s genuinely fast: Prep time is under 20 minutes, meaning you can get it chilling quickly.
- The flavor is electric: That intense, bright tang cuts perfectly through the richness of the cream cheese.
- Zero oven stress: This is your ultimate Summer Cheesecake Idea when you don’t want to heat up the house.
Achieving the Perfect Creamy Key Lime Cheesecake Texture
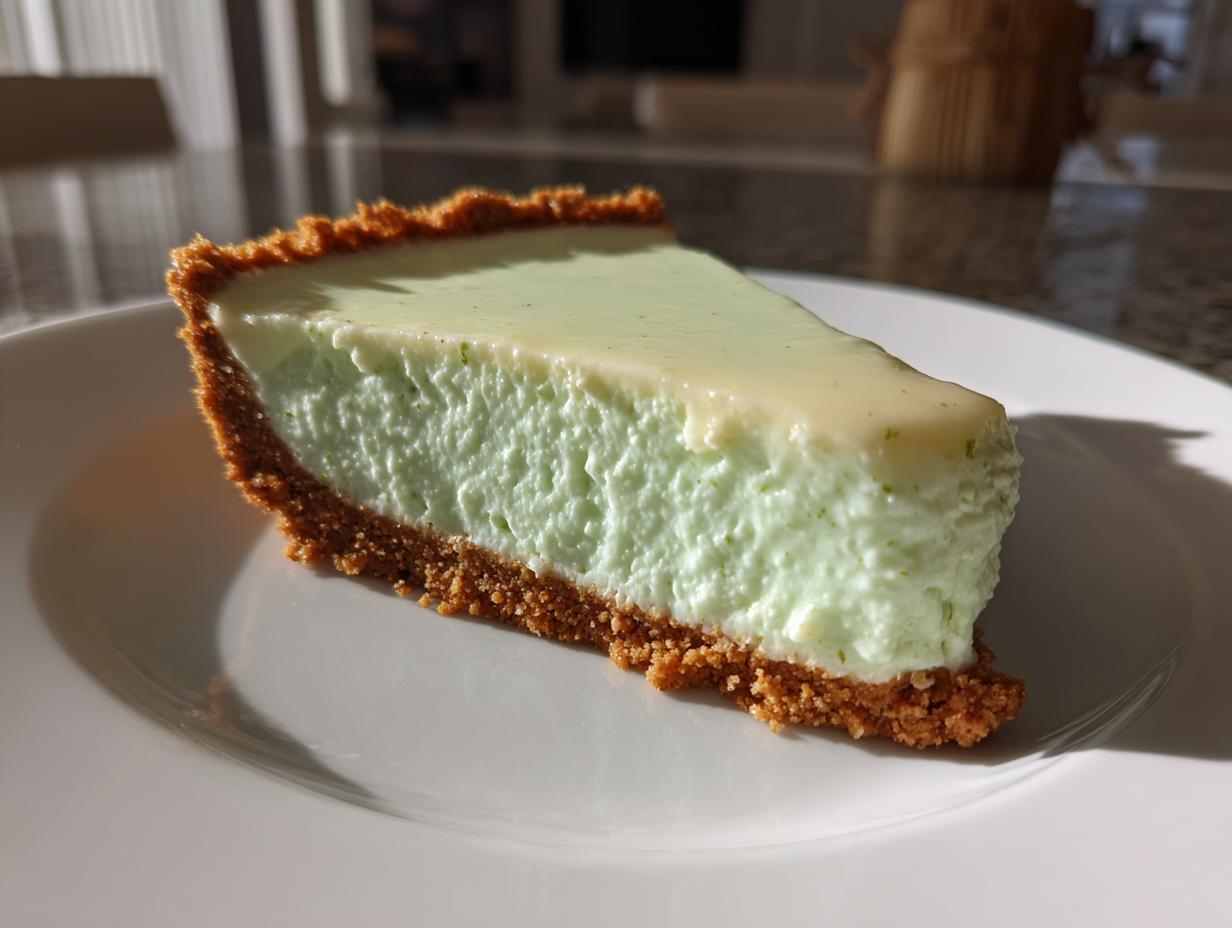
The texture here is totally different from its baked cousin, and honestly, in the heat, I prefer it! Because we aren’t using eggs or relying on heat to set the filling, we get this pure, velvety smoothness. The secret is really in that chilling time. When the cream cheese and condensed milk firm up in the cold, you end up with a slice that holds its shape beautifully—silky, dense, and utterly decadent.
Gathering Ingredients for Your Tangy Lime Cheesecake
When building this amazing dessert, precision matters, especially when you’re getting that perfect tart flavor profile. I always lay everything out like a little mise en place station before I start; it makes the whole process smoother! You only need a few things to make this happen, broken down into the crust and the heavenly lime filling.
For the crust, grab your graham cracker crumbs, a little sugar, and some melted butter. That’s it for our Graham Cracker Crust Desserts base.
For the main event—the filling that gives you that signature Tangy Lime Cheesecake flavor—you’ll need the heavy hitters: softened cream cheese, sweetened condensed milk, vanilla, lime zest, and, most importantly, the juice.
Notes on Key Ingredients for key lime cheesecake
Listen, if you think you can just grab any bottle of lime juice off the shelf, you’re going to have a sad time. The secret to getting this no-bake filling to actually *set* firmly is using freshly squeezed key lime juice. The acidity reacts with the dairy in the condensed milk perfectly. If you use the bottled stuff, sometimes the texture stays too loose. Don’t risk it!
Also, make sure your cream cheese is truly softened—but not melty. If it’s cold, you’ll end up with little lumps in your filling, and we are aiming for pure silk here. Room temperature cream cheese is non-negotiable for a beautiful, smooth result!
Step-by-Step Instructions for No Bake Key Lime Cheesecake
Okay, let’s get down to business! This is where the magic truly happens, and honestly, it’s barely any work at all. I want you to think of this process as assembly art rather than baking. We are building layers of creamy, tangy perfection. Remember, we need patience during the chill time, but the active time is so quick you’ll barely break a sweat. Let’s walk through exactly how to assemble this beauty so you get that picture-perfect slice of Refreshing Lime Treats. If you’re looking for simple dessert recipes that really shine, this is it.
Preparing the Graham Cracker Crust Desserts Base
First things first: the foundation. In a bowl, mix your graham cracker crumbs with the crust sugar and the melted butter until it looks like wet sand. Now, here’s my trick for that flat, clean edge that makes it look professional: use the bottom of a flat measuring cup or a glass to really press that mixture into the bottom of your springform pan. Don’t just use your fingers; use pressure! Once it’s packed tightly and evenly, pop that pan into the freezer for 15 minutes. That little chill helps it stay put when we pour the filling later.
Mixing the Creamy Filling for Your key lime cheesecake
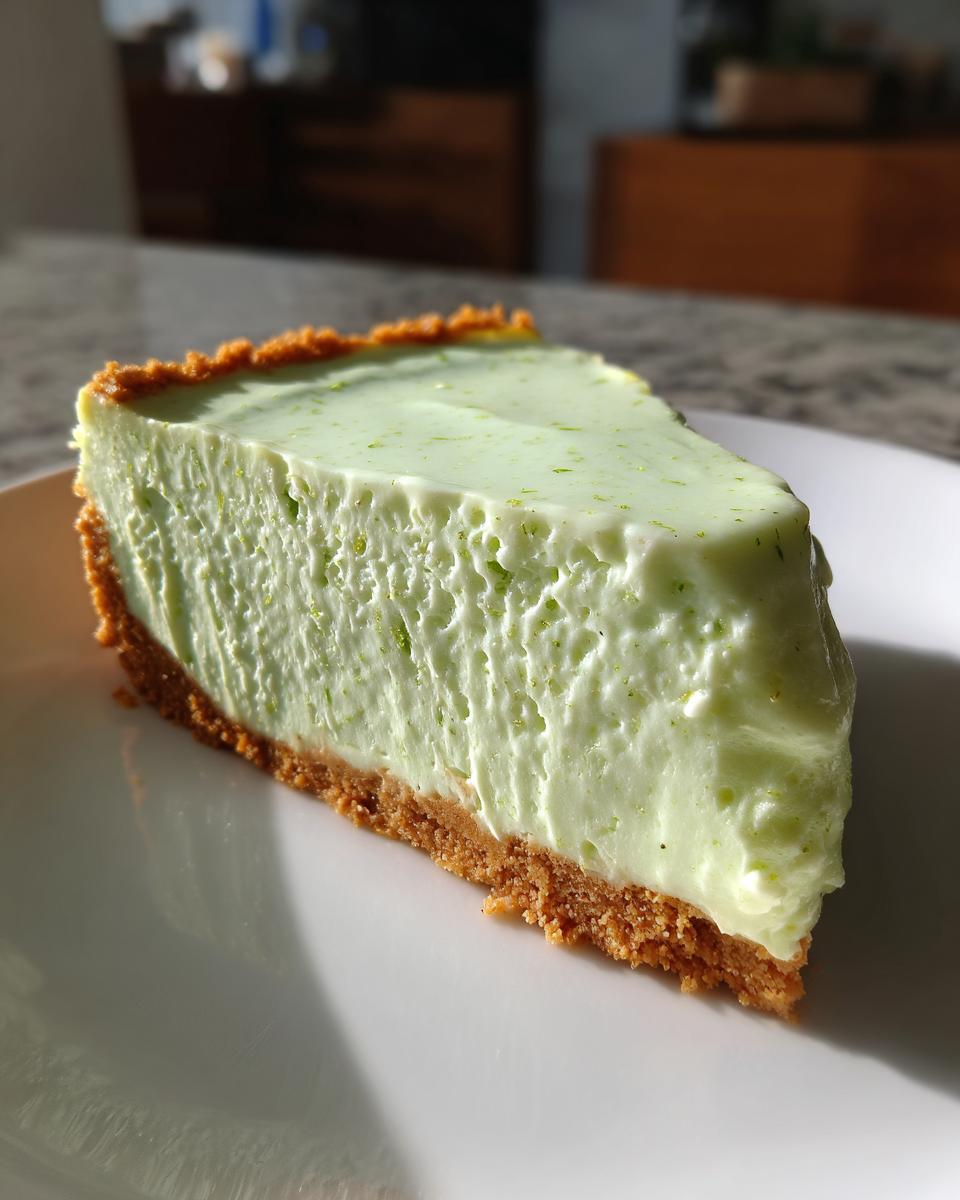
Time for the star! Grab your biggest bowl. You absolutely must beat that softened cream cheese by itself first. Get it going on medium speed until you see zero lumps and it looks light, airy, and totally smooth. This step is non-negotiable for a lump-free filling! Once it’s perfect, slowly drizzle in that can of sweetened condensed milk while the mixer is running. Keep mixing until everything is incorporated. Only then do you add your fresh key lime juice, zest, and vanilla. Watch how the color changes and the mixture starts to thicken slightly—that’s the acid doing its job!
Chilling and Setting the Refreshing Lime Treats
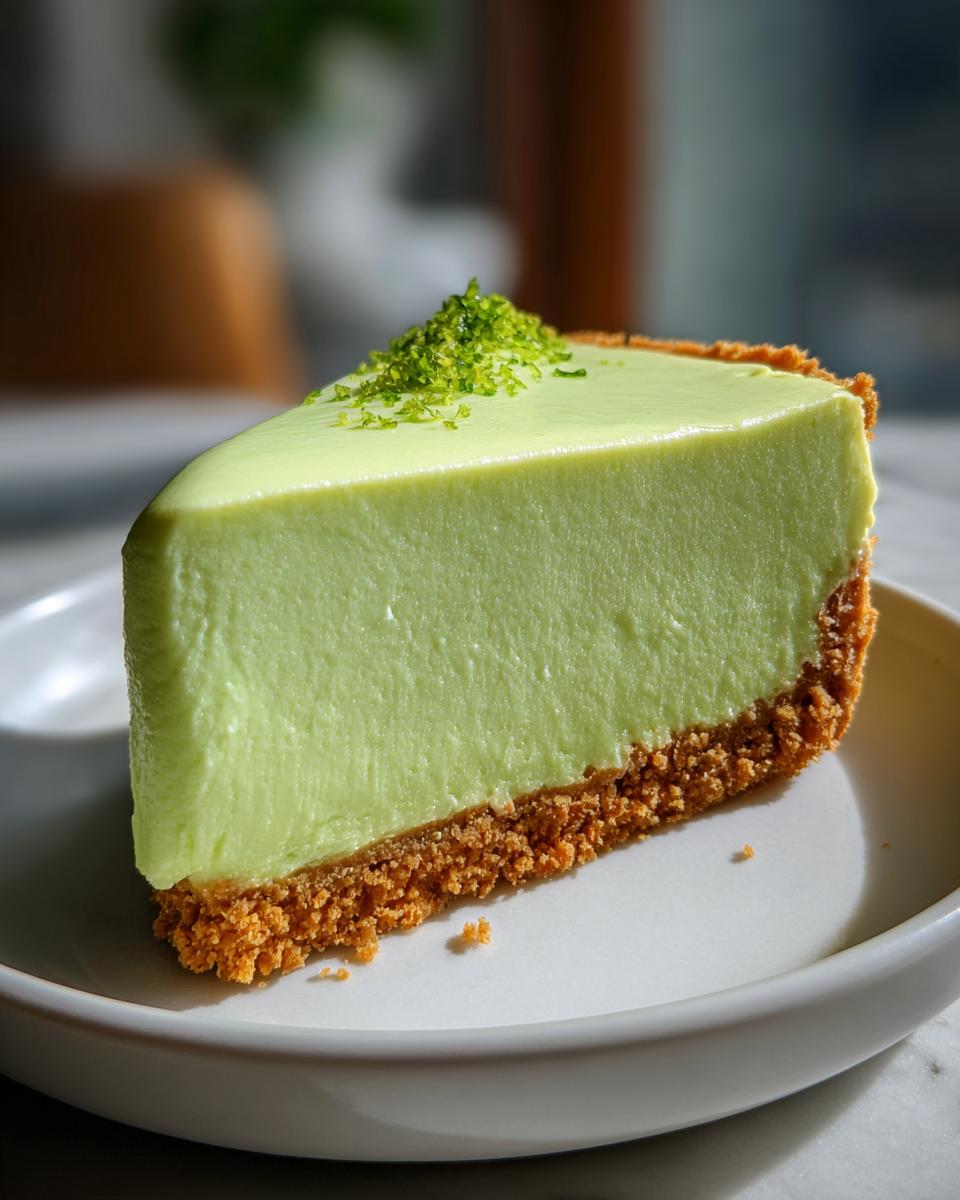
Once you’ve poured that beautiful lime filling over your chilled crust, smooth off the top. Cover it loosely with plastic wrap, making sure the wrap doesn’t stick to the surface, and slide it into the fridge. You *can* eat it after six hours, but I won’t lie to you: for the absolute firmest, most magnificent slice of Easy Key Lime Cheesecake, leave it overnight. When it’s ready, the edges should look just slightly pulled away from the pan sides, and it should feel firm to the touch, not jiggly.
Tips for Success with Your key lime cheesecake Recipe
Even though this is a no-bake recipe, there are still a couple of little things that can trip you up if you aren’t ready for them. Creating a successful key lime cheesecake is really about controlling temperature and timing! If you follow my lead on the cream cheese prep and the chill time, you’ll conquer this easily.
My biggest piece of advice for getting that non-lumpy filling—which is key for that “Cheesecake Factory Key Lime Cheesecake” level smoothness—is managing your mixer speed. Don’t be tempted to crank it up high right away, especially when you add the lime juice. High speed incorporates too much air, which can sometimes lead to weeping later on. We want density, not lightness!
Also, when you release the springform ring, sometimes the crust tries to stick to the outside edge. Get a thin, small offset spatula and gently run it around the very bottom edge of the pan *before* you release the actual clamp. This small move ensures a clean separation and that beautiful, intact crust base.
Making Individual Mini Key Lime Cheesecakes
Oh, I *love* making these as individual mini cheesecakes for parties! They look so cute, and everyone gets a perfect little portion; no ugly slicing required. If you decide to go this route, you’ll use standard muffin tins. Just line them with paper cupcake liners first—don’t try to grease and flour the tin for these, the liner works much better here.
You’ll press the crust mix right into the bottom of each liner. Since these portions are so small, they don’t need 15 minutes in the freezer; five minutes is plenty! Then, just pour the filling over. Because they are smaller, they set up way faster! Instead of needing 6 hours minimum, you can usually get away with a hard chill of about 2 to 3 hours in the fridge before they are firm enough to serve.
Variations on the Classic key lime cheesecake
Once you nail that base recipe, which you will, because it’s so straightforward, the fun part is making it your own! This is the point where we lean into that vibrant, Tropical Citrus Dessert vibe. Don’t feel locked into just the lime and graham cracker routine; a few small swaps can make this a totally new experience for your guests, even though it’s still structurally the same incredibly easy dessert.
My absolute favorite way to mix things up is by changing the crust texture slightly. Have you ever had toasted coconut? It smells incredible! Just swap out about a third of your graham cracker crumbs for finely shredded, unsweetened coconut, and you can toast the mixture right in a dry skillet for about three minutes until it smells nutty. Press that into the pan, and boom—instant tropical upgrade!
Another great tweak for a little extra complexity is pulling inspiration from some of those bakery versions I see online. If you want to give your filling a slight lift, try replacing just *one* tablespoon of the lime juice with lemon juice. It doesn’t dominate, but it adds another sharp layer to the citrus profile. Or, if you’re feeling fancy, a small drizzle of white chocolate ganache over the chilled cheesecake just before serving plays beautifully against the tartness. For more inspiration on amazing, slightly different pairings, you have to check out this Irresistible Key Lime Cheesecake Recipe—they have some neat topping ideas!
Seriously, play around with toppings. A little candied lime slice looks stunning, or even crushing up some shortbread cookies instead of graham crackers gives you a buttery, different foundation that’s totally addictive.
Serving Suggestions for This Creamy Lime Dessert
So, your gorgeous, set key lime cheesecake is out of the fridge. Now what? Deciding what to serve alongside this bright, tart treat is almost as important as making it! You’ve created this magnificent, refreshing lime treat, and we need accompaniments that play nicely—nothing too heavy that would weigh down that light, creamy texture we worked so hard for.
Since this is such a citrus-forward dessert, think about drinks that either match the brightness or offer a nice, simple contrast. I always lean toward something light after a big dinner. A creamy cup of decaf coffee is wonderful, cutting through the richness just enough. If it’s a hot afternoon gathering, skip the heavy sodas and serve tall glasses of iced green tea or maybe even some sparkling water with a mint sprig floating in it.
If you want an extra little crunch on the side, skip the heavy sauces. Instead, serve small shortbread cookies right next to the plate. Their buttery simplicity is the perfect foil for that intense lime zip. They offer a satisfying *snap* against the cheesecake’s smooth melt. For more easy extras that pair well with desserts like this, peek at my collection of simple dessert recipes!
Another great idea for serving is to lean into that tropical theme. A small bowl of macerated berries—think chopped strawberries or raspberries—adds a beautiful color contrast and a touch of natural sweetness without competing with the lime. Honestly, half the time I serve it just with a dollop of homemade whipped cream, but for special occasions, these simple pairings elevate the whole experience!
Storage and Make Ahead Cheesecake Guidelines
Here’s the best part about making a no-bake dessert: it’s practically designed for making ahead! This really is the ultimate make ahead cheesecake, which is such a lifesaver when you’re hosting. You do the work early, and nobody knows you spent zero time fussing on the day of the party!
Once your key lime cheesecake is completely firm—and I mean *completely* firm—you need to seal it up tight. Because it’s so creamy, exposure to the air in the fridge can sometimes dry out the top layer or make it absorb smells from leftover onion soup or whatever else is lurking in there! Cover the springform pan loosely with plastic wrap, but make sure that wrap isn’t actually touching the surface of the cheesecake filling. If you’re nervous about that, just stick a few toothpicks around the edge of the pan top to hold the plastic up a bit.
In the fridge, this beauty will keep really well for about 4 to 5 days. That’s fantastic! If you need to store individual slices, cut them first, then place them on a plate or a small tray, cover them snugly with plastic wrap, and then put that whole setup into an airtight container or a large bag. Storing it this way keeps the slices from getting squished or drying out on the edges, ensuring every bite is as creamy as the first.
Can you freeze it? Yes, you absolutely can, but I just prefer it fresh from the fridge for that perfect texture. If you must freeze, do it before you slice it. Wrap the whole chilled cake tightly in plastic wrap, then wrap it again in foil. It should be good for about a month. When you want to eat it, just let it thaw slowly in the refrigerator overnight. It might lose a *tiny* bit of that sharp lime zing, but it will still be delicious!
Frequently Asked Questions About key lime cheesecake
I know you’re going to love making this, but sometimes these no-bake recipes bring up specific questions, especially around texture and setting power. Don’t worry; I’ve tackled the ones I get most often when friends ask about my specific recipe for this classic dessert. We want gorgeous, firm slices, not runny lime soup!
I pulled together a few of the biggest things people ask about when they’re trying to achieve that perfect, easy, key lime cheesecake result at home. Drop any others in the comments below; I love hearing from you!
Can I substitute bottled lime juice in this Easy Key Lime Cheesecake Recipe?
Oh, I really, really wish you could, but for this specific no-bake version, please stick to fresh. Bottled lime juice, even the stuff that says 100% juice, often has preservatives added that interfere with the chemical reaction we need. Remember how I mentioned the acid sets the filling when it hits the condensed milk? If those preservatives are in the way, your key lime cheesecake might stay soft, gooey, and never actually set up properly. For the best, most intensely flavored, and firmest Tangy Lime Cheesecake slice, you absolutely must use fresh juice from actual key limes if you can find them, or at least fresh standard Persian limes in a pinch!
Does this No Bake Key Lime Cheesecake need to chill overnight?
That’s a fantastic question, as I know sometimes we need a dessert fast! The recipe states a minimum of 6 hours, and technically, yes, it will be firm enough to slice after that time if your fridge is quite cold. However, if you want that truly professional, clean-slicing texture—the kind that doesn’t squish when you carry the plate—I strongly urge you to let it chill overnight. The longer it sits, the better the cream cheese base integrates with the lime acid, resulting in that beautifully stable, dense texture that makes this such a crowd-pleaser.
Can I freeze this Key Lime Cheesecake?
You can, but I’ll manage your expectations: I find that freezing messes slightly with the creamy mouthfeel we’re chasing. If you absolutely must freeze it, make sure the cheesecake is fully set, slice it first (this makes thawing easier), and wrap those individual slices *very* tightly in plastic wrap, followed by foil. Thaw them slowly in the refrigerator for at least 8 hours. For the best experience, I always recommend this as a short-term dessert, ideally made one day and eaten within the next two!
What should I do if my cream cheese wasn’t soft enough?
Oops! We’ve all been there. If you start mixing and realize you have stubborn cold lumps, don’t panic and add more liquid; that ruins the setting power! Stop the mixer, scoop the mixture into a microwave-safe bowl, and heat it on 10-second bursts until you can see the lumps softening. Mix for 30 seconds, check, repeat if necessary, but don’t let it get warm—just slightly softer. Then, mix it back into your main filling. It usually fixes everything instantly!
Sharing Your Homemade key lime cheesecake Experience
Well, now you’ve made it! You’ve conquered the graham cracker crust and you’ve achieved that gorgeous, impossibly creamy filling. I’m practically vibrating with excitement for you!
That first time you slice into one of these Refreshing Lime Treats, especially when you realize you created this stunning, tangy masterpiece without ever touching the oven, well, that’s the moment I live for. Seriously, creating a stellar Florida Inspired Recipe right in your own kitchen is the best feeling.
I really, really want to see how yours turns out! Did you keep it classic? Did you toss in toasted coconut? Tell me everything! Please leave a rating for this key lime cheesecake recipe below—it helps others who are nervous about trying a no-bake version feel comfortable. And if you snapped a picture of your finished dessert, tag me! I love seeing your triumphs. Happy cooking, everyone!
PrintCreamy No-Bake Key Lime Cheesecake

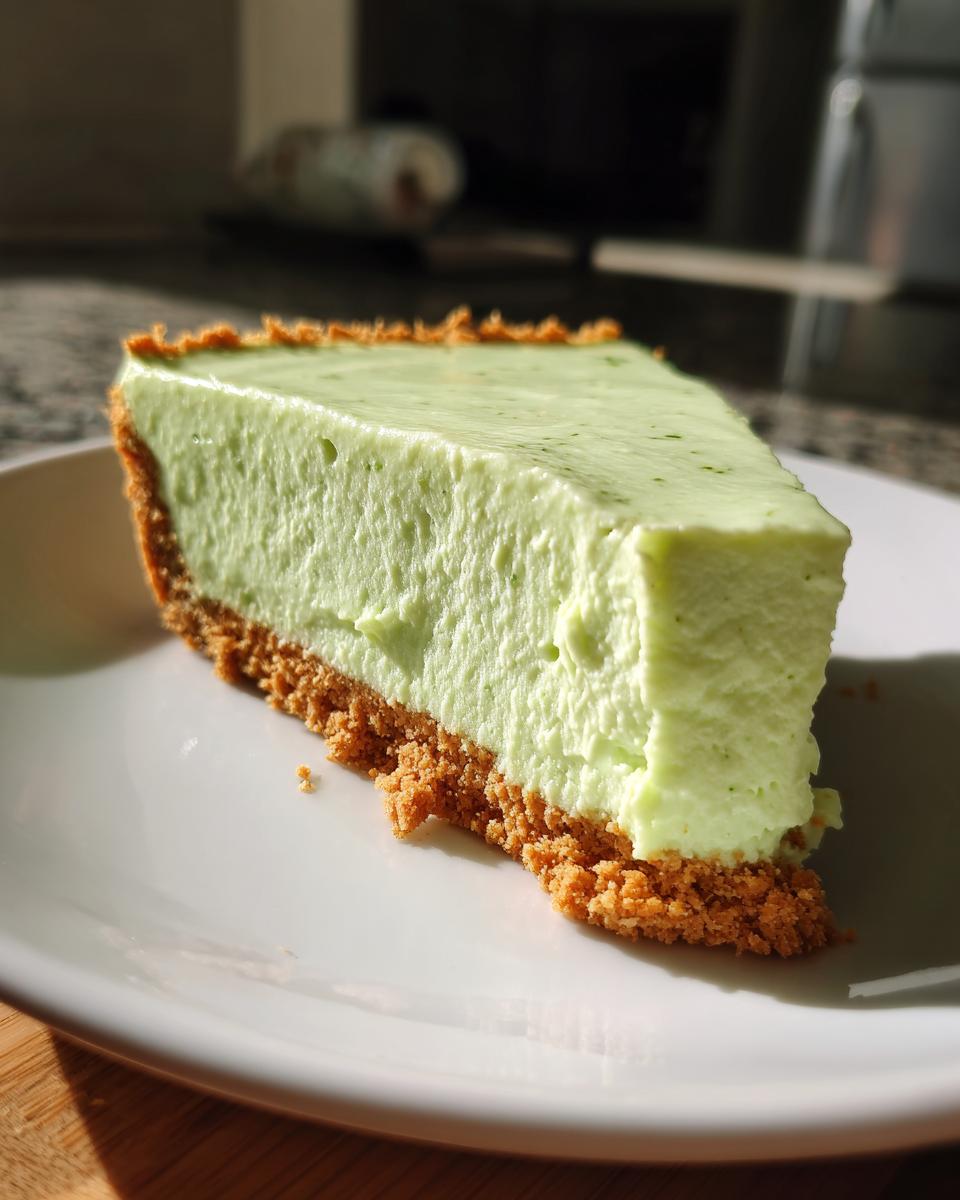
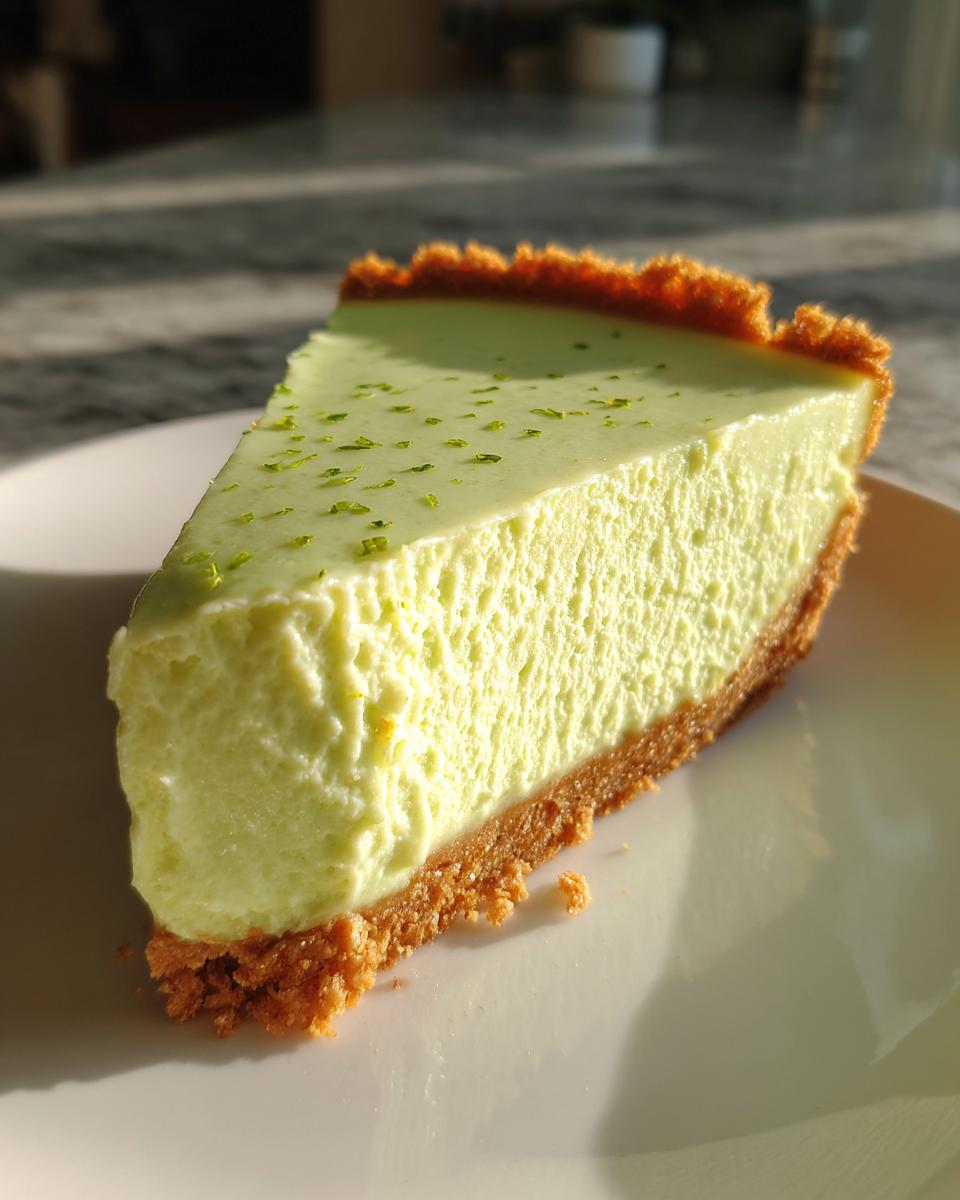
You make this refreshing, tangy key lime cheesecake without turning on the oven. It features a buttery graham cracker crust and a smooth, bright lime filling perfect for summer gatherings.
- Prep Time: 20 min
- Cook Time: 0 min
- Total Time: 6 hr 20 min
- Yield: 10 servings 1x
- Category: Dessert
- Method: No Bake
- Cuisine: American
- Diet: Vegetarian
Ingredients
- 1 1/2 cups graham cracker crumbs
- 1/4 cup granulated sugar (for crust)
- 6 tablespoons unsalted butter, melted
- 2 (8 ounce) packages cream cheese, softened
- 1 (14 ounce) can sweetened condensed milk
- 1/2 cup key lime juice (freshly squeezed is best)
- 1 tablespoon lime zest
- 1 teaspoon vanilla extract
- Optional: Whipped cream or lime slices for topping
Instructions
- Prepare the crust: Combine graham cracker crumbs, 1/4 cup sugar, and melted butter in a medium bowl. Press the mixture firmly into the bottom of a 9-inch springform pan. Chill the crust in the freezer for 15 minutes while you prepare the filling.
- Beat the cream cheese: In a large bowl, use an electric mixer to beat the softened cream cheese until it is completely smooth and creamy, scraping down the sides of the bowl as needed.
- Mix in wet ingredients: Gradually beat in the sweetened condensed milk until fully combined.
- Add flavor: Mix in the key lime juice, lime zest, and vanilla extract until the filling is smooth and uniform in color. The mixture will thicken slightly as the acid from the lime juice reacts with the dairy.
- Assemble and chill: Pour the lime filling over the chilled graham cracker crust. Smooth the top with a spatula.
- Set the cheesecake: Cover the pan loosely with plastic wrap and refrigerate for at least 6 hours, or preferably overnight, until the cheesecake is firm.
- Serve: Before serving, carefully release the springform side. Top with whipped cream or fresh lime slices if desired.
Notes
- For a tropical citrus dessert flavor, use only fresh key lime juice; bottled juice may not set as firmly.
- If you want individual mini key lime cheesecakes, press the crust into the bottom of lined muffin tins and chill for 2 hours before filling.
- This make ahead cheesecake is best prepared one day in advance to achieve the firmest texture.
Nutrition
- Serving Size: 1 slice
- Calories: 380
- Sugar: 30g
- Sodium: 250mg
- Fat: 24g
- Saturated Fat: 14g
- Unsaturated Fat: 10g
- Trans Fat: 0.5g
- Carbohydrates: 35g
- Fiber: 1g
- Protein: 6g
- Cholesterol: 75mg