
Listen, when the table is set and everyone is eyeing the roast bird, the last thing you need is a gloppy, lumpy mess sitting beside it. That annual holiday stress is real, but trust me, making the ultimate homemade turkey gravy doesn’t have to be scary. I developed this recipe because I believe you deserve confidence in the kitchen, not panic! This is my go-to foolproof, lump-free method, focusing entirely on capturing the absolute best flavor from your pan drippings. It’s about turning those precious brown bits into a silky smooth sauce that tastes like you spent all day on it, even though we’ll keep the process wonderfully simple and achievable.
- Why This Turkey Gravy Recipe is Your Holiday Secret Weapon
- Gathering Ingredients for Perfect Turkey Gravy
- How to Make Turkey Gravy: Step-by-Step Instructions
- Tips for Success When Making Homemade Turkey Gravy
- Serving Suggestions for Your Rich Turkey Sauce
- Frequently Asked Questions About Turkey Gravy
- Estimated Nutritional Data for Turkey Gravy
- Share Your Best Turkey Gravy Success
Why This Turkey Gravy Recipe is Your Holiday Secret Weapon
Honestly, this recipe is a game-changer when it comes to holiday sides. If you’ve ever been scared off by gravy, that stops right here. This isn’t just any sauce; it’s guaranteed delicious every single time, which is why I trust it implicitly for my own big meals. It takes all the work out of making something that feels totally homemade and elevated. You’re going to feel like a total pro!
- It is absolutely foolproof—if you stir, you win.
- We use your actual pan drippings for that authentic, deep, savory flavor.
- No sticking, no burning, and definitely no horrible lumps.
We accomplish all this with the magic of a good turkey gravy from drippings!
Achieving Silky Smooth Turkey Gravy Every Time
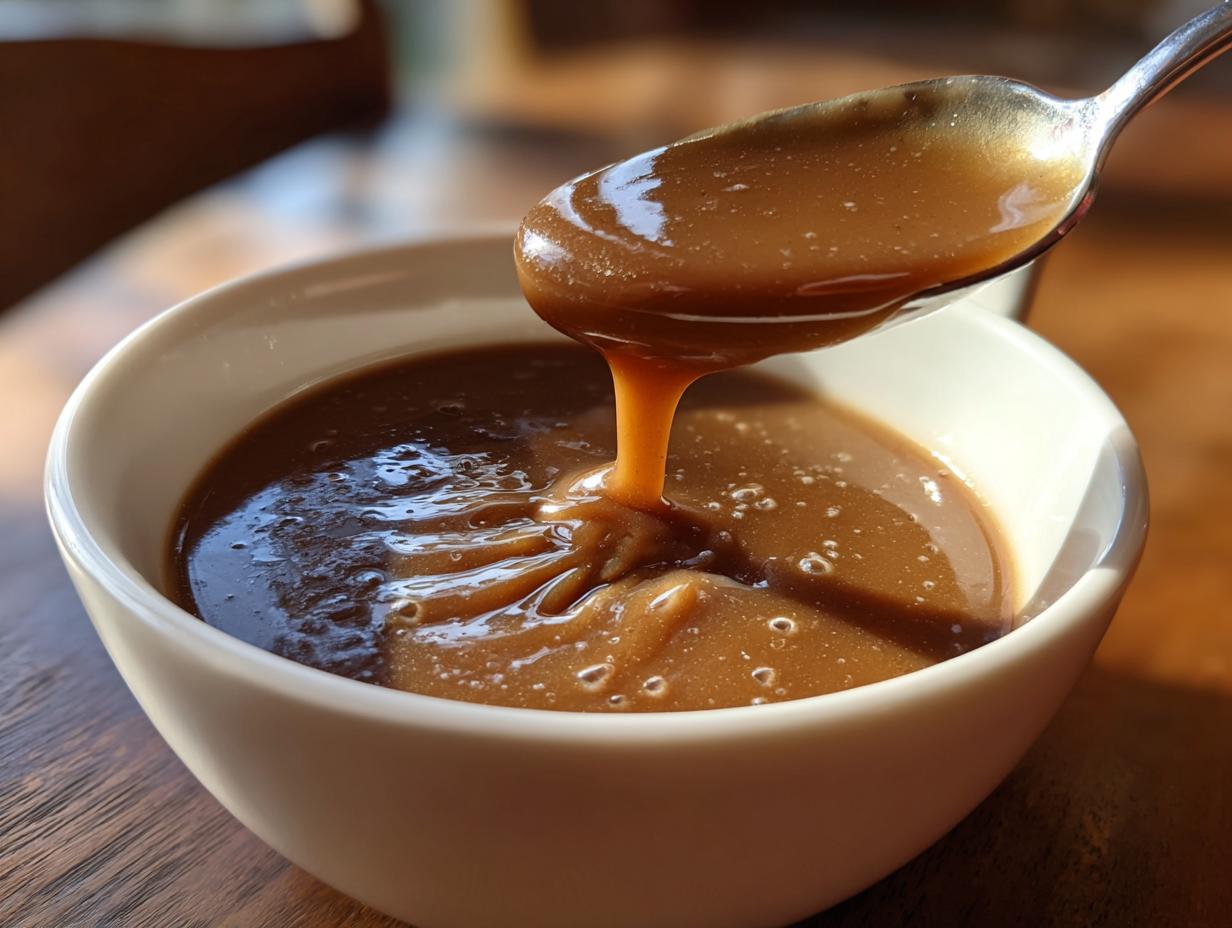
The secret to that beautiful, pourable texture is right there in the technique. We build a proper roux—just fat and flour cooked together first—and then we whisper the warm stock in, volume by volume. Seriously, don’t dump it! That slow addition is your immediate defense against those dreaded lumps you see in other recipes. Seeing smooth gravy come together is pure kitchen therapy, I promise.
The Rich Flavor of Gravy Using Pan Drippings
What makes this special for Thanksgiving? It’s those little brown bits stuck to the bottom of the roasting pan. That fond is pure flavor gold! If you use only stock, you get a nice sauce, but when you incorporate those drippings, you get richness. It just coats your food so much better and tastes like the best part of the roast turkey itself. Don’t let those tasty bits go to waste!
Gathering Ingredients for Perfect Turkey Gravy
Okay, let’s talk about what you need. This list is super straightforward because, sticking to the Food Dexterity philosophy, we use what you already have in your American pantry! We aren’t searching specialty stores for esoteric spices here—just simple components for maximum flavor impact. The amounts here are perfect for a standard holiday dinner, yielding about four generous servings. Remember, quality counts, especially when it comes to the stock!
Here is what you need on the counter before you even heat the pan:
- 1/2 cup turkey pan drippings (or butter if making without drippings)
- 1/2 cup all-purpose flour
- 4 cups turkey or chicken stock, warm
- 1 teaspoon salt, or to taste
- 1/2 teaspoon black pepper, or to taste
- Optional: 1/4 cup dry white wine or sherry
Pro tip: Make sure that stock is warm before you add it! Cold liquid hitting hot fat is just asking for your roux to seize up into a scary lump.
Ingredient Notes and Substitutions for Your Turkey Gravy Recipe from Scratch
Since every turkey yields a different amount of drippings, we have a plan B! If your bird didn’t give you a full 1/2 cup of fat, just add some plain unsalted butter to make up the difference. That’s what I always do for a full, balanced base. Also, if you happen to need a gluten free turkey gravy option, you can swap that all-purpose flour out for cornstarch or tapioca starch, but you mix that in differently—usually as a slurry—so you’ll need to look up the exact technique for that substitution!
How to Make Turkey Gravy: Step-by-Step Instructions
This is where the magic, and maybe a little bit of panic, happens! But don’t worry. If you follow these steps exactly, you’ll have the most incredible turkey gravy you’ve ever made. I learned this lesson the hard way once when I got distracted by a phone call and nearly burned my roux—it smelled awful! Since then, I stir constantly during this starting phase. It’s quick work, I promise!
Creating the Flavor Base: The Roux for Your Turkey Gravy
First things first: get those pan drippings (or butter) into your saucepan over medium heat. Once they’re melted and warm, toss in your flour. Whisk it together until it forms this beautiful, uniform paste. This paste is called the roux, and cooking it for a good two to three minutes is super important. You have to cook out that raw flour taste, otherwise your final sauce tastes a little chalky. Keep whisking until it smells nutty, not dusty!
Incorporating Stock for a Lump Free Gravy Tutorial
Now for the game-changer for any lump free gravy tutorial: the warm stock! Add just a little splash—I mean maybe one ladle full—of that warm stock. Whisk it like you mean it until that thick roux mixture has completely absorbed it and it’s smooth again. Don’t even think about adding the next cup until the first bit is perfectly smooth. Once you do this a couple of times, the rest of the stock will slide right in without an issue for a really silky smooth turkey gravy.
Simmering and Finishing Your Classic Savory Gravy
Once all the liquid is in, turn the heat up slightly until it simmers gently. Let it bubble happily for about 5 to 10 minutes. This is when it thickens up beautifully. After that, take it off the heat, stir in your salt and pepper, and give it a good taste test! If you’re feeling fancy—and I often do—pour it through a fine-mesh sieve right before serving. That last step takes it from great to absolutely restaurant-quality smooth!
Tips for Success When Making Homemade Turkey Gravy
Look, even with the best plan, sometimes things go a little sideways in the kitchen, especially when you’re juggling a million things on Thanksgiving Day. That’s fine! That’s why I want you to know the quick fixes for saving your sauce. Don’t panic if your gravy seems off, because chances are, it’s totally fixable with a little elbow grease or a quick trip to the blender. Having these backup plans means you’re always in control of your beautiful homemade turkey gravy.
Troubleshooting Common Turkey Gravy Issues
The number one disaster—lumps! My biggest tip for that is just stopping everything and whisking like crazy while it’s off the heat. If it’s still lumpy, pull out an immersion blender if you have one, or carefully pour the whole batch into a standard blender and buzz it for about ten seconds. Instant silkiness! Now, if you ended up with a gravy that’s way too thick, don’t worry about throwing it out. Just gently whisk in an extra splash of that warm stock until it pours nicely. If it ends up too thin? That’s an easy fix too—just make a small slurry (equal parts cornstarch and cold water) and whisk that in slowly over low heat until it coats a spoon.
Making Ahead Turkey Gravy for a Stress-Free Holiday
If you want to seriously cut down on the chaos when the bird comes out of the oven, you absolutely have to try making this ahead. Honestly, that’s what I do most years now! You finish the gravy completely, let it cool down on the counter, and then store it in an airtight container in the fridge for up to three days. It will get super firm and look like actual jelly, but don’t freak out; that’s normal!
When it’s go-time, just pop it into a saucepan over low heat. You’ll need to whisk in just a little bit more stock or even water as it melts. It comes back together perfectly, tastes just as rich, and saves you precious stovetop space during the main event. That’s the definition of a successful holiday cooking strategy to me—less stress, more flavor!
Serving Suggestions for Your Rich Turkey Sauce
Now that you have the most perfect, silky rich turkey sauce ever poured, you need things to pour it on! This gravy is basically the star player of any holiday plate. It needs robust partners, you know?
Naturally, it needs fluffy potatoes; I always use my recipe for garlic parmesan mashed potatoes because the salty cheese loves the savory depth of the drippings. And don’t forget the stuffing—this sauce soaks right into the crispy edges of a good holiday stuffing topping like nothing else.
It’s also divine spooned over roasted root vegetables or even as a topping for your sweet potato casserole if you’re feeling extra decadent! It really elevates everything on the plate.
Frequently Asked Questions About Turkey Gravy
Can I make turkey gravy without pan drippings?
Oh, absolutely you can! Sometimes the turkey just doesn’t give up much fat, or maybe you’re making a gravy for a different roast. This recipe is designed to be flexible, remember? If you don’t have drippings, just skip that part and start with a half cup of unsalted butter in your skillet. You use the butter exactly the same way to make your roux, and then you rely totally on really high-quality chicken or turkey stock to provide the flavor. It won’t have that deep, roasted flavor, but it will still be smooth and delicious—a perfect turkey gravy without drippings option!
How do I get the best flavor if my turkey drippings are minimal?
If you only have a tiny bit of drippings, you’ve got to punch up the flavor in other ways, right? While you’re cooking that roux (the fat and flour paste), toss in a teaspoon of dried poultry seasoning, or even some fresh minced thyme or sage leaves. Let those herbs toast right in the hot fat for just about thirty seconds before you add the flour. Wow, that aroma fills the kitchen! Also, don’t skimp on the stock quality here. If you use the best store-bought or homemade stock you can find, it really carries the flavor beautifully when the drippings are light.
Is this an easy gravy recipe for beginners?
Yes, yes, a thousand times yes! If you are new to making sauce from scratch, this is the absolute best place to start. The whole process hinges on learning what a “roux” is and learning to whisk slowly when adding liquid. Those two steps are the foundation for almost all sauces, so mastering them here on your *best turkey gravy ever* means you can make almost anything! I’ve broken down the instructions to be as simple as possible. Just take your time whisking the warm stock in, and you’ll avoid every beginner mistake. You can totally do this!
Estimated Nutritional Data for Turkey Gravy
Now, I know most of us aren’t counting every single calorie when we’re having the holiday feast, but I like to keep things transparent just in case! Since we are dealing with fats from drippings and flour, the numbers do add up a bit, but remember this is for a rich, satisfying sauce that enhances everything else on your plate.
Here is the estimated breakdown for one serving size (which is about 1/2 cup) of this classic savory gravy. Please remember this is just an estimate we put together based on standard reference ingredients—it’s not a lab analysis!
- Serving Size: 1/2 cup
- Calories: 150
- Fat: 10g
- Saturated Fat: 6g
- Carbohydrates: 12g
- Protein: 4g
- Sodium: 450mg (This depends totally on how salty your stock and drippings were!)
If you want to keep the sodium lower, use low-sodium stock and skip adding extra salt until the very end after tasting. It’s all about making this homemade turkey gravy work for your table!
Share Your Best Turkey Gravy Success
I truly hope this recipe has taken the stress out of your holiday cooking and delivered the most amazing, silky turkey gravy you’ve ever poured onto your plate. I put all my best hints and tricks in here just so you could feel completely confident using your own pan drippings!
Now, I absolutely live to hear about your successes! Did the roux cook up perfectly? Did you manage to get that amazing, clump-free texture everyone talks about? Please, please leave a comment below and let me know how your gravy turned out this year. Knowing that I helped someone achieve that perfect holiday side dish means everything to me.
If you’re feeling bold, snap a picture of your beautifully sauced mashed potatoes or your perfectly topped stuffing and tag us! Your success stories are the reason I cook and share these old family secrets. Happy feasting, and I can’t wait to read your reviews!
PrintThe Best Foolproof Turkey Gravy from Pan Drippings

Make rich, silky smooth turkey gravy using your pan drippings. This easy, lump-free recipe is perfect for your holiday feast.
- Prep Time: 10 min
- Cook Time: 20 min
- Total Time: 30 min
- Yield: 4 servings 1x
- Category: Side Dish
- Method: Stovetop
- Cuisine: American
- Diet: Vegetarian
Ingredients
- 1/2 cup turkey pan drippings (or butter if making without drippings)
- 1/2 cup all-purpose flour
- 4 cups turkey or chicken stock, warm
- 1 teaspoon salt, or to taste
- 1/2 teaspoon black pepper, or to taste
- Optional: 1/4 cup dry white wine or sherry
Instructions
- Pour the turkey pan drippings into a large saucepan or skillet. If you have less than 1/2 cup of drippings, add enough butter to reach 1/2 cup total fat. Heat over medium heat.
- Whisk the flour into the drippings until a smooth paste, called a roux, forms. Cook the roux for 2 to 3 minutes, whisking constantly, to cook out the raw flour taste.
- If using wine, pour it in now and whisk until it evaporates, about 1 minute.
- Gradually whisk in the warm stock, about 1 cup at a time, ensuring each addition is fully incorporated and smooth before adding the next. This prevents lumps.
- Bring the mixture to a simmer, whisking often. Continue to simmer for 5 to 10 minutes, or until the gravy thickens to your desired consistency.
- Remove from heat. Stir in salt and pepper. Taste and adjust seasoning as needed.
- For the smoothest texture, strain the gravy through a fine-mesh sieve before serving.
Notes
- To make ahead: Prepare the gravy completely, cool it, and store it in an airtight container in the refrigerator for up to 3 days. Reheat gently on the stovetop, whisking in a splash of extra stock if it becomes too thick.
- If you do not have pan drippings, substitute 1/2 cup unsalted butter for the fat and use 4 cups of good quality turkey or chicken stock.
- If lumps form, remove the gravy from the heat and whisk vigorously. If lumps persist, use an immersion blender or pour the gravy into a standard blender and blend until smooth.
Nutrition
- Serving Size: 1/2 cup
- Calories: 150
- Sugar: 1
- Sodium: 450
- Fat: 10
- Saturated Fat: 6
- Unsaturated Fat: 4
- Trans Fat: 0
- Carbohydrates: 12
- Fiber: 0
- Protein: 4
- Cholesterol: 25