
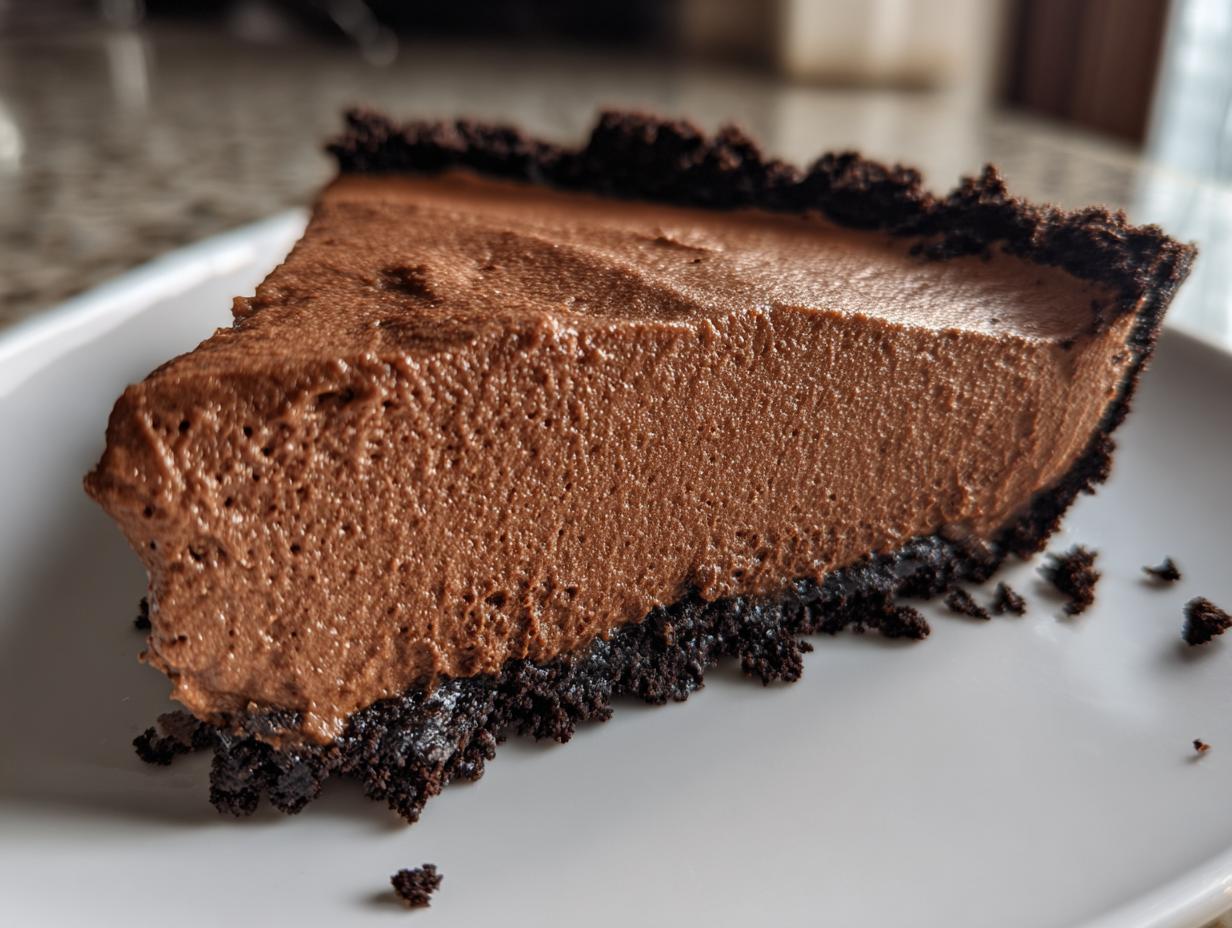
Doesn’t a slice of pure, unadulterated chocolate just hit differently sometimes? I get it. When that craving strikes, you don’t want to wait around for an oven to preheat or spend hours fussing. That’s why I’m thrilled to share what I genuinely believe is the ultimate **Easy No-Bake chocolate mousse pie** recipe. Forget complicated steps; we’re aiming for that dreamy, silky, and unbelievably fluffy texture that melts the moment it hits your tongue, all without turning on a single burner. This is exactly the kind of simple recipe that lives here at Food Dexterity—food that feels incredibly special but fits right into your busy life. If you’re looking for ways to streamline your weeknights, checking out my thoughts on easy weeknight dinners always helps! Trust me, this is the creamiest chocolate dessert you’ll ever need.
- Why This Easy No-Bake chocolate mousse pie Recipe Works
- Gathering Ingredients for Your Decadent Chocolate Pie
- Step-by-Step Instructions for the No Bake chocolate mousse pie
- Tips for the Best chocolate mousse pie Success
- Storage and Serving Suggestions for Your chocolate mousse pie
- Frequently Asked Questions About This Easy Chocolate Mousse Pie Recipe
- Nutritional Estimates for Your Silky Chocolate Dessert
- Share Your Experience Making This Decadent Chocolate Pie
Why This Easy No-Bake chocolate mousse pie Recipe Works
I developed this method because, honestly, sometimes I need an indulgent chocolate dessert on the table in under 30 minutes of hands-on time. That’s where the pressure to keep things simple comes in, and this **Quick Chocolate Pie** delivers! We skip the awkward tempering of eggs and the fuss of a water bath entirely. This is purely about creating magic using accessible ingredients.
The secret sauce here, which keeps it a truly Simple Chocolate Pie, is the combination of instant pudding mix, cream cheese, and heavy cream. It’s my clever adaptation for when life gets hectic. I needed something that behaved like a rich, velvety mousse but set reliably without baking. If you’re looking for more ways to bring ease to your sweet side, check out my list of the best simple dessert recipes!
Achieving the Perfect Silky Chocolate Dessert Texture
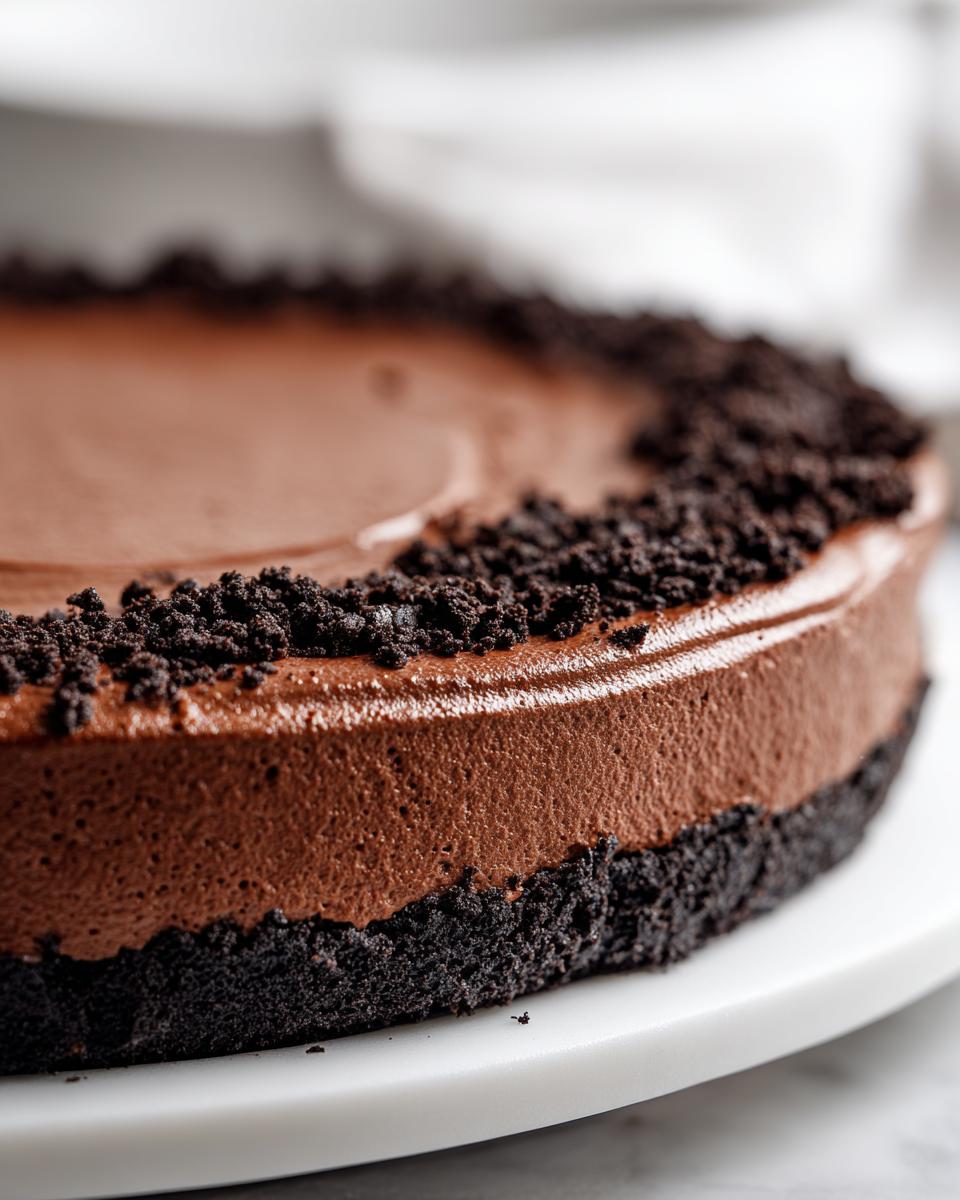
That wonderful, airy mouthfeel you get in a true French mousse? We capture that easily here. The pudding mix isn’t there just for flavor; it’s our dependable stabilizer! It works with the whipped heavy cream to create structure—that’s what gives us that gorgeous, light body. When you fold everything together carefully, you end up with a truly Silky Chocolate Dessert that looks and tastes like it took all day.
Gathering Ingredients for Your Decadent Chocolate Pie
Now that we know this Decadent Chocolate Pie is going to be easy, let’s talk about what you need. I promise you, this list is all standard stuff—nothing fancy or hard to find at your local American grocery store. Remember, the Food Dexterity philosophy is built around making great food achievable, and that starts with accessible ingredients!
The key here is paying attention to the temperature of a couple of things, especially ensuring your dairy is properly chilled for whipping later. Before we dive in, let’s organize everything so when it’s time to mix, we’re ready to rock!
For the Chocolate Cookie Crust Pie Base
This is where that satisfying crunch comes from. We’re using Oreos because they just cry out for rich chocolate filling, don’t they?
- 1 1/2 cups crushed Oreo cookies (that’s usually about 25 cookies, just crush them up in your food processor or a tough zip-top bag!)
- 6 tablespoons unsalted butter, fully melted
For the Fluffy Mousse Pie Filling
This part needs your attention on the temperatures. The cream cheese must be fully softened to avoid lumps, but the milk and cream absolutely have to be cold for proper whipping and thickening!
- 8 ounces cream cheese, softened almost to room temperature
- 1 cup powdered sugar
- 1 teaspoon vanilla extract
- 1/2 cup cold milk
- 1 (3.9 ounce) package instant chocolate pudding mix
- 1 1/2 cups cold heavy whipping cream, and this is important: it needs to be divided (1 cup for folding, and 1/2 cup saved for the topping).
Optional Ganache Topping Ingredients
I always say go big or go home when it comes to chocolate pie topping, but this part is totally optional if you’re short on time!
- 1/2 cup semi-sweet chocolate chips (these will be melted with the reserved cream)
Step-by-Step Instructions for the No Bake chocolate mousse pie
Okay, deep breaths! This is the fun part where we put everything together, and trust me, it moves quickly once you have your ingredients ready. Since this is a No Bake Pie Recipe, we’re relying on chilling time to do the heavy lifting, not the oven. We want that fluffy, set texture we talked about, so speed and gentle handling in these steps are crucial! If you’re looking for other quick setups, my guide to no-bake Christmas desserts has some great ideas too!
Preparing the Chocolate Cookie Crust Pie
First things first, we need that crunchy home for our mousse! Grab a bowl and mix those crushed Oreos with the melted butter until everything looks like wet sand. Press that mixture firmly into your 9-inch pie plate—push it right up the sides a little bit too, for that nice border. Then, pop that entire plate into the freezer. It needs to get really cold while we whip up the filling, so aim for at least 15 minutes, but don’t sweat it if it stays in there longer!
Building the Creamy Chocolate Dessert Base
Time for the cream cheese magic! Get your softened cream cheese into a nice big bowl. You need to beat this until it’s totally smooth—no lumps allowed! Seriously, scrape down the sides of the bowl halfway through; you don’t want any sneaky clumps hiding in your luxurious filling. Once it’s silky smooth, slowly mix in the powdered sugar and vanilla extract until they vanish completely.
Creating the Silky Chocolate Mousse Filling
Now we tackle the chocolate pudding. In a separate, smaller bowl, whisk the cold milk and the instant chocolate pudding mix together. You only need to whisk for about two minutes, until it just starts getting thick, then let it rest for five minutes. While that’s setting up, take 1 cup of your heavy whipping cream and beat it until you get soft peaks—you know, when the peaks bend over slightly when you lift the mixer? Now, here’s the crucial part: Gently fold that lovely whipped cream into the cream cheese mixture first. Then, and only then, gently fold in the thickened pudding mixture. I want you to use a spatula and be *gentle*. Overmixing this is how you lose all that beautiful air we just whipped in!
Chilling and Finishing the chocolate mousse pie
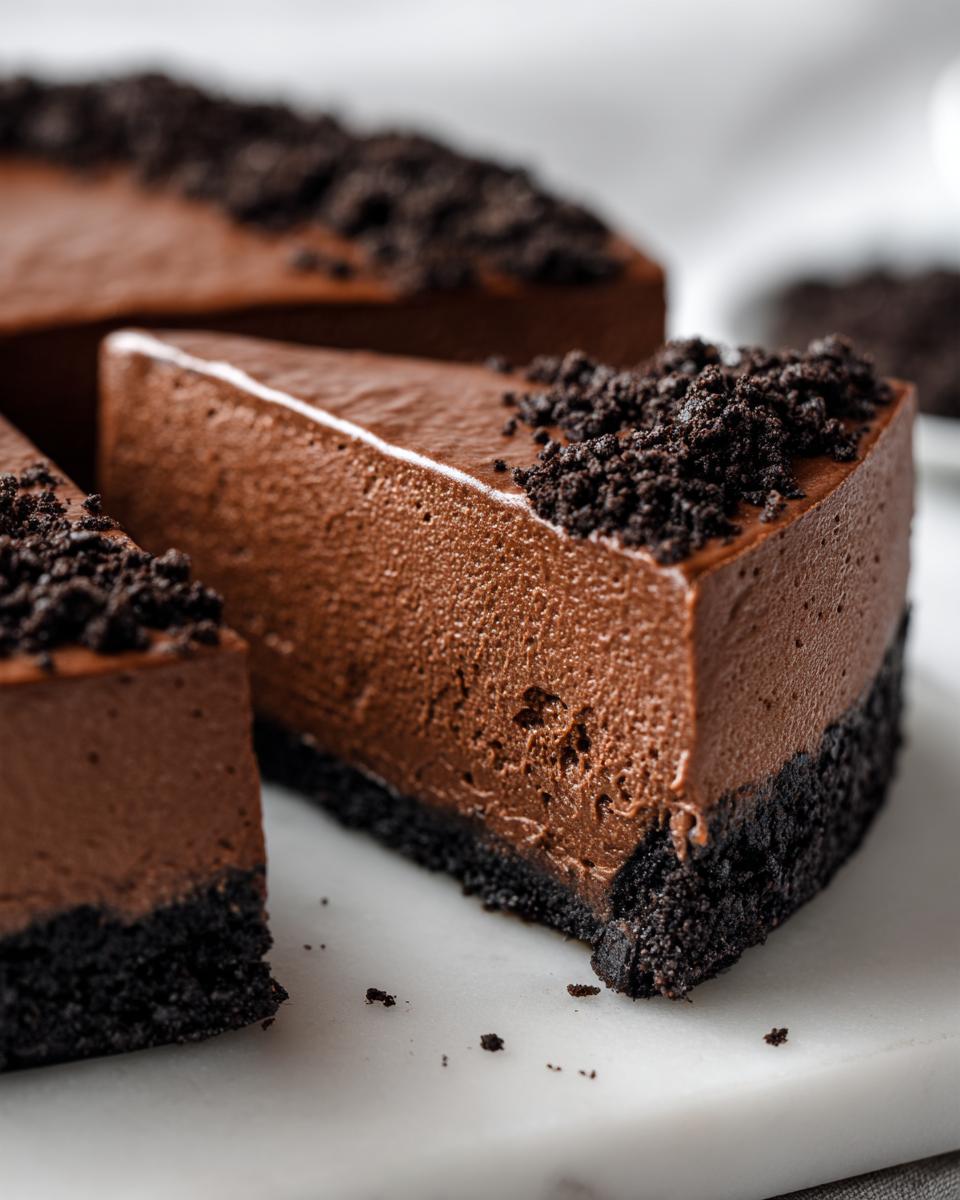
Carefully spoon all that dreamy mousse filling into your chilled Oreo crust and spread it out nice and even. Cover it loosely with plastic wrap—you don’t want condensation dripping on your pretty top layer! Pop it back into the fridge for at least 4 hours. Seriously, four hours minimum so it can firm up completely; this is vital for a clean slice. You can find other great tips over here if you want to peek! If you’re adding the optional ganache, just heat that reserved half-cup of cream until it simmers, pour it over the chips, let it sit, and whisk until smooth. Let that sit until it’s just slightly cool, then spread it right over the set pie!
Tips for the Best chocolate mousse pie Success
Even though this is an incredibly easy recipe, I always have a few last-minute pointers to make sure you end up with the dreamiest, most perfect slice of this dessert. Remember, we’re building food confidence here, and sometimes that means knowing what to do when things aren’t exactly textbook perfect. If you’re looking for other tried-and-true baking advice, I share tons of my kitchen wisdom over in my guide to easy, moist, old-fashioned fruit cake recipes—the principles of mixing are often the same!
Ingredient Substitutions for Your Creamy Chocolate Dessert
The cream cheese temperature is the most important thing to nail for a smooth outcome. If it’s too cold, you’ll end up with tiny, hard chunks in your base, which ruins that soft, lovely texture we’re aiming for in our Creamy Chocolate Dessert. I’m talking soft enough that your finger leaves an easy dent, not slightly squishy!
Now, about the crust: if you don’t have Oreos on hand, don’t panic! You can absolutely use graham cracker crumbs, or even vanilla wafers. Just make sure you use the same measurement (1 1/2 cups of crumbs) and the 6 tablespoons of melted butter to bind it all together. It won’t have that extra chocolate punch, but it will still give you that essential sturdy base for the mousse!
Storage and Serving Suggestions for Your chocolate mousse pie
This is the part where we talk about patience again, because this chocolate mousse pie is honestly better the next day! Since it’s a no-bake dessert, it needs that cold time to stay perfectly set and ultra-creamy. You shouldn’t try to reheat it at all—we want it fridge-cold for that signature fluffy texture!
I usually plan to make this the day before any big event, which really cuts down on stress. You can cover that pie tightly with plastic wrap (make sure the wrap doesn’t touch the top layer if you put the ganache on) and it stays wonderful in the refrigerator for up to two, maybe even three days. It just solidifies that flavor profile beautifully.
When it’s time to serve up this Indulgent Chocolate Dessert, you’ll want to pull it out of the fridge about 10 minutes before slicing. Not too long! We want it firm, not sloppy. If you skipped the ganache topping, don’t worry, you can still make it look spectacular!
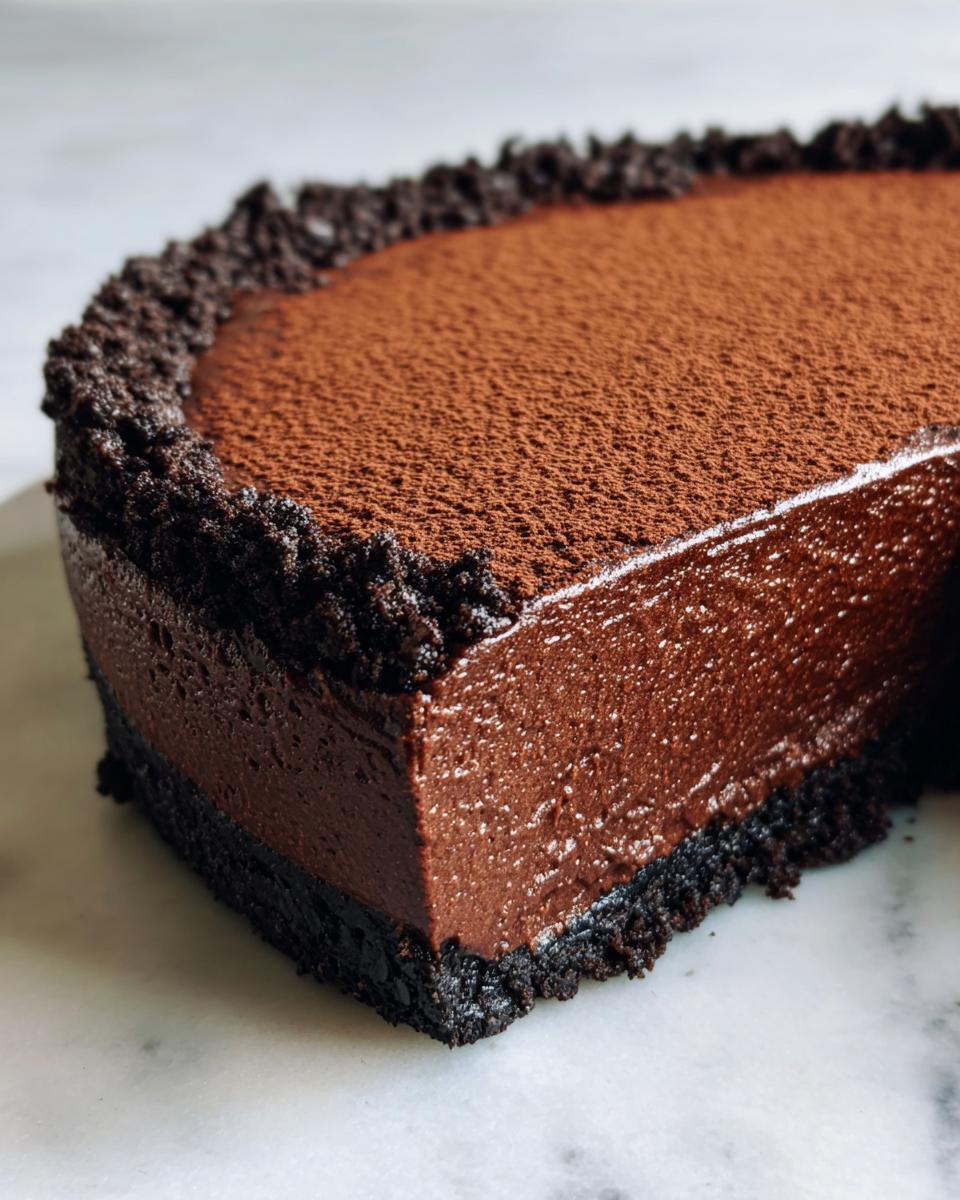
For presentation, I usually go for something bright to contrast that deep chocolate color. A little pile of fresh raspberries or sliced strawberries always looks gorgeous sitting right next to the slice. Or, if you’re feeling fancy, just grab one of those little fine-mesh sifters and dust the whole top surface with good quality unsweetened cocoa powder right before you bring it to the table. It gives it this amazing, matte, elegant finish without adding any extra sweetness!
If you found yourself with extra slices, they are perfect for packing into individual airtight containers. Honestly, having a slice of this creamy chocolate dessert waiting for me the next day is one of life’s little joys. For more easy ideas that fit into your life, pop over and look at my collection of simple dessert recipes!
Frequently Asked Questions About This Easy Chocolate Mousse Pie Recipe
When you’re working on a No Bake Chocolate Mousse Pie, I always find that people have a few common worries, usually centered around setting time and texture. Don’t worry, I’ve got you covered! If you have any questions at all about making sure this turns out as the perfect Silky Chocolate Dessert you’re picturing, check out these answers first!
Can I make this chocolate mousse pie ahead of time?
Oh, you absolutely can! In fact, I encourage it! This recipe is a lifesaver for party planning. Since it needs a minimum of four hours to firm up, making it the day before is ideal. You can cover it tightly with plastic wrap—just make sure the wrap isn’t touching the surface if you added the ganache—and keep it in the fridge for up to two full days without any problem. The set holds wonderfully!
What if I don’t have instant pudding mix for this No Bake Chocolate Mousse Pie?
That instant pudding mix is really doing some heavy lifting here! It’s what gives us that reliable set and helps stabilize the cream so we get a fantastic sliceable texture instead of a floppy mess. If you don’t have it, you’d need to substitute it with something that performs the same stabilizing job, usually combining melted chocolate with gelatin, which adds a totally different step. For the easiest approach to this specific recipe, I really recommend sticking to the instant pudding for that perfect Fluffy Mousse Pie result. If you can’t find that, maybe save this recipe for another day and look for one that uses a pure whipped-cream-and-melted-chocolate base!
How do I get the ‘Fluffy Mousse Pie’ texture if my filling seems dense?
If your filling is dense, it almost always comes down to one of two things: either your cream cheese wasn’t soft enough, which created little lumps that weighed everything down, or you overworked the folding step! When you fold in the whipped cream and the pudding, you must be gentle—think of it like tucking in a baby! Use big, slow motions, cutting down the center and sweeping up the side of the bowl. You want to see light streaks until it’s *just* combined. Stop mixing the very second the colors blend. If you keep going, you’ll knock all the lovely air bubbles right out, and that’s how you lose that airy, fluffy texture we are aiming for in this Easy Chocolate Mousse Pie Recipe.
If you’ve got any other questions after baking up this treat, feel free to get in touch with me through my contact page! Sometimes seeing what other people ask helps everyone cook with more confidence. When you’re done with dessert cravings, I always have ideas for quick lunch recipes too!
Nutritional Estimates for Your Silky Chocolate Dessert
Okay, let’s talk numbers for a second. I know most of us aren’t obsessing over nutrition labels when we’re diving into a slice of rich, Silky Chocolate Dessert like this, but I always like to provide an idea of what’s inside! Remember, this is just an estimate based on the ingredients list and how we’ve divided it up for 8 generous servings. I’ve always believed in being upfront about what we’re putting into our bodies, even when the food is pure joy!
This Easy No-Bake Chocolate Mousse Pie Recipe is certainly decadent, so the numbers reflect that indulgence. Keep in mind the optional ganache topping will slightly affect these totals, but this gives you a baseline for one slice:
- Serving Size: 1 slice
- Calories: Approximately 450
- Fat: Around 30g
- Carbohydrates: About 42g
- Sugar: Roughly 35g (Welcome to the good stuff!)
- Protein: About 5g
If you’re making this for a crowd, everyone will be too busy asking for a second piece of this Creamy Chocolate Dessert to worry about the grams of sugar, but it’s good context to have!
Share Your Experience Making This Decadent Chocolate Pie
I’ve shared all my little secrets and shortcuts for this Decadent Chocolate Pie, and now I really want to see what you create! Honestly, nothing makes me happier than knowing one of my recipes brought a little bit of kitchen joy or satisfied a major sweet craving for you.
Once your chocolate mousse pie has set up perfectly—that beautiful, silky chill—I *need* to know what you thought! Did the Oreo crust hold up? Was the filling fluffy enough for your taste? Please take a moment to leave a rating right below this section using the simple 5-star system. Your feedback tells me what’s working well and helps other home cooks feel confident about trying it out next!
And if you snapped a picture of your finished masterpiece? That makes my day! Tag me on social media or share your photos in the comments below. I love seeing how everyone puts their own spin on these wonderful, achievable desserts. If you ever run into a snag or have a burning question after trying this or any other recipe, don’t hesitate to reach out via my contact page. Happy baking (or, in this case, happy chilling)!
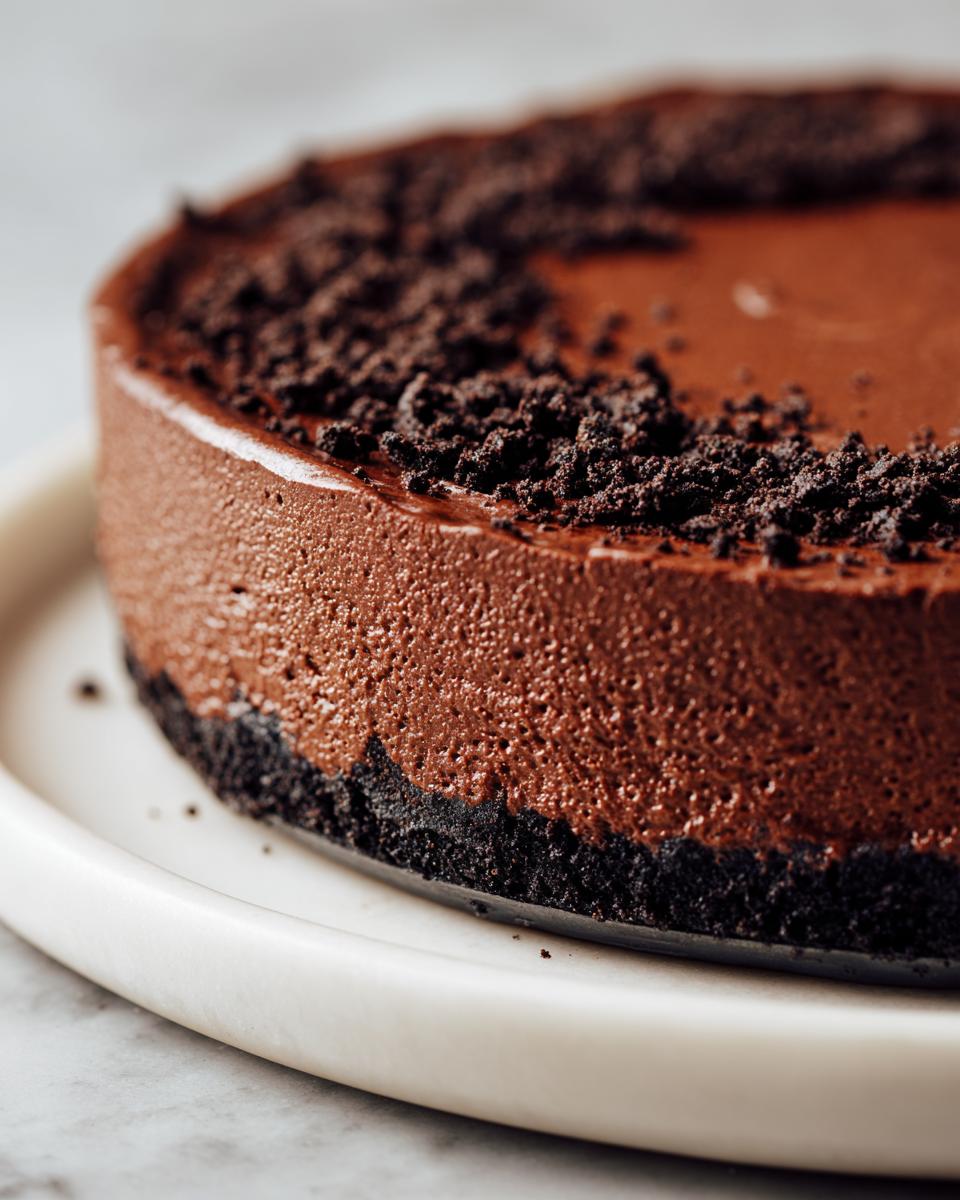
PrintEasy No-Bake Chocolate Mousse Pie with Oreo Crust

Make this simple, no-bake chocolate mousse pie featuring a crunchy Oreo crust and a light, silky chocolate filling. It is a quick and decadent dessert perfect for any occasion.
- Prep Time: 25 min
- Cook Time: 0 min
- Total Time: 4 hr 25 min
- Yield: 8 servings 1x
- Category: Dessert
- Method: No-Bake
- Cuisine: American
- Diet: Vegetarian
Ingredients
- 1 1/2 cups crushed Oreo cookies (about 25 cookies)
- 6 tablespoons unsalted butter, melted
- 8 ounces cream cheese, softened
- 1 cup powdered sugar
- 1 teaspoon vanilla extract
- 1/2 cup cold milk
- 1 (3.9 ounce) package instant chocolate pudding mix
- 1 1/2 cups cold heavy whipping cream, divided
- 1/2 cup semi-sweet chocolate chips (for optional topping)
Instructions
- Prepare the crust: Mix the crushed Oreo cookies and melted butter in a bowl until combined. Press the mixture firmly into the bottom and up the sides of a 9-inch pie plate. Place the crust in the freezer while you prepare the filling.
- Make the cream cheese base: In a large bowl, beat the softened cream cheese with an electric mixer until smooth. Gradually beat in the powdered sugar and vanilla extract until fully incorporated.
- Prepare the mousse filling: In a separate medium bowl, whisk together the cold milk and instant chocolate pudding mix for two minutes until it begins to thicken. Let it sit for five minutes.
- Fold in the whipped cream: In a separate bowl, whip 1 cup of the heavy whipping cream until soft peaks form. Gently fold the whipped cream into the cream cheese mixture until just combined.
- Combine the mixtures: Fold the thickened chocolate pudding mixture into the cream cheese and whipped cream base until smooth and uniform. Do not overmix.
- Fill the crust: Spoon the chocolate mousse filling evenly into the chilled Oreo crust. Smooth the top with a spatula.
- Chill the pie: Cover the pie loosely with plastic wrap and refrigerate for at least 4 hours, or until the mousse is firm.
- Prepare the topping (optional): In a small saucepan, heat the remaining 1/2 cup of heavy whipping cream until simmering. Remove from heat and pour over the chocolate chips in a small bowl. Let it sit for 5 minutes, then whisk until smooth to create a ganache. Let the ganache cool slightly, then spread it over the chilled pie.
- Serve: Slice and serve the pie cold. Store leftovers in the refrigerator.
Notes
- For the fluffiest mousse, make sure your cream cheese is fully softened before mixing.
- If you prefer a taller pie, use a 10-inch pie plate, but note that the filling will be thinner.
- You can substitute graham cracker crumbs for Oreos if you prefer a non-chocolate crust.
Nutrition
- Serving Size: 1 slice
- Calories: 450
- Sugar: 35g
- Sodium: 320mg
- Fat: 30g
- Saturated Fat: 18g
- Unsaturated Fat: 12g
- Trans Fat: 0.5g
- Carbohydrates: 42g
- Fiber: 2g
- Protein: 5g
- Cholesterol: 75mg