
If you’ve ever spent hours carefully cutting out your favorite holiday shapes only to have your beautiful icing turn into a sticky, soft mess that smears if you look at it wrong, I totally get it. That’s the worst! When I first started adapting recipes for my busy life, I wrestled with so many soft frostings.
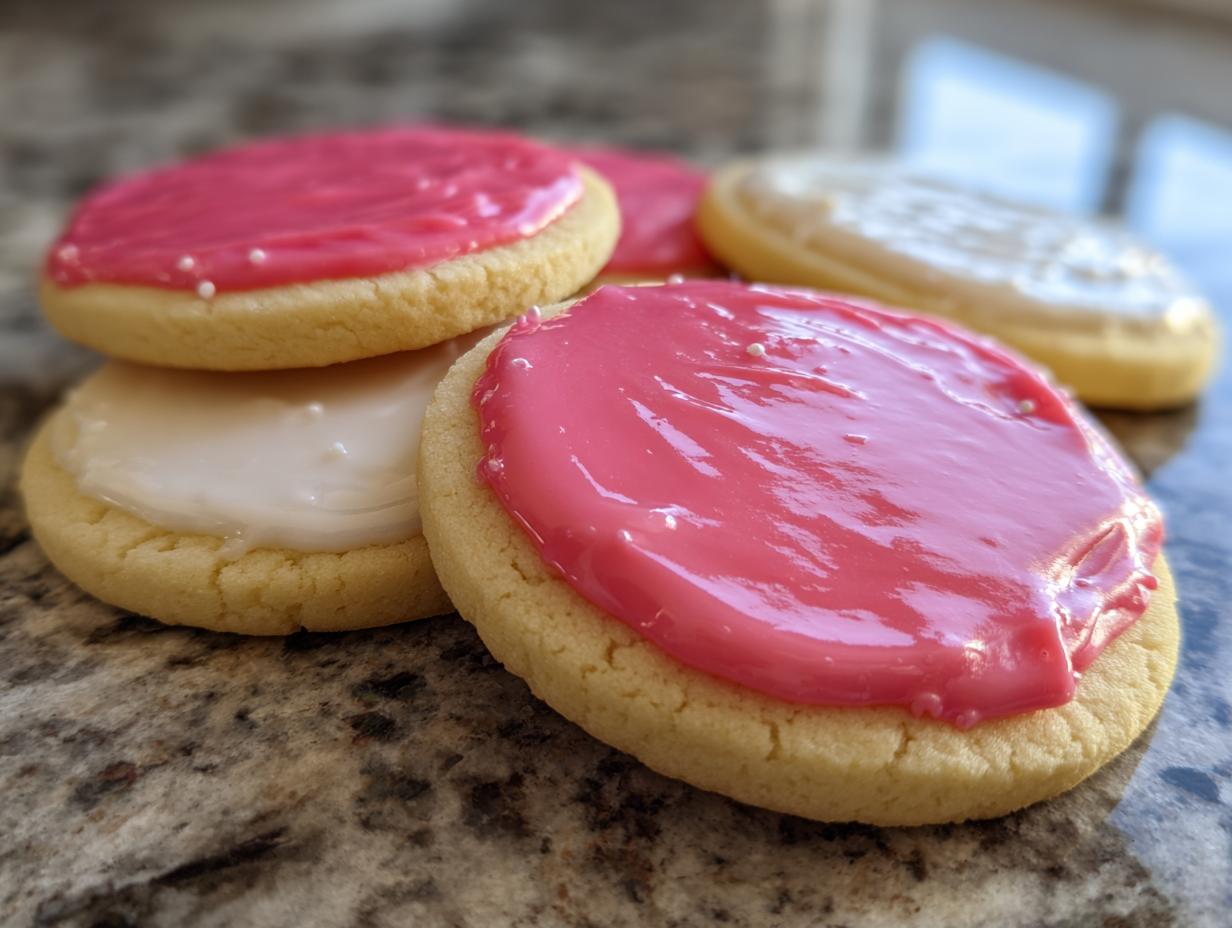
But honestly, when you’re decorating cookies to give away or stack up for a treat table, you need something sturdy that looks amazing and holds its shape. That’s why I’ve landed on what I now call my signature sugar cookie icing that hardens. It’s simple, it’s reliable, and it delivers that smooth, almost professional finish every single time. Here at Food Dexterity, we aren’t striving for impossible perfection; we’re aiming for real-life dexterity—delicious results that are achievable even when you’re juggling a packed schedule. Trust me, this recipe gives you that enviable, stackable finish without all the fuss.
This glossy recipe is so easy, you’ll wonder why you didn’t switch sooner! If you’re ready to upgrade your cookie decorating game, you can see other achievable treats over at my guide to simple dessert recipes.
- Why This Sugar Cookie Icing That Hardens Works So Well (E-E-A-T)
- Ingredients for Your Smooth Cookie Frosting That Hardens
- How to Prepare the Best Sugar Cookie Icing That Hardens
- Coloring Your Stackable Cookie Icing Recipe
- Applying Your Glossy Sugar Cookie Topping for a Professional Look
- Drying Time for Sugar Cookie Icing That Hardens
- Troubleshooting Your Icing That Hardens for Cookies
- Storing Your Finished Sugar Cookie Icing That Hardens Decorations
- Frequently Asked Questions About Cookie Icing Consistency Tips
Why This Sugar Cookie Icing That Hardens Works So Well (E-E-A-T)
Okay, let’s talk science, but don’t worry, it’s easy science! The real hero in this recipe for making that perfect icing that hardens for cookies is actually the light corn syrup. Most basic powdered sugar glazes just dry crusty, or worse, stay tacky forever. But that little bit of corn syrup does two amazing things.
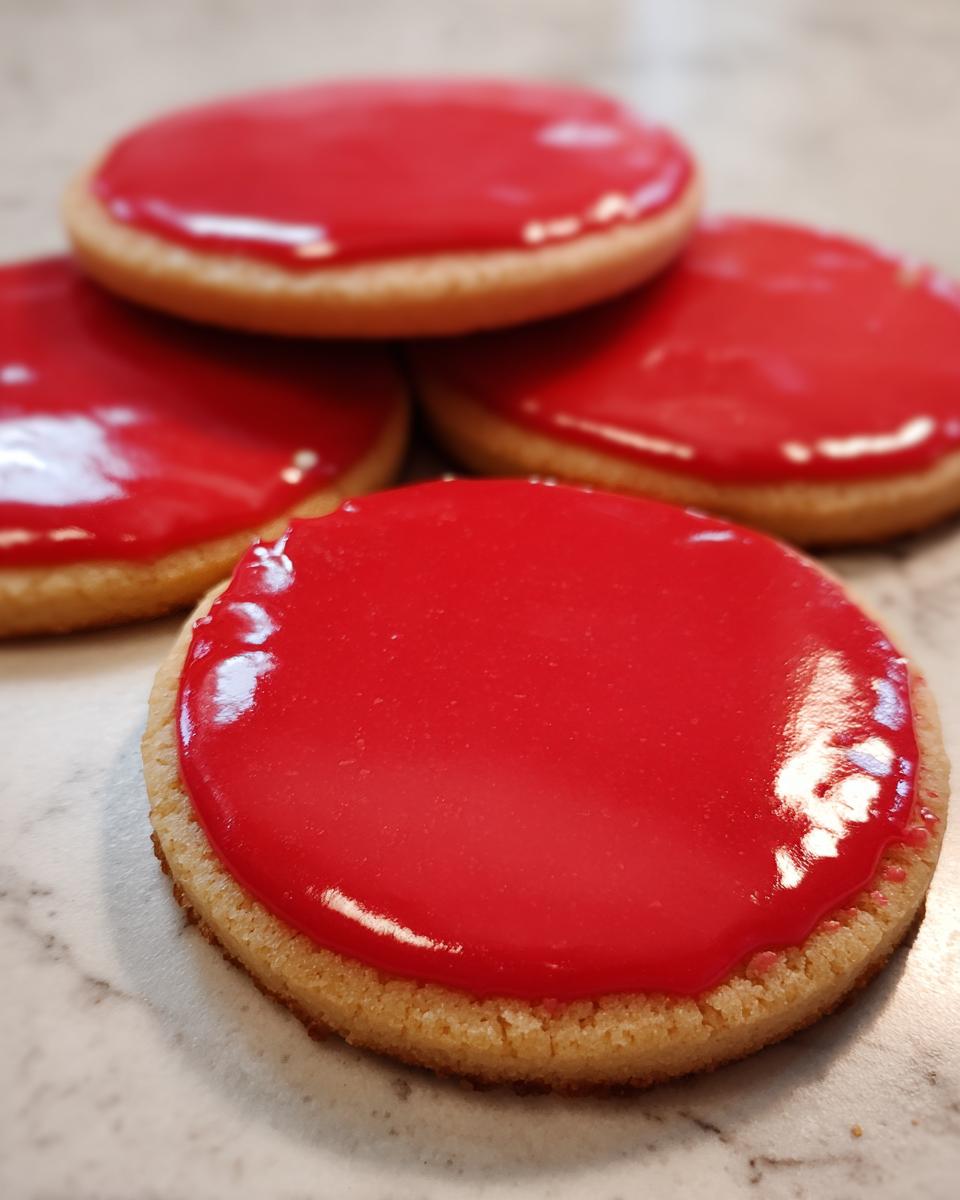
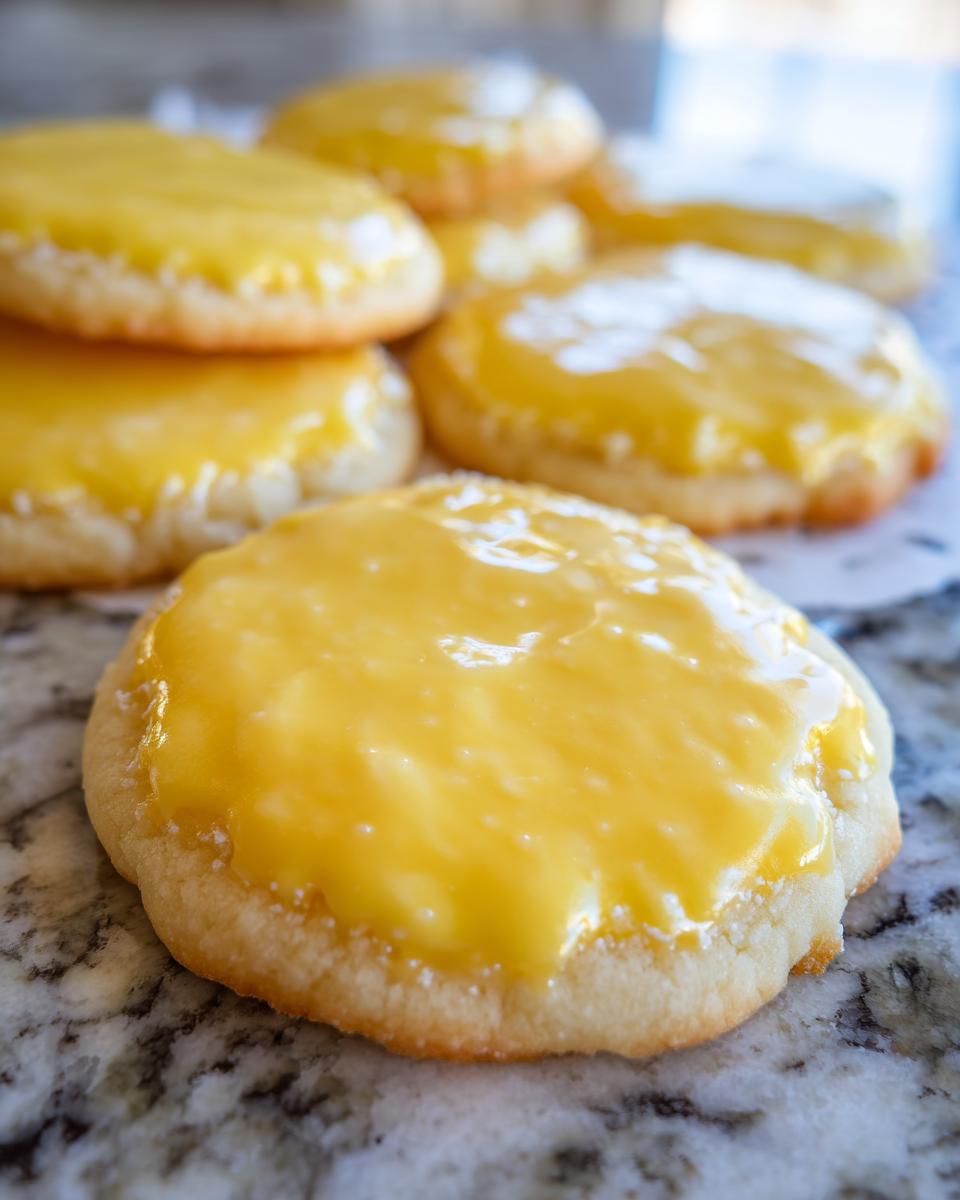
First, it gives the finished product that beautiful, almost mirror-like glossy finish you see in bakeries. Second, and most importantly for us, it fundamentally changes the structure as it dries. It binds everything securely, preventing that frustrating stickiness. This formula locks everything down so you can finally stack your beautiful holiday cookies without them sticking together in one giant, colorful blob. It’s simple chemistry that leads to highly dependable results, which is what Food Dexterity is all about!
Ingredients for Your Smooth Cookie Frosting That Hardens
When it comes to this sugar cookie icing that hardens, precision matters just a tiny bit more than usual, but only because we need that hard, glass-like set. Don’t panic; it’s still super basic stuff! Grab your powdered sugar, but you absolutely must sift it first—no lumps allowed in this smooth creation. You’ll also need milk, a splash of vanilla, and the secret sauce ingredient.
- 2 cups powdered sugar, sifted (Seriously, sift it!)
- 3 tablespoons milk (Whole milk works best, but any kind is fine)
- 1 tablespoon light corn syrup (This is non-negotiable for the shine!)
- 1 teaspoon vanilla extract
- Gel food coloring, as needed (We talk more about this in a bit)
This reliable combo is ready to go in minutes. You can find what looks like a great starting point for hardening icing from my friends over at Charm Recipes as well, but stick with my exact measurements for the best results!
How to Prepare the Best Sugar Cookie Icing That Hardens
Getting this foundation right is key, so take a deep breath and promise me you won’t rush the mixing! We’re starting by tossing the sifted powdered sugar, the milk, that crucial tablespoon of light corn syrup, and the vanilla extract right into a bowl. I usually start by whisking gently, just until everything decides to become friends. If you grab an electric mixer right away, you end up with a powdered sugar explosion all over your kitchen, and trust me, that’s not Dexterous cooking!
Keep the mixer on low, or better yet, keep whisking it by hand until it’s just combined. Now, if you want to see how my friend over at Kinsley Recipes handles their mixing, that’s fine, but the low-speed approach is really what I stick to. This stops us from whipping too much air into it, which is the enemy of that smooth, stackable set we want. It should look kind of thick and paste-like before you start adjusting it. Remember, if you need deeper flavor guidance in baking, I have some thoughts on flavor building in general.
Achieving the Right Cookie Icing Consistency Tips
This is where the magic happens! Now we check the texture. If it looks like cement, add milk teaspoon by teaspoon until you can slowly drizzle it off your spoon. That’s your ‘flooding’ consistency—it flows nicely across the cookie surface. If you want to outline, you need it thicker, so it holds a perfect ribbon edge without spreading everywhere. If you mess up and it’s too thin, don’t panic, just stir in a little more sifted powdered sugar until it holds that shape. It’s all about patient tweaking!
Coloring Your Stackable Cookie Icing Recipe
Here’s a big piece of advice that keeps my icing structurally sound: when it comes to coloring anything that needs to harden firmly—like this sugar cookie icing that hardens—you absolutely must use gel food coloring. I learned this the hard way early on!
If you grab standard liquid food coloring from the grocery store, you are adding unnecessary water content to your mix. That extra moisture acts like a tiny saboteur, preventing the sugar and corn syrup from setting up that perfect, hard, glossy shell we are aiming for. Liquid coloring will make your beautiful, stackable cookie icing runny and soft, and we definitely don’t want that.
So, invest in a little set of gel colors—they are concentrated, so you only need the tip of a toothpick to get vibrant results! When you go to color your batches, only add the color bit by bit. Swirl it in carefully until you hit the shade you love. You want the color to be incorporated smoothly, not overworked, so keep mixing gentle once the color is added.
Applying Your Glossy Sugar Cookie Topping for a Professional Look
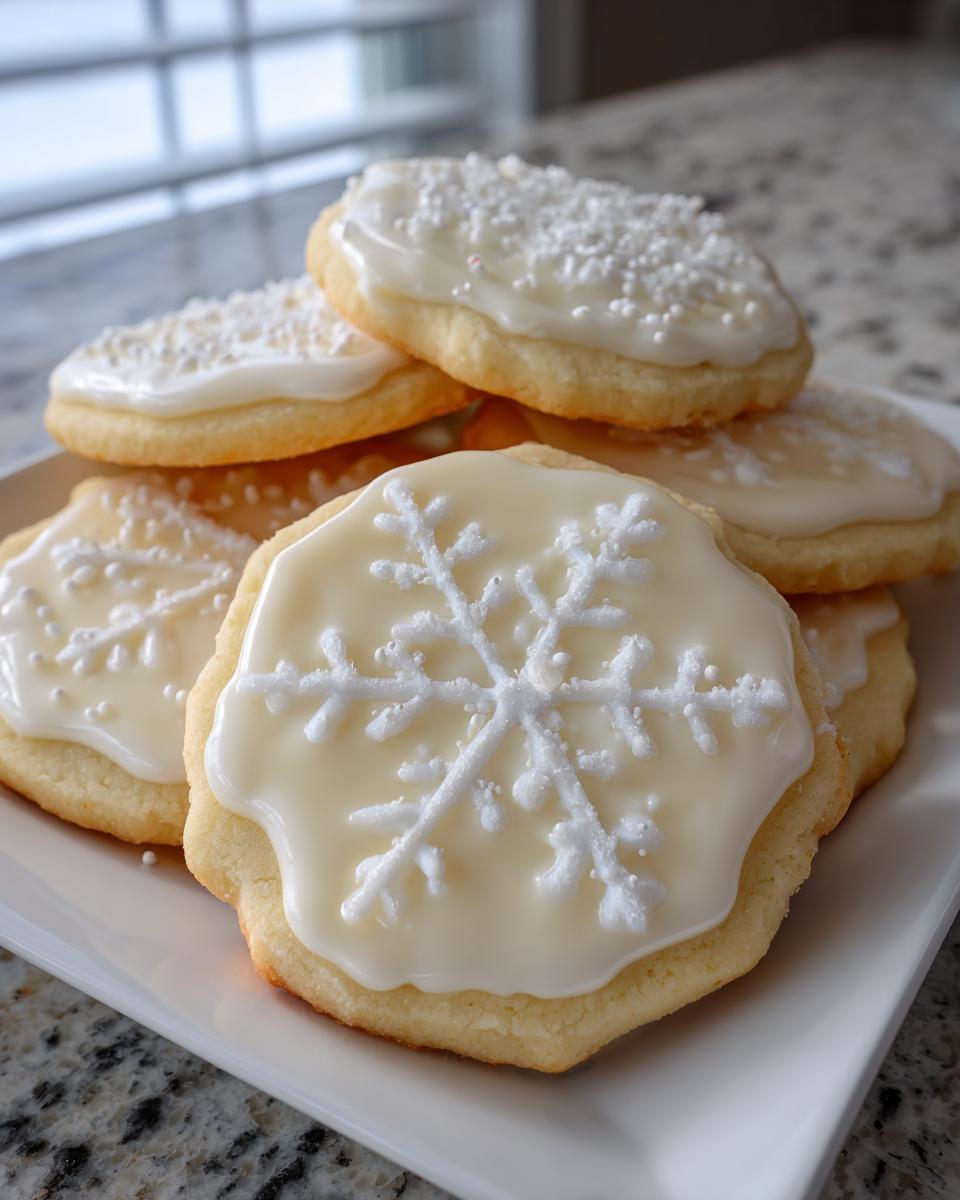
Now for the fun part! Once you have your consistencies dialed in—thicker for piping the border and thinner for flooding the middle—it’s go time. When I’m doing a batch of holiday cookies, I always try to outline the entire cookie first, letting that edge set for maybe 10 or 15 minutes. This creates a little dam that keeps the thinner flood icing exactly where I want it.
My personal rule for smooth application is simple: don’t overwork it once it hits the cookie. You want to gently nudge the flood icing into the outlined space until it meets the edge, but you shouldn’t keep stirring it around once it’s on the surface. That gentle movement is what gives you that perfectly flat, glossy finish that dries so reliably hard. If you’re looking for more tips on making other components shiny, check out how I manage homemade applesauce—it’s all about coaxing the best texture out of simple ingredients!
If the icing seems stiff on the surface while you’re working, just stir *that small batch* gently with a toothpick. Don’t drag your whole piping bag through the bowl! These small efforts are what get you that beautiful, hard, bakery-style look you’re after. My friends at No Dash of Gluten have some genuinely lovely application ideas if you need visual inspiration!
Drying Time for Sugar Cookie Icing That Hardens
We finally have our beautiful cookies iced, and now comes the hardest part: waiting! This amazing sugar cookie icing that hardens isn’t instant, but it’s certainly faster than a simple sugar glaze. Generally, I tell folks to plan for about four to eight hours for the icing to dry completely hard and glossy at room temperature.
Now, Mother Nature plays a role here, too. If it’s pouring rain outside or the humidity in your kitchen is sky-high, it’s going to take a little longer for that moisture to leave the surface. Never try to rush it by putting them in the fridge too soon; that traps moisture right underneath the icing!
For those times when I absolutely need them done quickly—maybe guests are arriving!—I use a very practical trick. I carefully set the cookies on a cooling rack and place a small box fan a few feet away, aiming a gentle stream of air across them. That airflow speeds up evaporation like nobody’s business. It’s an easy way to get closer to a quick dry time for your icing. Speaking of accelerating processes, if you’ve ever wanted to speed up your bread making, check out my thoughts on no-knead loaves!
Once they pass the touch test—meaning they don’t smudge at all when lightly tapped—you know they’re ready. That hard, durable shell is exactly what you want for packaging or stacking them high!
Troubleshooting Your Icing That Hardens for Cookies
Even with the best recipe, sometimes baking throws us a curveball, right? The most common issue I hear about is the dreaded stickiness. If your highly anticipated sugar cookie icing that hardens is still tacky hours later, I bet you added too much liquid or missed the corn syrup completely. The fix is simple: gently stir in a tablespoon of sifted powdered sugar until you feel that tackiness disappear.
Now, cracking is less common with this corn syrup-based icing, but if it happens, it usually means you overworked the mixture when you were adding the colors, or even worse, you probably didn’t sift the sugar well enough. If it cracks when you bend a decorated cookie slightly, don’t sweat it! Just use a thicker batch of icing to pipe a decorative line right over the crack—it instantly becomes a charming, intentional design element. You can find some great visual troubleshooting guides over at Emma’s Cake Studio if you need to see what I mean about turning flaws into features.
The ability to fix these small hiccups is what builds real kitchen confidence, and that’s totally Food Dexterity!
Storing Your Finished Sugar Cookie Icing That Hardens Decorations
The best part about making a sturdy, shiny **sugar cookie icing that hardens** is that cleanup and storage become incredibly simple! Since this icing sets completely firm—no more smearing or sticking—you can finally treat your cookies like the pieces of art they are. You absolutely must store the finished, decorated cookies in an airtight container. Think Tupperware or a sealed cookie tin.
Keep them strictly at room temperature. The fridge is their enemy because any temperature drop can cause condensation that brings back that nasty stickiness we worked so hard to avoid. Because the icing is hard, you can stack them neatly—just place a small piece of wax paper or parchment between the layers if you are worried about very intricate piping. This keeps them perfect for gifting or saving for later! If you want to see how I handle other sturdy frostings, take a peek at my recipe for vanilla buttercream, though this cookie icing requires less direct care.
Frequently Asked Questions About Cookie Icing Consistency Tips
I know when you’re aiming for that perfect, hard, glossy finish, a few questions always pop up. Getting those cookie icing consistency tips right is the difference between a professional-looking cookie and a messy puddle! Here are the things people ask me most often when trying to achieve that perfect set.
Can I use this as a true Royal Icing recipe?
That’s a great question, and the answer is: kind of, but not exactly! This recipe, with the milk and corn syrup, is an incredibly sturdy glaze that dries very hard and glossy. A true Royal Icing, the kind that feels rock-solid, usually relies on meringue powder or raw egg whites as its base instead of just milk. That substitution gives the Royal Icing a slightly different, sometimes sharper, texture when it sets completely. So, while mine is fantastic for stacking, if you need that professional-grade, rock-hard finish for very delicate piping, you might want to look into using meringue powder instead of the milk next time.
How long does the mixed sugar cookie icing that hardens last?
Even though our final decorated cookies last beautifully at room temperature, the leftover *icing* needs a little TLC. If you have extra batter that you haven’t colored yet, cover it tightly with plastic wrap right against the surface—I mean *touching* the icing—and store it in the fridge for up to three days. When you pull it out, it will look rock hard and a little separated. Don’t worry! Let it warm up on the counter for about 20 minutes, then give it a strong whisking or a quick zap with the electric mixer on low. It should come right back to life! If you’re into making things last, you might enjoy my tips on baking chocolate cinnamon rolls, which also freeze well.
If you have already colored your **sugar cookie icing that hardens**, it’s best to use it the same day. If you must save it, cover it tightly and keep it in the fridge, but the colors sometimes shift, and it can be harder to remix evenly later on.
For tips on when to use icing fast versus when it hangs around, check out what Cincy Shopper has to say about their approach!
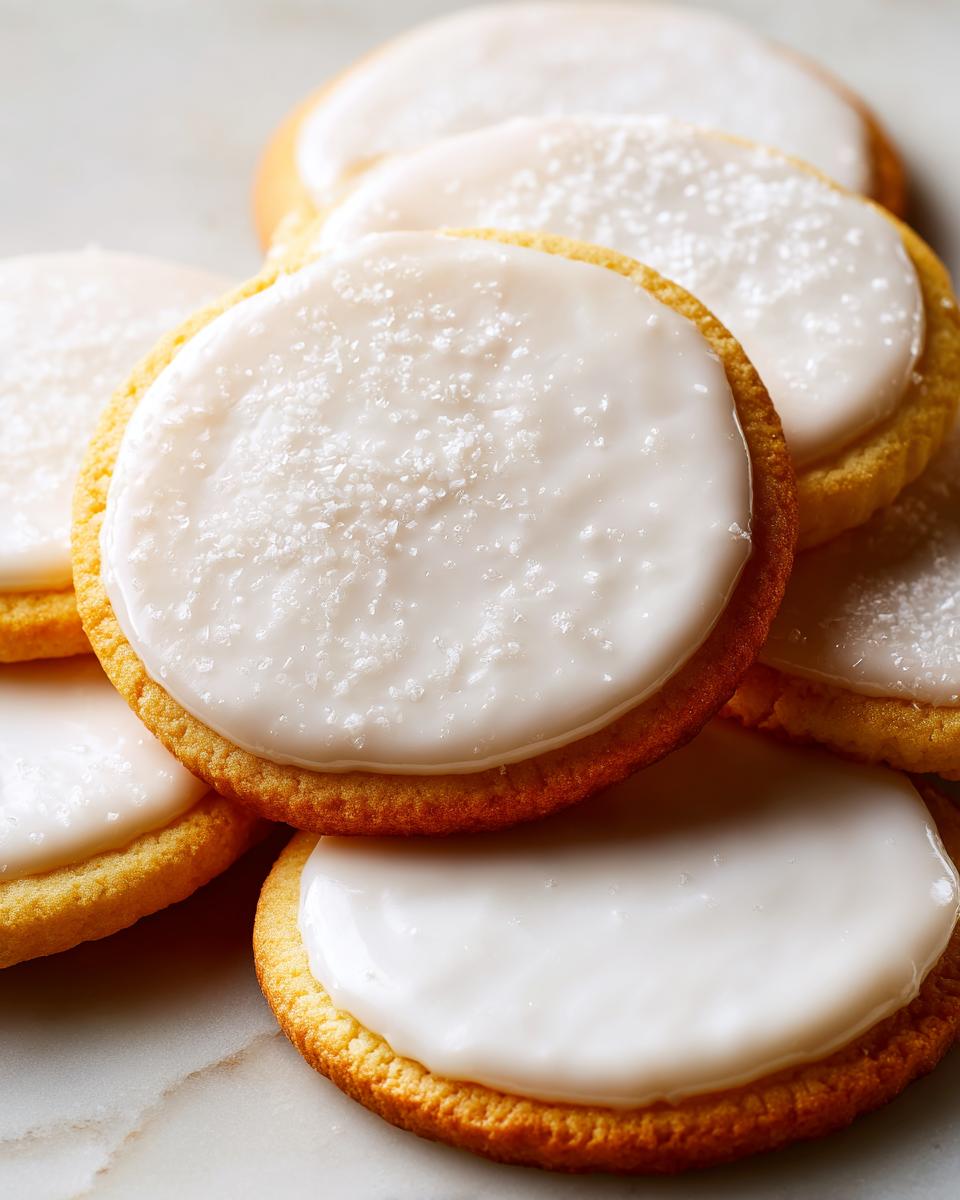
PrintGlossy Sugar Cookie Icing That Hardens Perfectly

Make bakery-style sugar cookie icing that dries hard and smooth, ideal for decorating cutout cookies that need to be stacked or gifted.
- Prep Time: 10 min
- Cook Time: 0 min
- Total Time: 10 min
- Yield: Coats about 2 dozen medium cookies 1x
- Category: Dessert
- Method: No-Bake
- Cuisine: American
- Diet: Vegetarian
Ingredients
- 2 cups powdered sugar, sifted
- 3 tablespoons milk (whole or plant-based)
- 1 tablespoon light corn syrup
- 1 teaspoon vanilla extract
- Gel food coloring, as needed
Instructions
- In a medium bowl, combine the sifted powdered sugar, milk, light corn syrup, and vanilla extract.
- Mix with a whisk or electric mixer on low speed until the ingredients are just combined. Do not overmix at this stage.
- If the icing is too thick to spread smoothly, add milk, one teaspoon at a time, until you reach a thick but pourable consistency. If it is too thin, add more sifted powdered sugar, one tablespoon at a time.
- For outlining, the icing should be thick enough to hold a line. For flooding, it should be slightly thinner.
- Divide the icing into separate bowls if you plan to use multiple colors. Add gel food coloring to each portion and mix until the color is uniform.
- Apply the icing to your cooled sugar cookies. Use a thin consistency for flooding the cookie surface after outlining, or use a thicker consistency for piping details.
- Allow the icing to dry completely at room temperature. This icing hardens to a firm, glossy finish, usually within 4 to 8 hours, depending on humidity.
Notes
- Corn syrup is key to achieving a glossy finish and helping the icing set hard.
- For a quick-drying icing, use a thin consistency and place cookies in front of a fan while they dry.
- If you need a very firm icing for intricate piping work, consider using meringue powder instead of milk for a true royal icing texture.
- Always use gel food coloring; liquid coloring adds too much moisture and prevents the icing from hardening properly.
Nutrition
- Serving Size: 1 tablespoon
- Calories: 95
- Sugar: 24
- Sodium: 2
- Fat: 0
- Saturated Fat: 0
- Unsaturated Fat: 0
- Trans Fat: 0
- Carbohydrates: 25
- Fiber: 0
- Protein: 0
- Cholesterol: 0