
If you’ve ever stared at a store-bought jar of frosting, wondering why yours never looks quite that glossy and perfect, I have news for you: you can beat it, easily! That’s the heart of Food Dexterity—taking the intimidation out of those ‘fancy’ finishes. We’re ditching the complicated grocery aisle runs. Right now, we’re going to nail the ultimate easy 2-ingredient chocolate ganache. Seriously, just two things! In under ten minutes, you’ll have a rich, beautiful chocolate ganache that rivals anything professionally made. It’s all about knowing the simple fundamentals, and trust me, this method is completely foolproof.
- Why This Easy Chocolate Ganache Recipe is Your New Dessert Superpower
- Mastering Chocolate Ganache Ratios: From Drip to Truffle Base
- Ingredients for Your 2 Ingredient Ganache
- How to Make Chocolate Ganache at Home: Step-by-Step
- Expert Tips for Perfect, Glossy Chocolate Ganache
- Storage and Reheating Instructions for Leftover Chocolate Ganache
- Frequently Asked Questions About Making Chocolate Ganache
- Nutritional Estimates for Homemade Chocolate Ganache
- Share Your Silky Chocolate Topping Creations
Why This Easy Chocolate Ganache Recipe is Your New Dessert Superpower
Honestly, I used to stand in the baking aisle, looking at those tubs of frosting, and just shaking my head. They never taste as good as the real deal, right? Well, we’re putting paid to that situation! This chocolate ganache recipe is my secret weapon because it’s ridiculously fast. We’re talking maybe ten minutes from start to finish, even if you’re moving a little slowly. That speed, combined with only needing two ingredients, makes this the easy chocolate ganache recipe you’ll never forget.
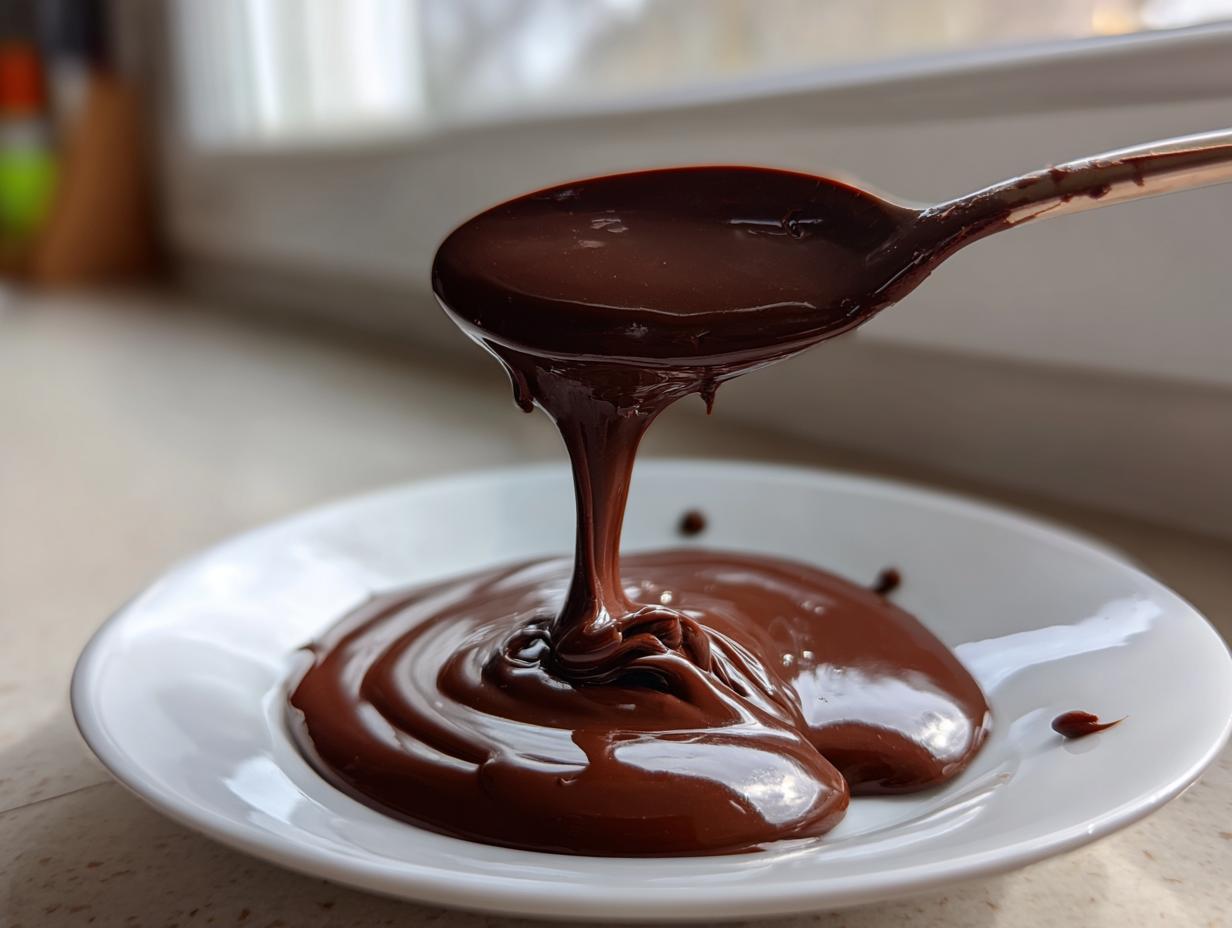
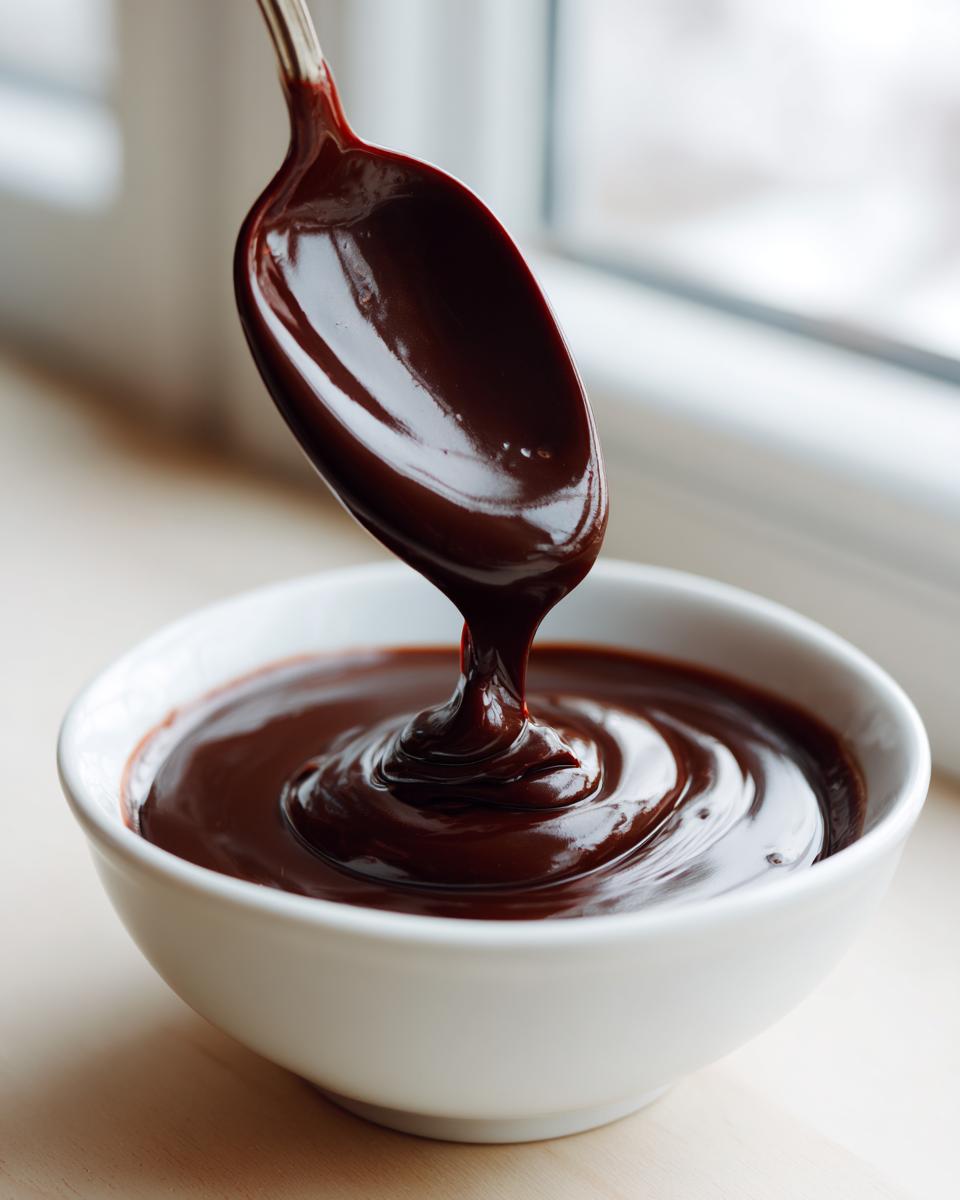
Because we’re using the stovetop method and melting the chocolate right into the hot cream, it’s genuinely impossible to mess up—unless you forget to stand near the stove, which I’ve definitely done! The result is this incredible, completely silky chocolate topping that goes on cakes, donuts, or even just a spoon, looking and tasting like you spent hours crafting it. It’s pure magic, I promise. Keep this simple homemade chocolate ganache ready for those last-minute dessert emergencies!
Mastering Chocolate Ganache Ratios: From Drip to Truffle Base
This is where the magic really happens, and honestly, this is the part that makes store-bought stuff look silly. You might think that two simple ingredients can only do one thing, but no way! The secret to truly versatile chocolate ganache lies solely in adjusting the chocolate ganache ratios. More chocolate means a firmer set; more cream makes it looser. It’s that easy to control, and suddenly you have three different textures from the same pot!
The Perfect Pourable Chocolate Ganache Drip Recipe
If you want that professional, glossy drip effect flowing down the sides of your cake, you need the thinnest consistency. This requires a 1:1 ratio of chocolate to heavy cream by weight. Mix them up hot, and use that mixture right away while it’s still warm and very fluid. This creates the most stunning, shiny glaze for making your cake look incredibly polished!
Achieving Thick Chocolate Cake Frosting with Chocolate Ganache
To get a spreadable, wonderful chocolate cake frosting—the kind you want to pipe on cupcakes or slather between layers—you need to lean heavily on the chocolate, aiming for a 2:1 ratio of chocolate to cream. After you whisk it smooth, you absolutely must let this cool down. It will thicken up significantly, and you can even whip it gently to incorporate air for an extra light texture later on.
Firm Chocolate Truffle Base Consistency
For the firmest set, perfect for rolling into little balls for truffles or piping stiff rosettes, you need a 3:1 chocolate to cream ratio. This mixture will be very thick, almost like a soft paste once it cools slightly. This is your chocolate truffle base! Just make sure your chocolate is finely chopped so the minimal amount of hot cream can melt it completely into submission.
Ingredients for Your 2 Ingredient Ganache
Okay, let’s talk about what you actually need. This is the beauty of the 2 ingredient ganache—there is almost no shopping list required! We are keeping this super simple and delicious. You’ll need exactly one cup of heavy cream, and eight ounces of good quality chocolate. I mean it on the chocolate; get yourself something semi-sweet or dark that you actually like eating on its own.
Make sure you take the time to get the chocolate finely chopped before you start the heating process; that’s a non-negotiable step for success. When all is said and done, this mixture yields about 1.5 cups total, and you will have this beautiful, glossy topping ready in just about 10 minutes total time. See? Easy cooking for a real life!
How to Make Chocolate Ganache at Home: Step-by-Step
If you want that amazing, velvety chocolate topping, you have to follow these steps exactly. This is the quickest stovetop chocolate ganache method out there, and trust me, patience during the waiting period is key! First thing’s first: you need your chocolate ready. Place the eight ounces of finely chopped chocolate into a medium bowl that can handle some heat. Don’t use chips if you can help it; chopped bar melts so much cleaner!
Next, grab a small saucepan and pour in your heavy cream. Put it over medium heat. You aren’t trying to create a volcano here! Watch it carefully, and pull it off the heat the very second you see those tiny little bubbles forming right around the edges—just before it gives a real rolling boil. Pour that hot cream right over your chopped chocolate. Now comes the hardest part: you have to walk away! Let that mixture sit completely undisturbed for five full minutes. This resting period is crucial; it lets the latent heat do the heavy melting work for you.
After those five minutes are up, grab your whisk. Start gently whisking right in the center of the bowl. Don’t beat it aggressively! The idea is to slowly bring the melted chocolate outward until everything is combined into one beautifully smooth, uniform, and gorgeously glossy mixture. If you’re using this right away as a thin glaze, you can pour it immediately. For everything else, let it cool a bit. If you need any help getting things flowing again, you can check out some quick dessert topping tips here, or check out how others made their chocolate ganache!
Expert Tips for Perfect, Glossy Chocolate Ganache
One thing I learned early on while chasing that perfect best homemade ganache is that chocolate can be temperamental while melting. It’s not fussy, it just needs respect! My biggest piece of advice is: use good chocolate. If you use waxy, cheap stuff, your ganache is going to look dull, not that gorgeous shiny finish we are after. Stick to bars with at least 55% cacao for the best melt and flavor profile.
Also, keep water AWAY from your chocolate! Seriously, even a tiny drop of water or steam can cause the chocolate to seize right up, turning your beautiful smooth liquid into a grainy mess. I made this mistake once when I brought my pan too close to some boiling water—instant seizure! It happens to the best of us, so don’t panic if it separates. If that happens, just move the bowl to a very low double boiler (or even just a bowl set over warm, not hot, water) and whisk it gently. A brief, gentle reheat and a lot of slow stirring will usually bring it right back together, I promise.
Remember my little tip about reheating? It’s the fix for most texture issues. If your chocolate ganache cooled down too fast and you need it thinner for drizzling, just warm the bowl gently. If you want a thicker spread for rich chocolate filling, pop it in the fridge for 15 minutes, stirring every five, until it hits that perfect peanut butter consistency.
Storage and Reheating Instructions for Leftover Chocolate Ganache
Listen, you probably won’t have any leftover of this amazing simple chocolate sauce, but just in case you manage to save some—it keeps beautifully! If you made a batch to be used as a glaze or sauce, and it’s still smooth and pourable, just cover it tightly with plastic wrap right against the surface and leave it on the counter. It should be good for a day or two. If you made a thick frosting that you won’t use right away, pop it in the fridge.
When you need to bring it back to life? No microwave drama! Just warm the container gently over a low double boiler, or even microwave it in 10-second bursts, whisking well in between each little blast of heat until it’s fluid again. It usually only takes a minute or two to get that perfect consistency back.
Frequently Asked Questions About Making Chocolate Ganache
I always get a ton of questions once people try this recipe because they can’t believe how simple it is! Since we are leaning heavily on technique and ratios here, I wanted to cover the most common things that pop up when folks are making their very first batch of homemade chocolate ganache. If you’re looking for more straightforward dessert guidance, be sure to check out my collection of simple dessert recipes!
Can I use milk chocolate instead of semi-sweet in this easy chocolate ganache recipe?
Yes, you totally can, but you have to tread lightly! Milk chocolate has way more sugar and milk solids in it than the semi-sweet or dark chocolate we recommend. If you swap it out, I’d suggest reducing the amount of milk chocolate you use by about 1/4 to keep the ratios similar, otherwise, it might get too sweet or not set quite right because of the extra milkfat. Taste after you gently whisk it, and adjust from there!
How long does it take for the ganache to thicken after mixing?
This is all about the temperature of your kitchen! If you are aiming for that pourable glossy chocolate glaze right away, you use it warm. But if you want it thick enough to spread, you’ll need patience. At room temperature, it can take 30 minutes to an hour. I find that if I stir it every five minutes while it’s cooling down, it thickens much more evenly and faster than just letting it sit untouched. Don’t stick it in the fridge unless you’re in a huge rush, as that can sometimes make the texture grainy.
What is the best way to use this as a rich chocolate filling?
For a rich chocolate filling that won’t ooze out when you slice your cake, you absolutely want the 3:1 ratio—three parts chocolate to one part cream. Once you mix that up, let it cool almost completely until it has that thick, firm, almost peanut butter-like spreadability. Then you can whip it with a hand mixer for a minute or two to make it super fluffy and easy to spread smoothly between cake layers!
Nutritional Estimates for Homemade Chocolate Ganache
Listen, when you’re making something this rich and decadent, you aren’t usually thinking about the macros, and that’s okay! But just so you know what’s in this spoonful of heaven, here is the general estimate per 1/4 cup serving. Remember, these numbers change dramatically based on whether you use 55% dark chocolate or creamy milk chocolate, so treat this as a guideline, not gospel!
- Calories: 350
- Fat: 25g (with 15g saturated)
- Sugar: 28g
- Protein: 5g
It’s definitely a treat, but that high fat content is what gives you that ultimate smooth, velvety texture we’re aiming for. A little bit goes a long way!
Share Your Silky Chocolate Topping Creations
Now you know the trick! You have the blueprint for making the best homemade ganache imaginable, whether you needed a quick chocolate sauce or a firm base for truffles. I truly hope this recipe transforms your dessert game the way it changed mine. It’s the kind of simple technique that just breeds confidence in the kitchen, isn’t it?
I absolutely love hearing about what you decide to make with your glossy creation. Did you use it for that perfect ganache drip recipe on a birthday cake? Or did you whip up a batch to use as a rich chocolate filling for those fancy layered cookies? Don’t keep all that deliciousness to yourself!
Please drop a rating below—it helps other cooks know this recipe is worth their time. And if you managed to snap a picture of your stunning, shiny dessert topping, tag us! We are building a whole community here at Food Dexterity where we celebrate making good, honest food feel effortlessly achievable. Happy baking, sweet friends!
PrintThe Ultimate Easy 2-Ingredient Chocolate Ganache: Ratios for Frosting, Drip, and Truffle Consistency
Make rich, silky chocolate ganache at home using just two ingredients. This simple recipe gives you the exact ratios you need to achieve a perfect consistency for frosting, a glossy drip, or firm truffle filling.
- Prep Time: 5 min
- Cook Time: 5 min
- Total Time: 10 min
- Yield: About 1.5 cups 1x
- Category: Dessert Topping
- Method: Stovetop
- Cuisine: American
- Diet: Vegetarian
Ingredients
- 1 cup heavy cream
- 8 ounces semi-sweet or dark chocolate, finely chopped
Instructions
- Place the finely chopped chocolate in a medium, heat-safe bowl.
- Pour the heavy cream into a small saucepan. Heat the cream over medium heat until it just begins to simmer around the edges. Do not let it boil rapidly.
- Immediately remove the hot cream from the heat. Pour the hot cream directly over the chopped chocolate in the bowl.
- Let the mixture sit undisturbed for 5 minutes. This allows the heat to melt the chocolate thoroughly.
- After 5 minutes, gently whisk the mixture starting from the center and working outward until the ganache is completely smooth, glossy, and uniform.
- Use immediately for a pourable glaze or let it cool to reach a thicker consistency for frosting or filling.
Notes
- For a thinner, pourable ganache drip, use a 1:1 ratio of chocolate to cream by weight.
- For a thick, spreadable chocolate cake frosting, use a 2:1 ratio of chocolate to cream by weight (e.g., 12 oz chocolate to 6 oz cream).
- For firm chocolate truffle base, use a 3:1 ratio of chocolate to cream by weight (e.g., 12 oz chocolate to 4 oz cream).
- If the ganache does not come together, gently reheat the mixture over a double boiler for a few seconds and whisk again.
Nutrition
- Serving Size: 1/4 cup
- Calories: 350
- Sugar: 28
- Sodium: 15
- Fat: 25
- Saturated Fat: 15
- Unsaturated Fat: 10
- Trans Fat: 0.5
- Carbohydrates: 30
- Fiber: 3
- Protein: 5
- Cholesterol: 75